
[This is a simple and fun craft that you can do with your kids! And it doesn’t even make a mess! You can find all kinds of colorful and cool duct tape styles at the store these days. I’m posting these instructions and photos for my son who wants to share them with the world.]
I’m 10 years old and here are my instructions for a duct tape wallet. My dad took the photos and he also put it on his web site since I don’t have one yet.
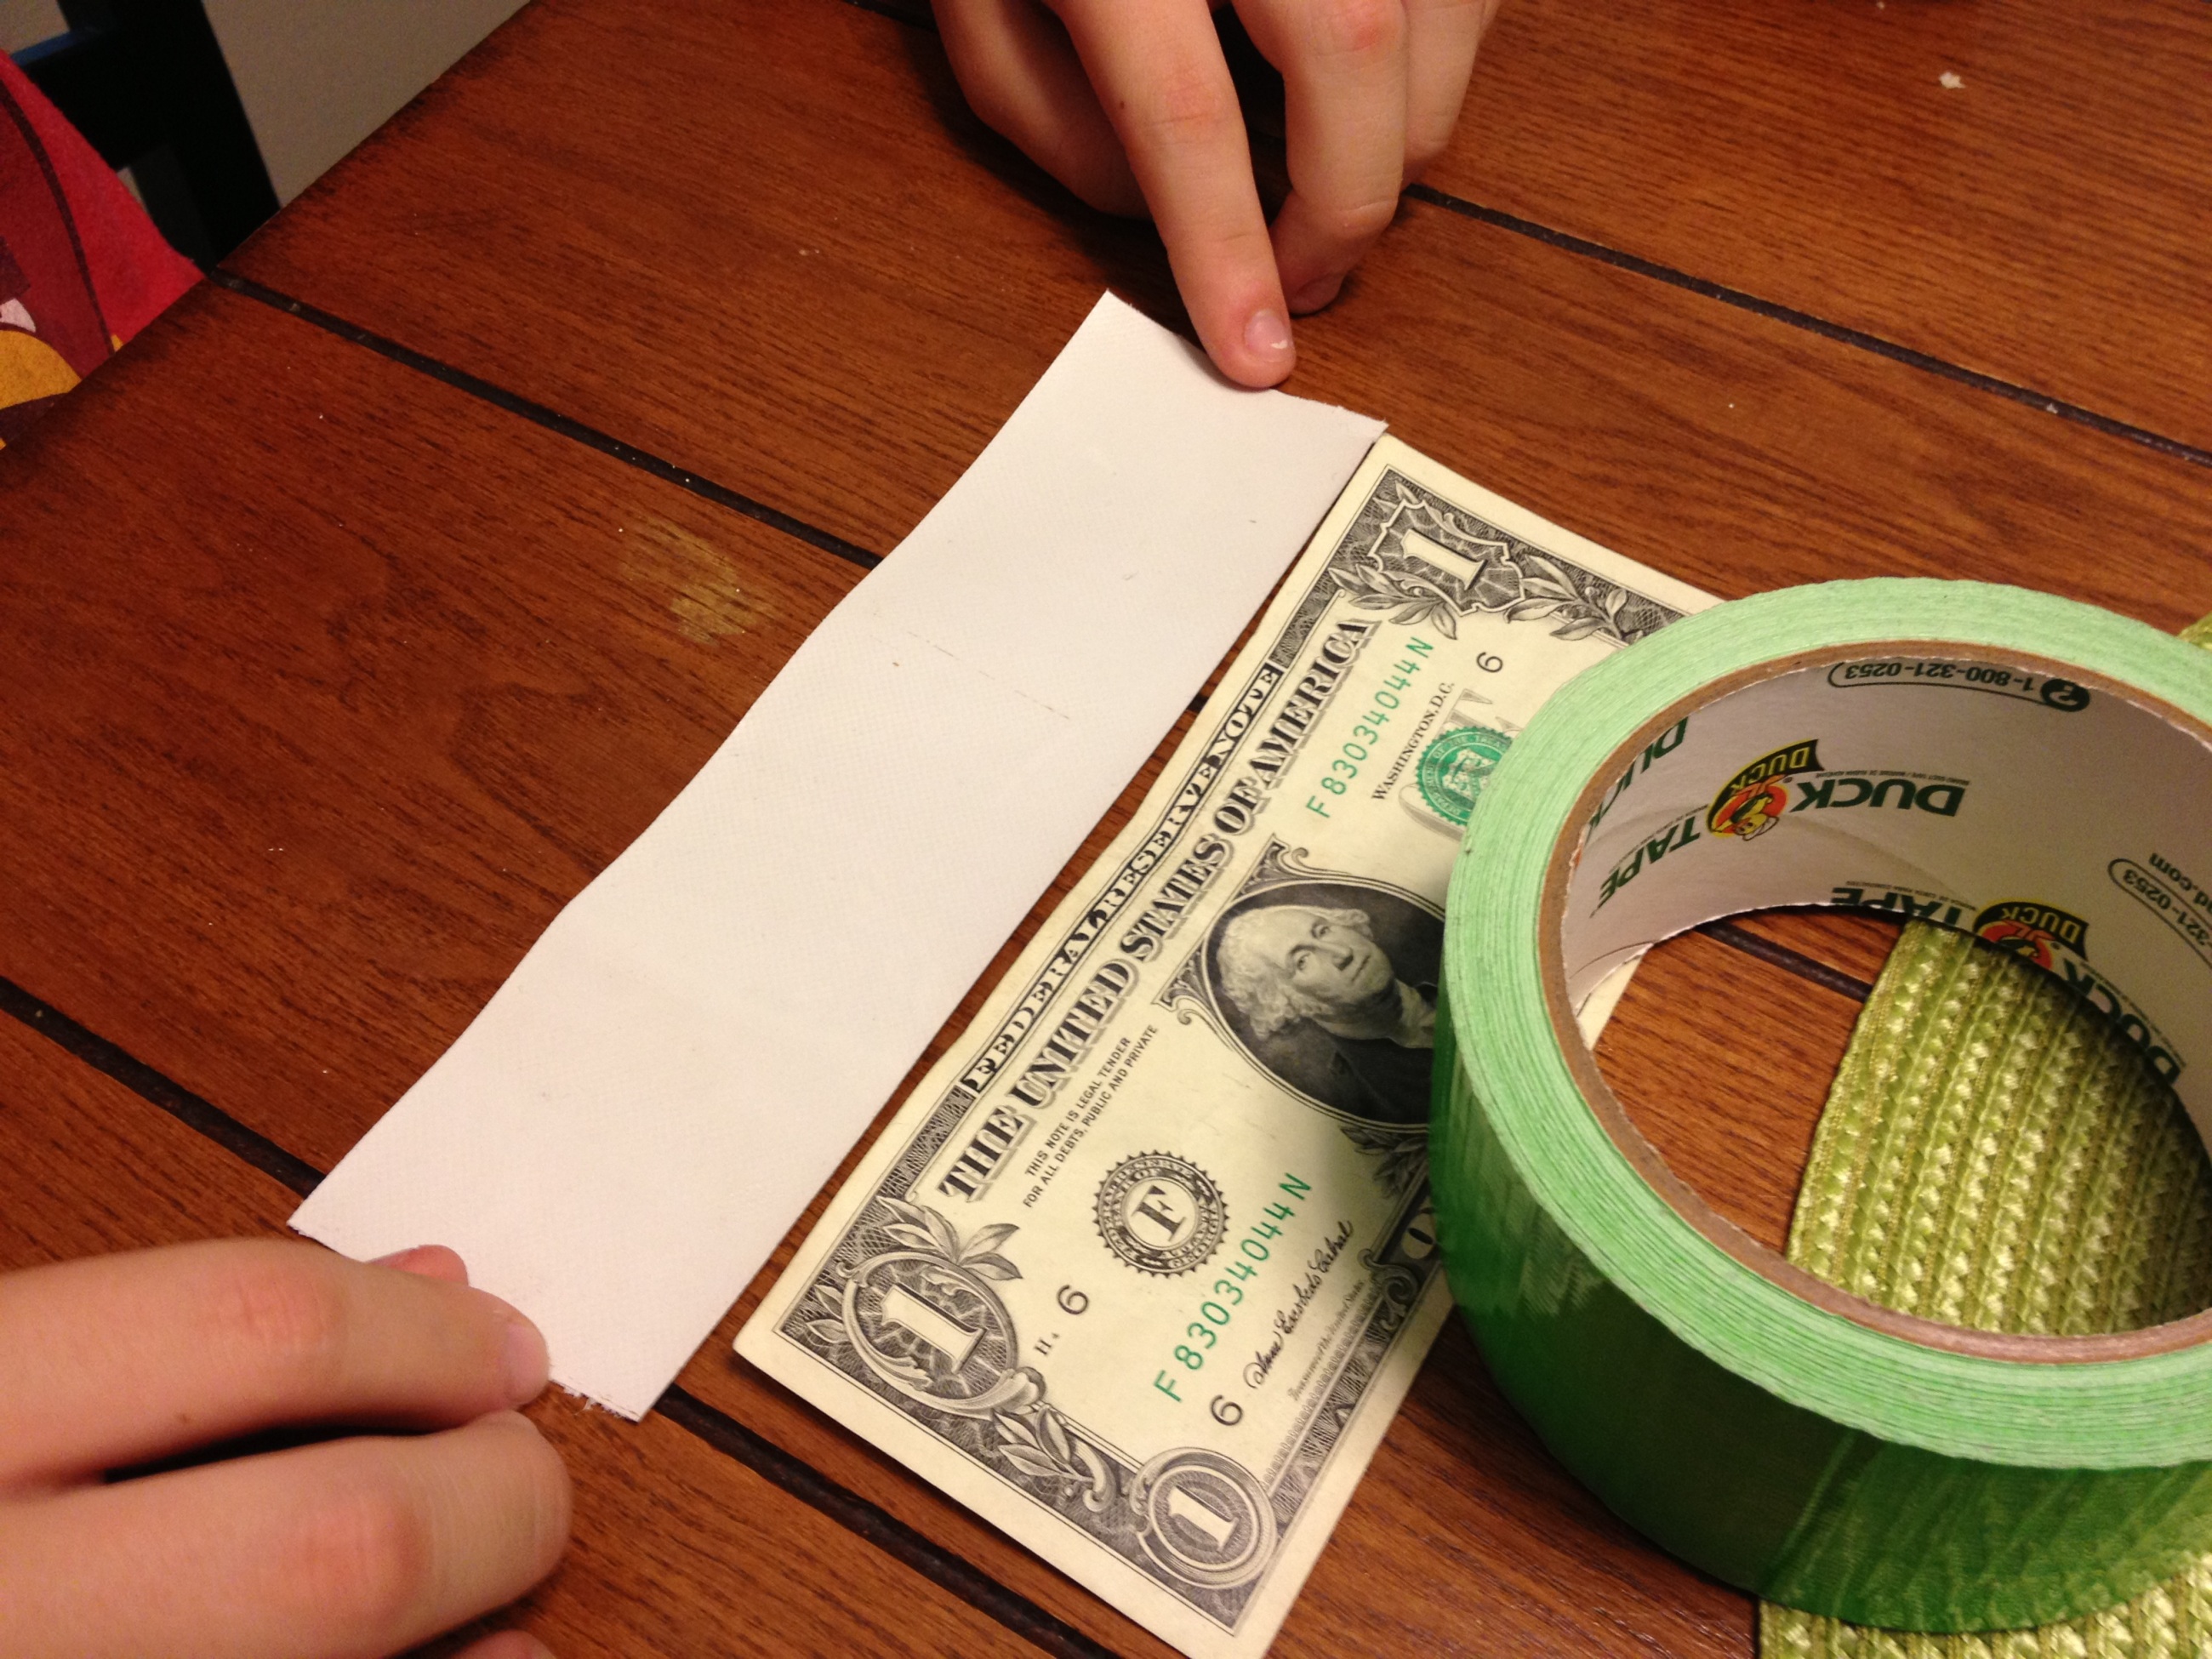
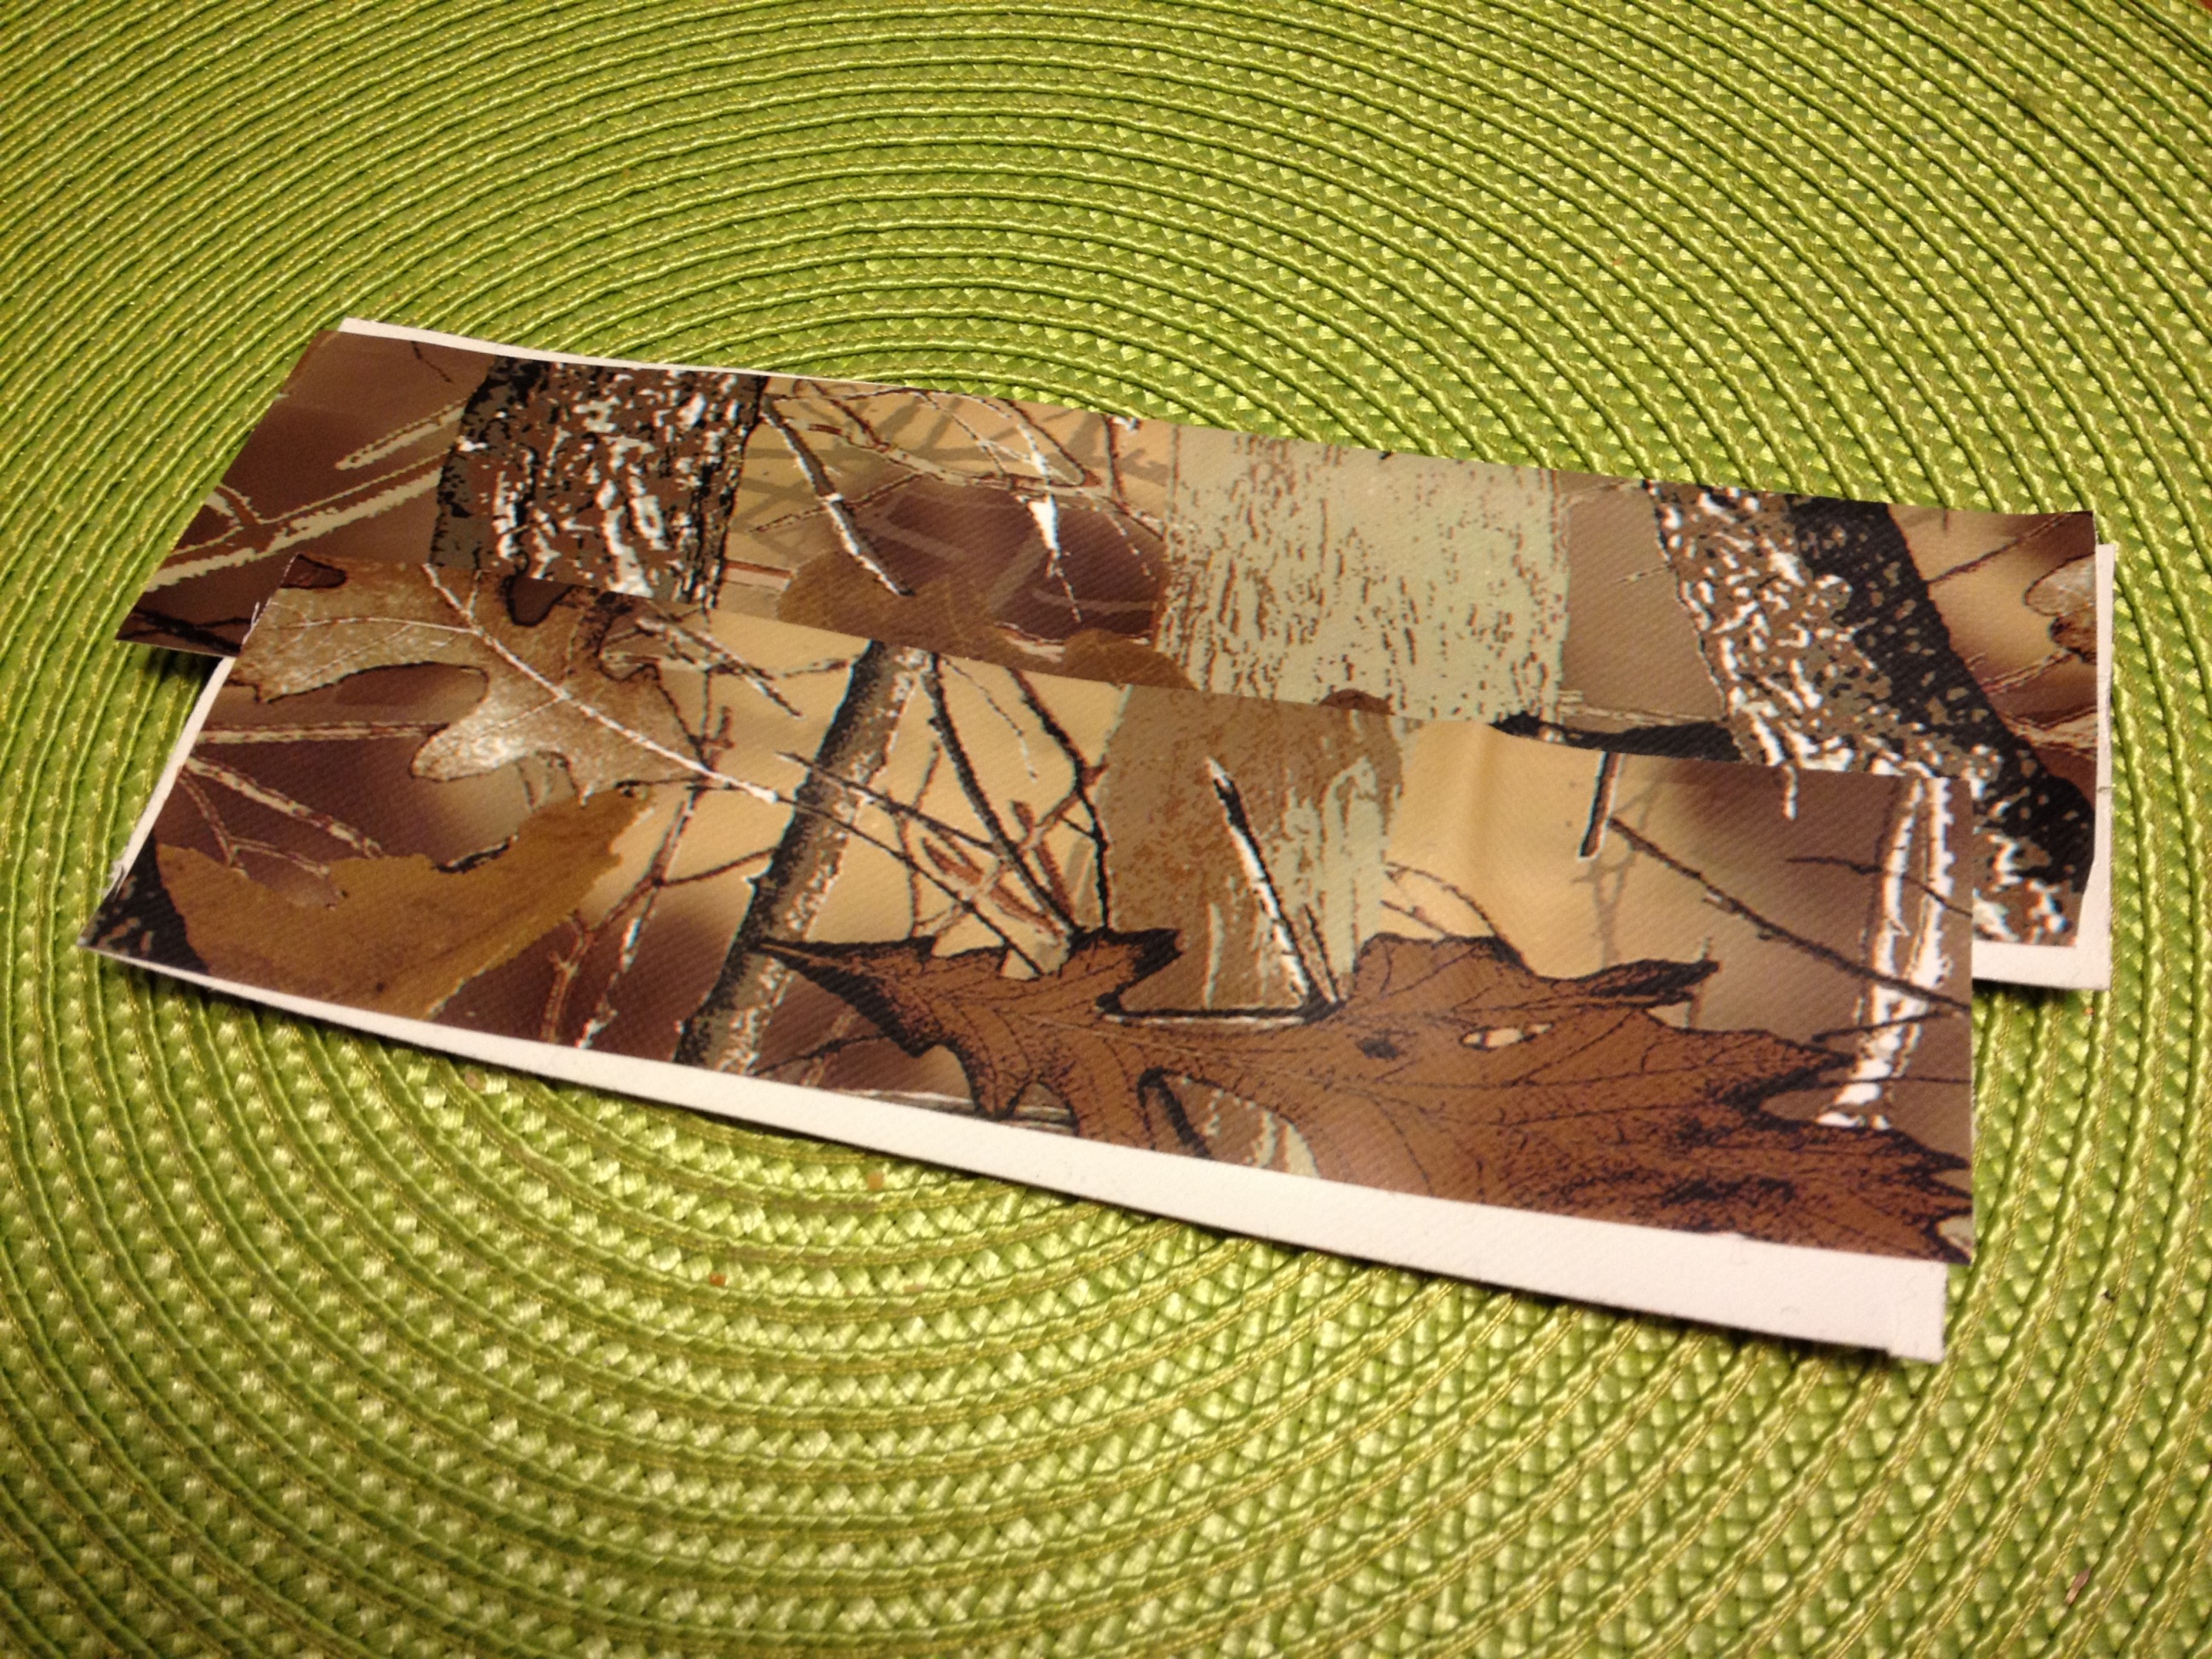
First get a dollar bill to use for reference. Then cut a piece of duct tape an inch or more longer than the bill.

Place it face up so it doesn’t stick to the table.
You will need two of these.

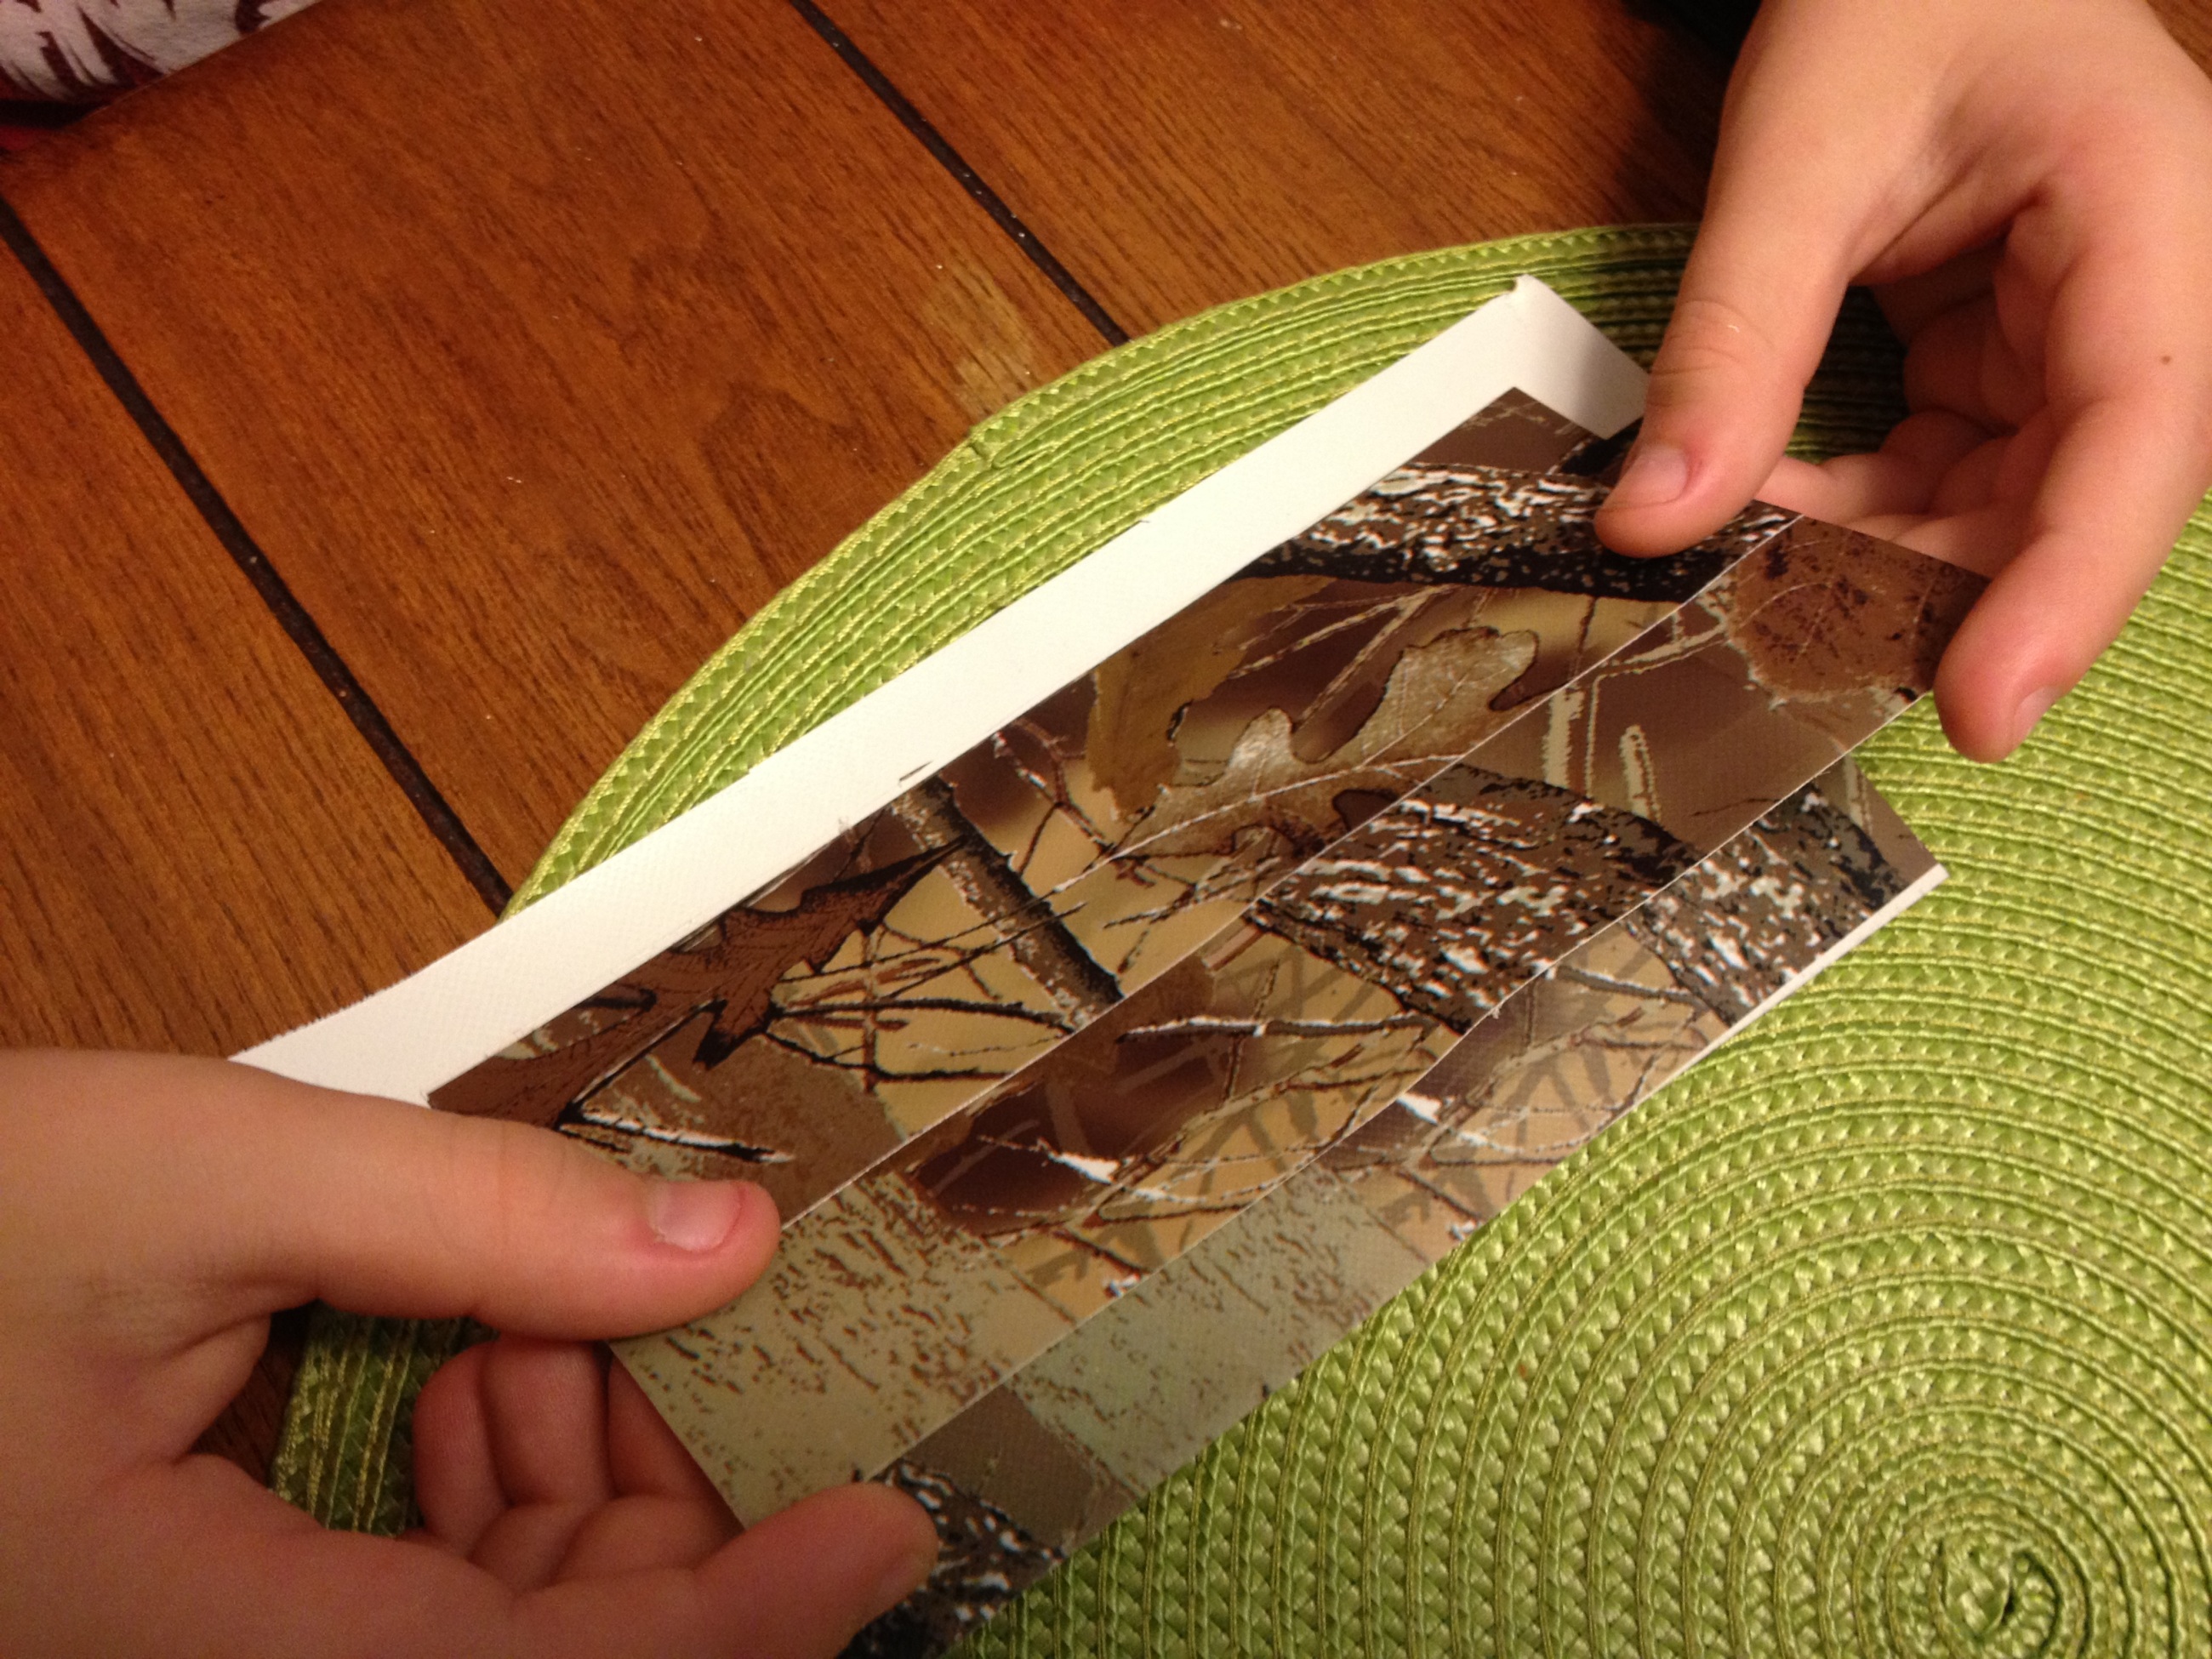
Now put the two pieces together lengthwise so one overlaps the other a little bit.
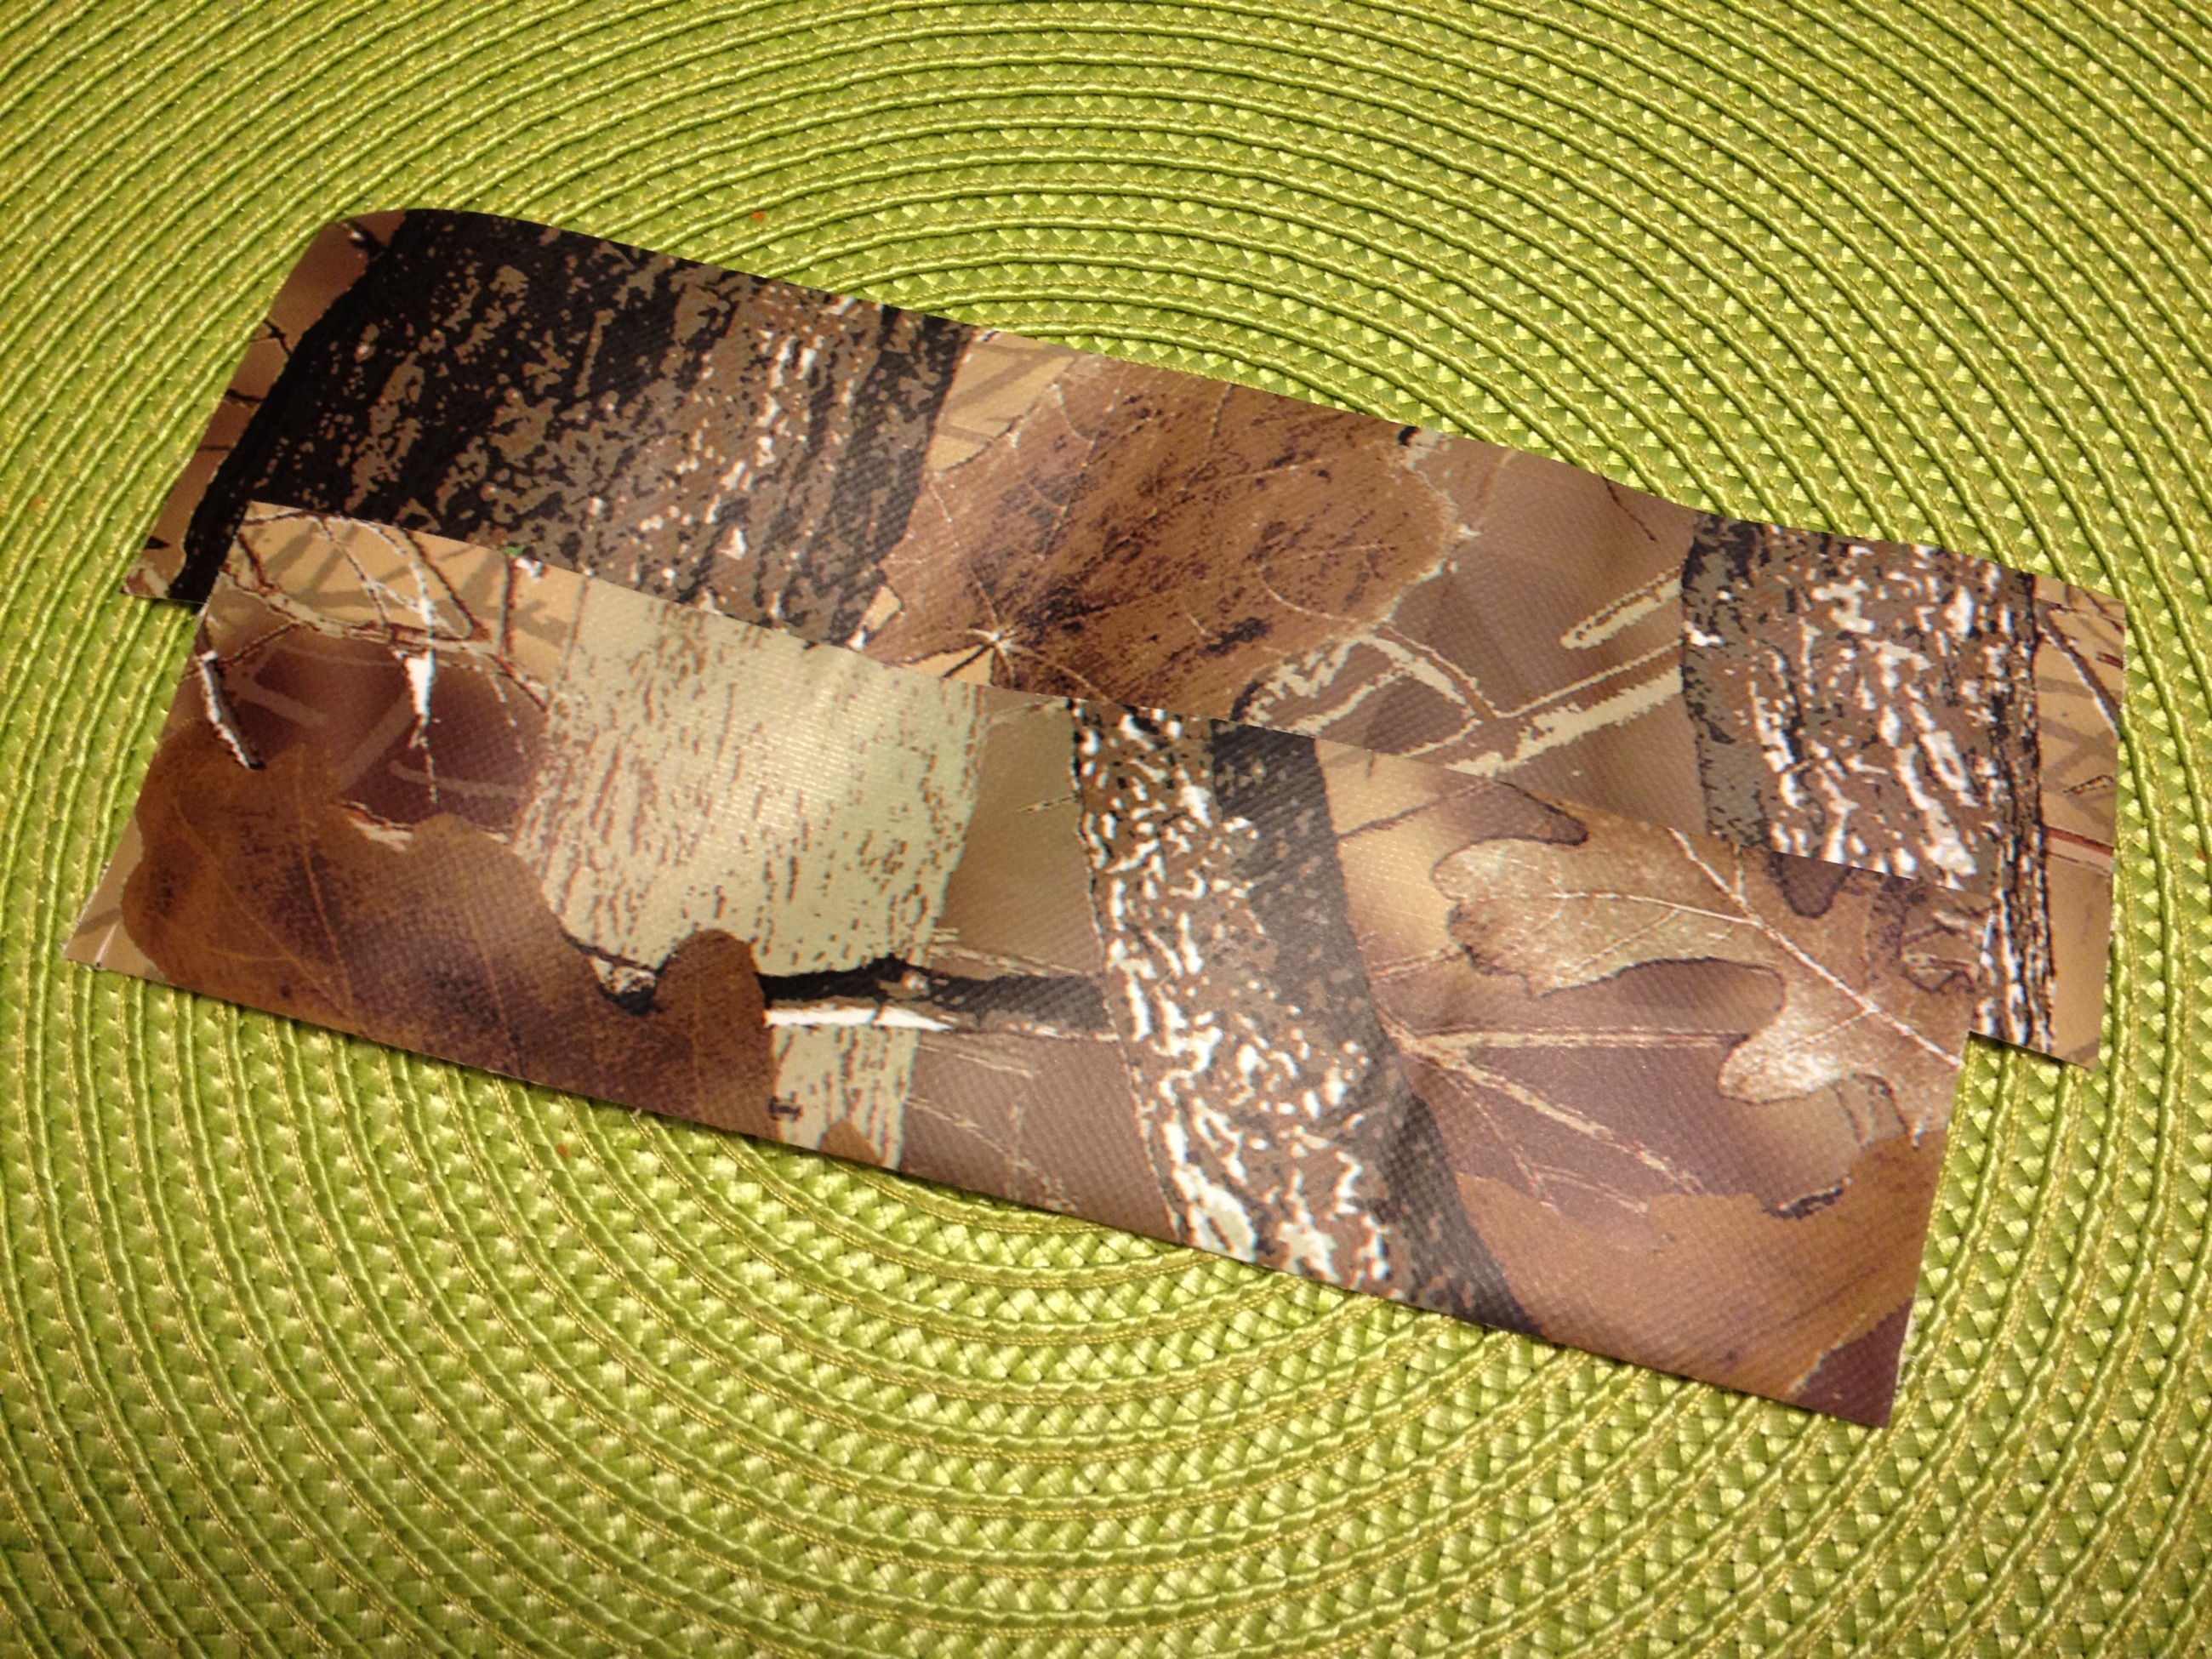
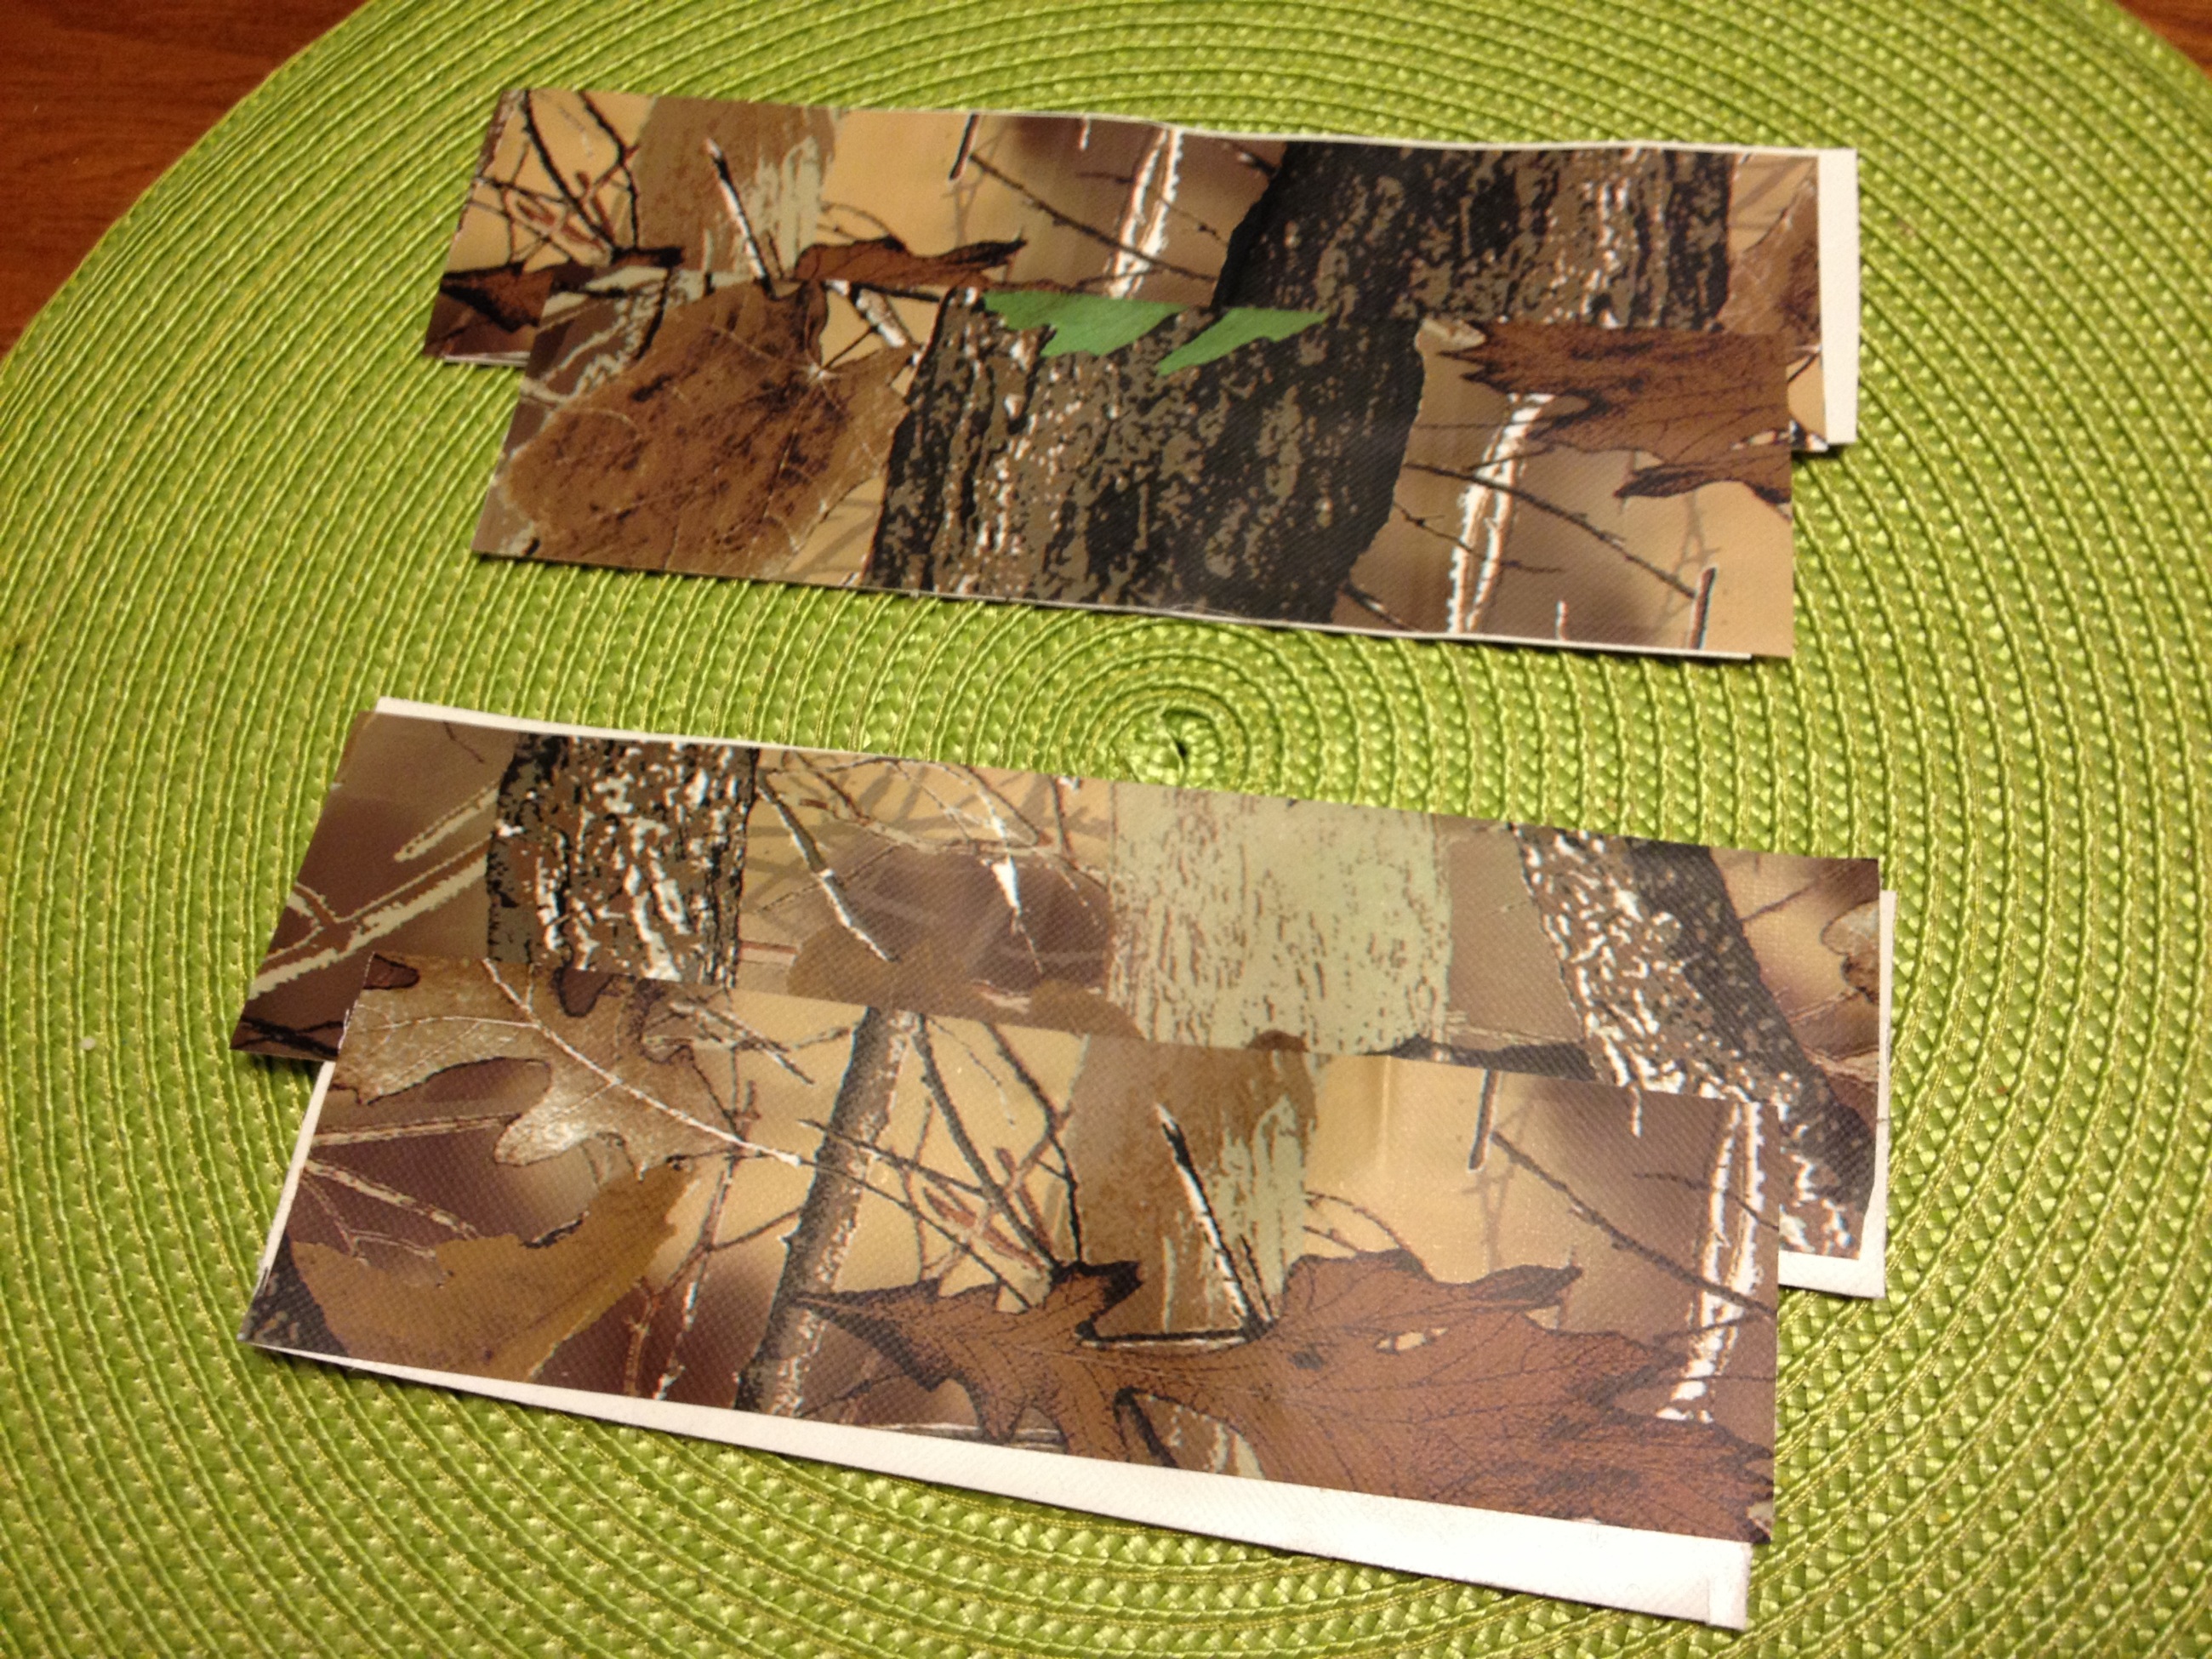
Repeat so that you have two sheets.
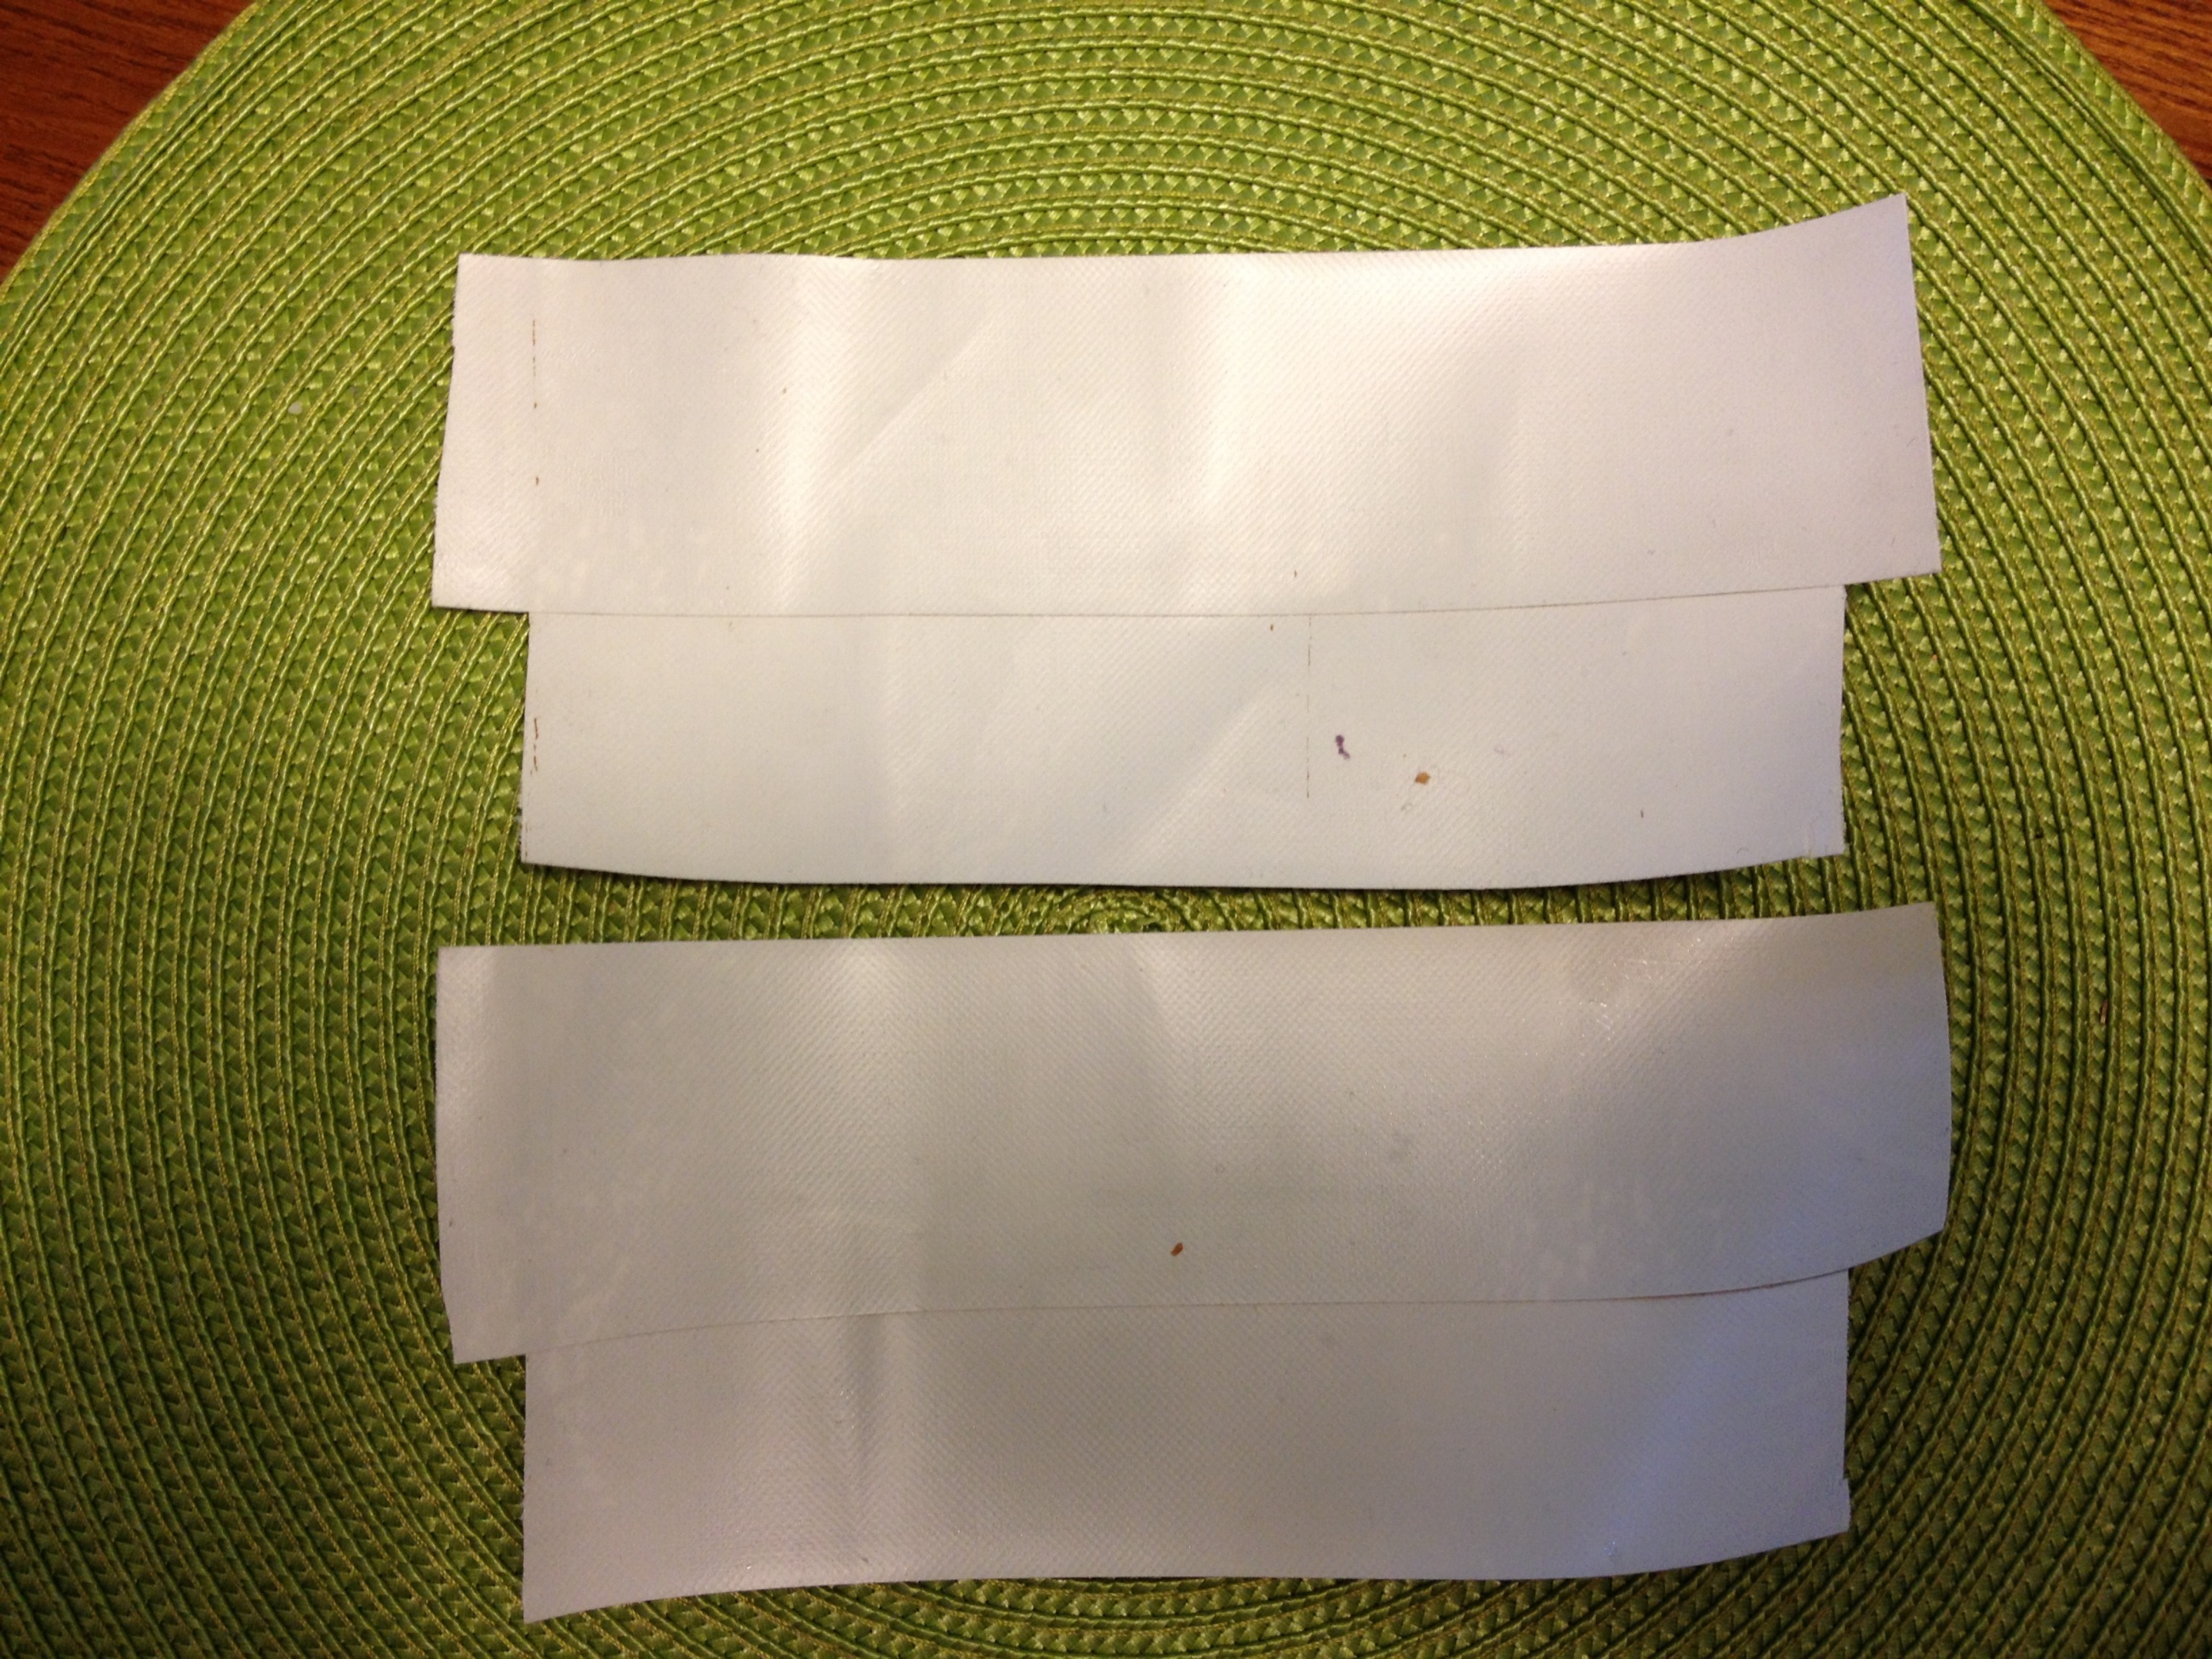
Now carefully put their sticky sides together.
It doesn’t have to be perfect, but try to get them pretty close to even. Also try to smooth out any wrinkles or bubbles.
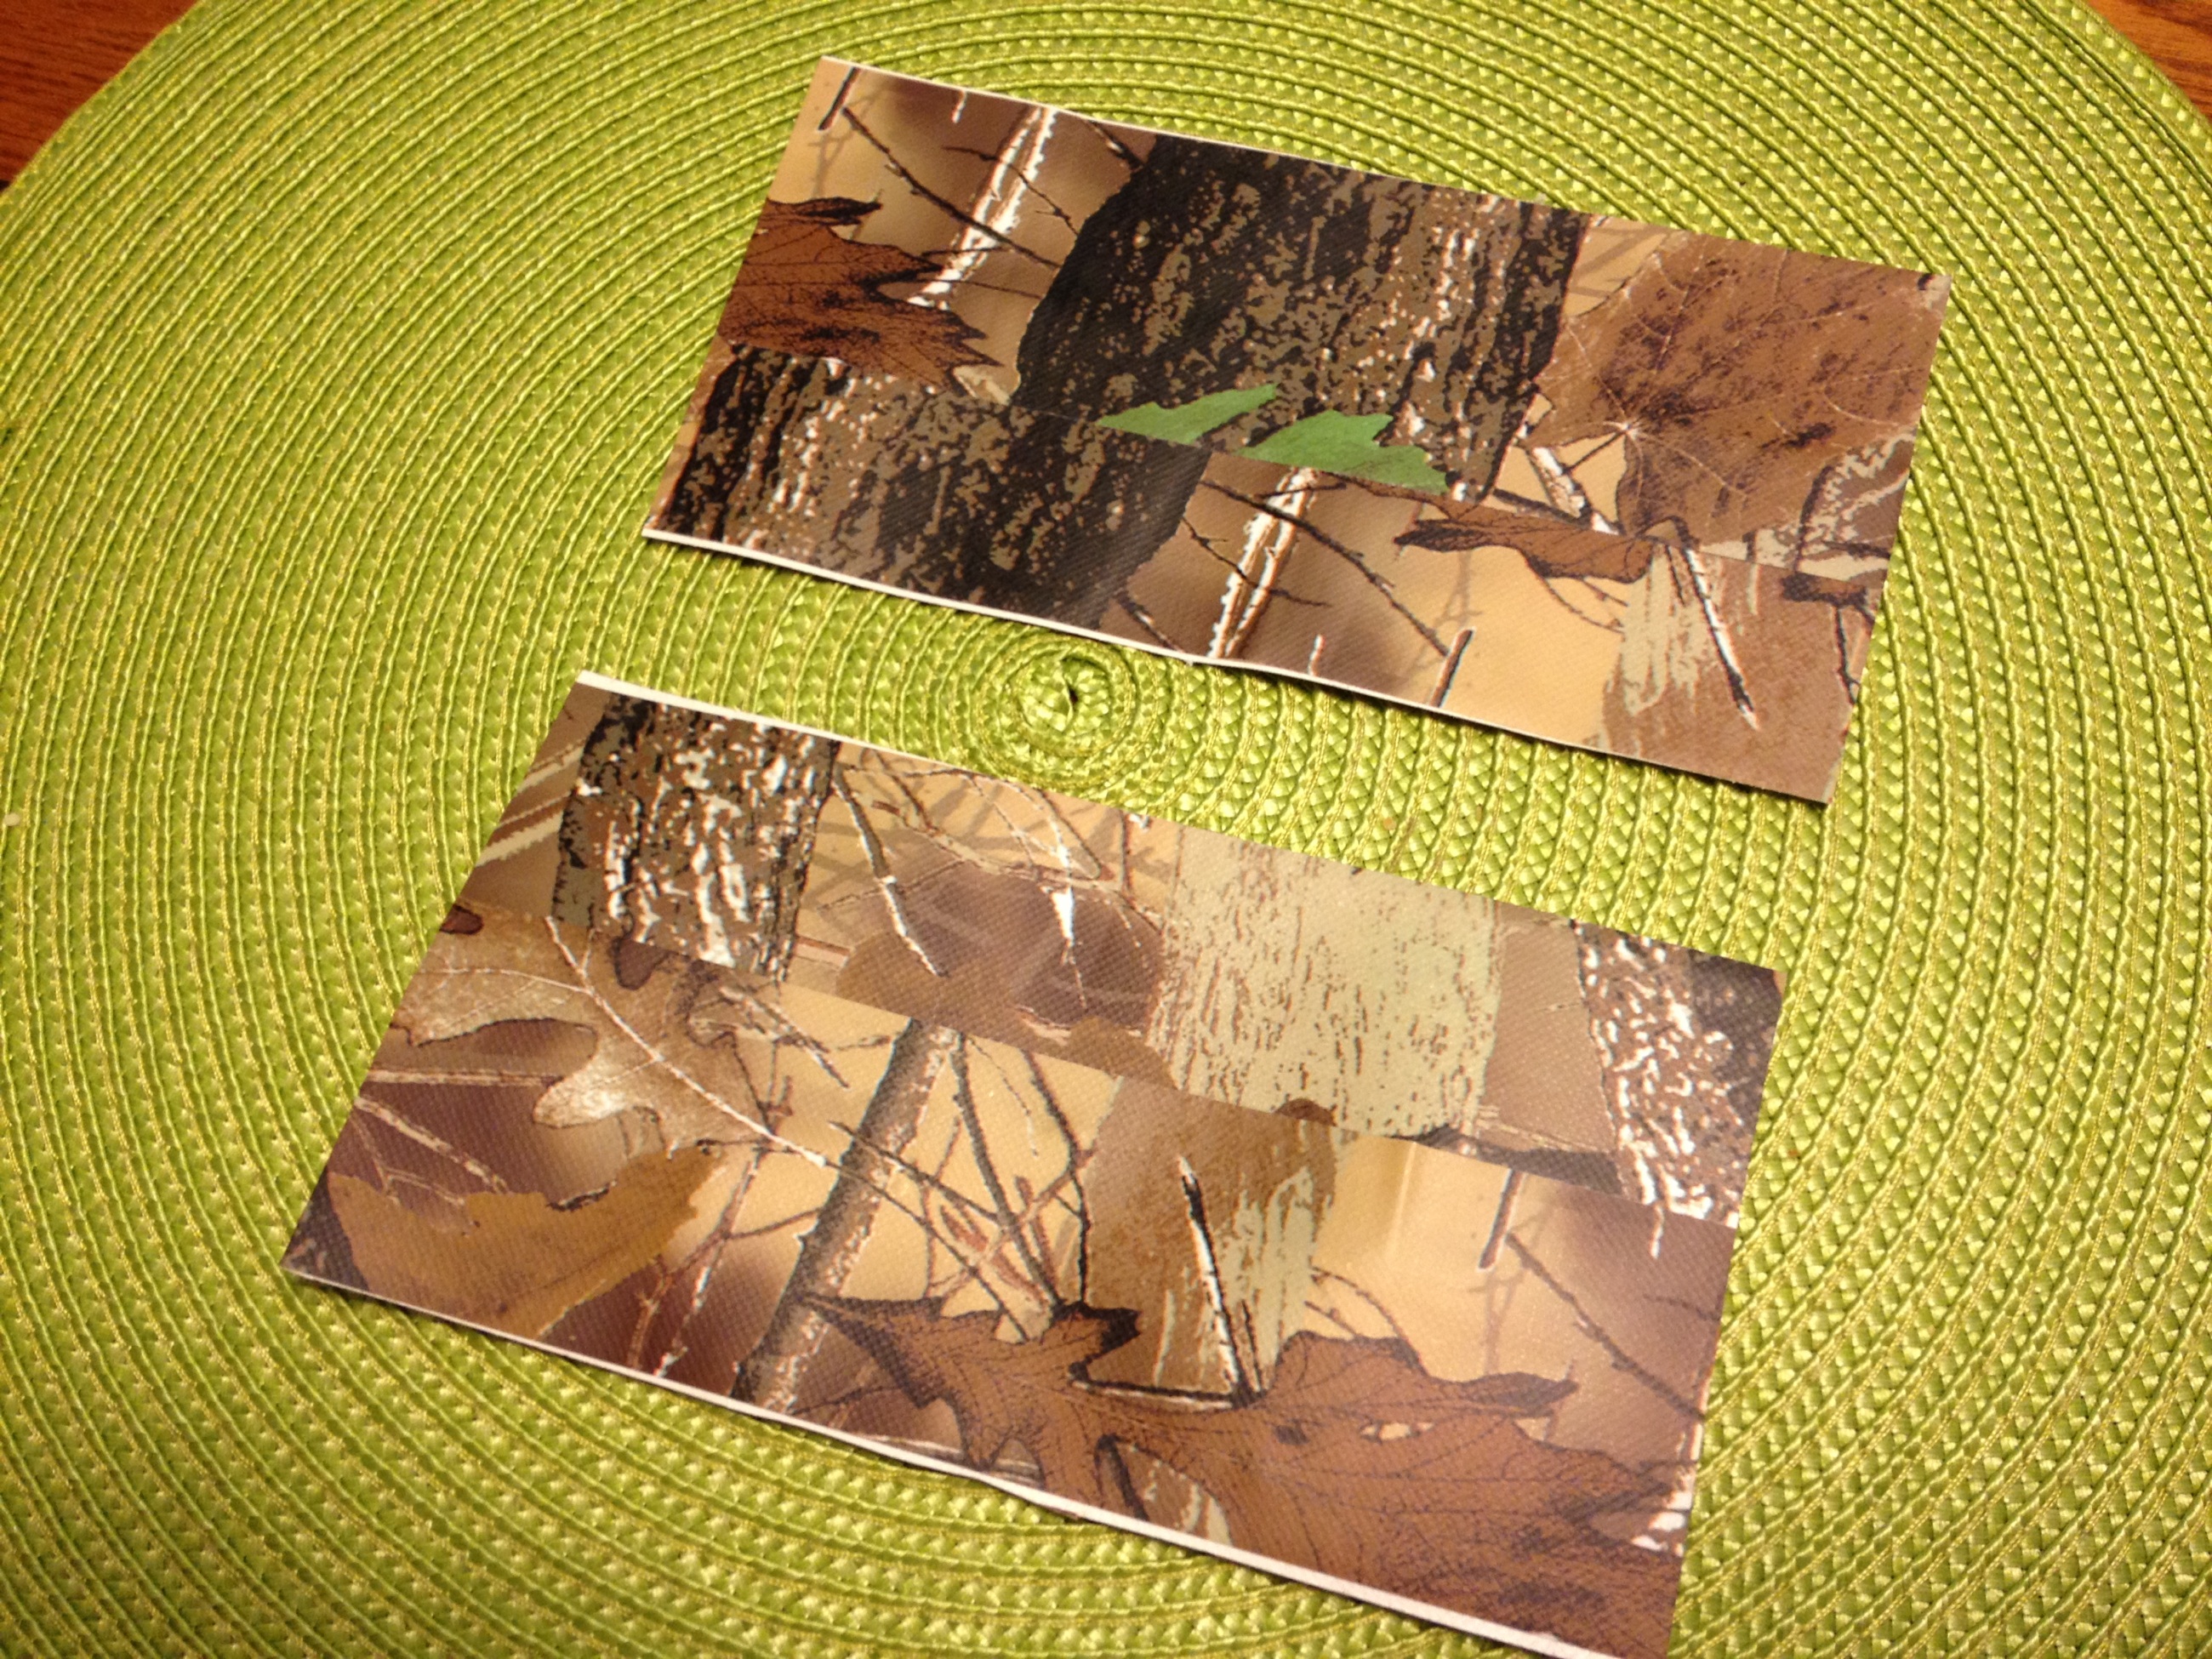
Now do all of that again because you will actually need two of these.
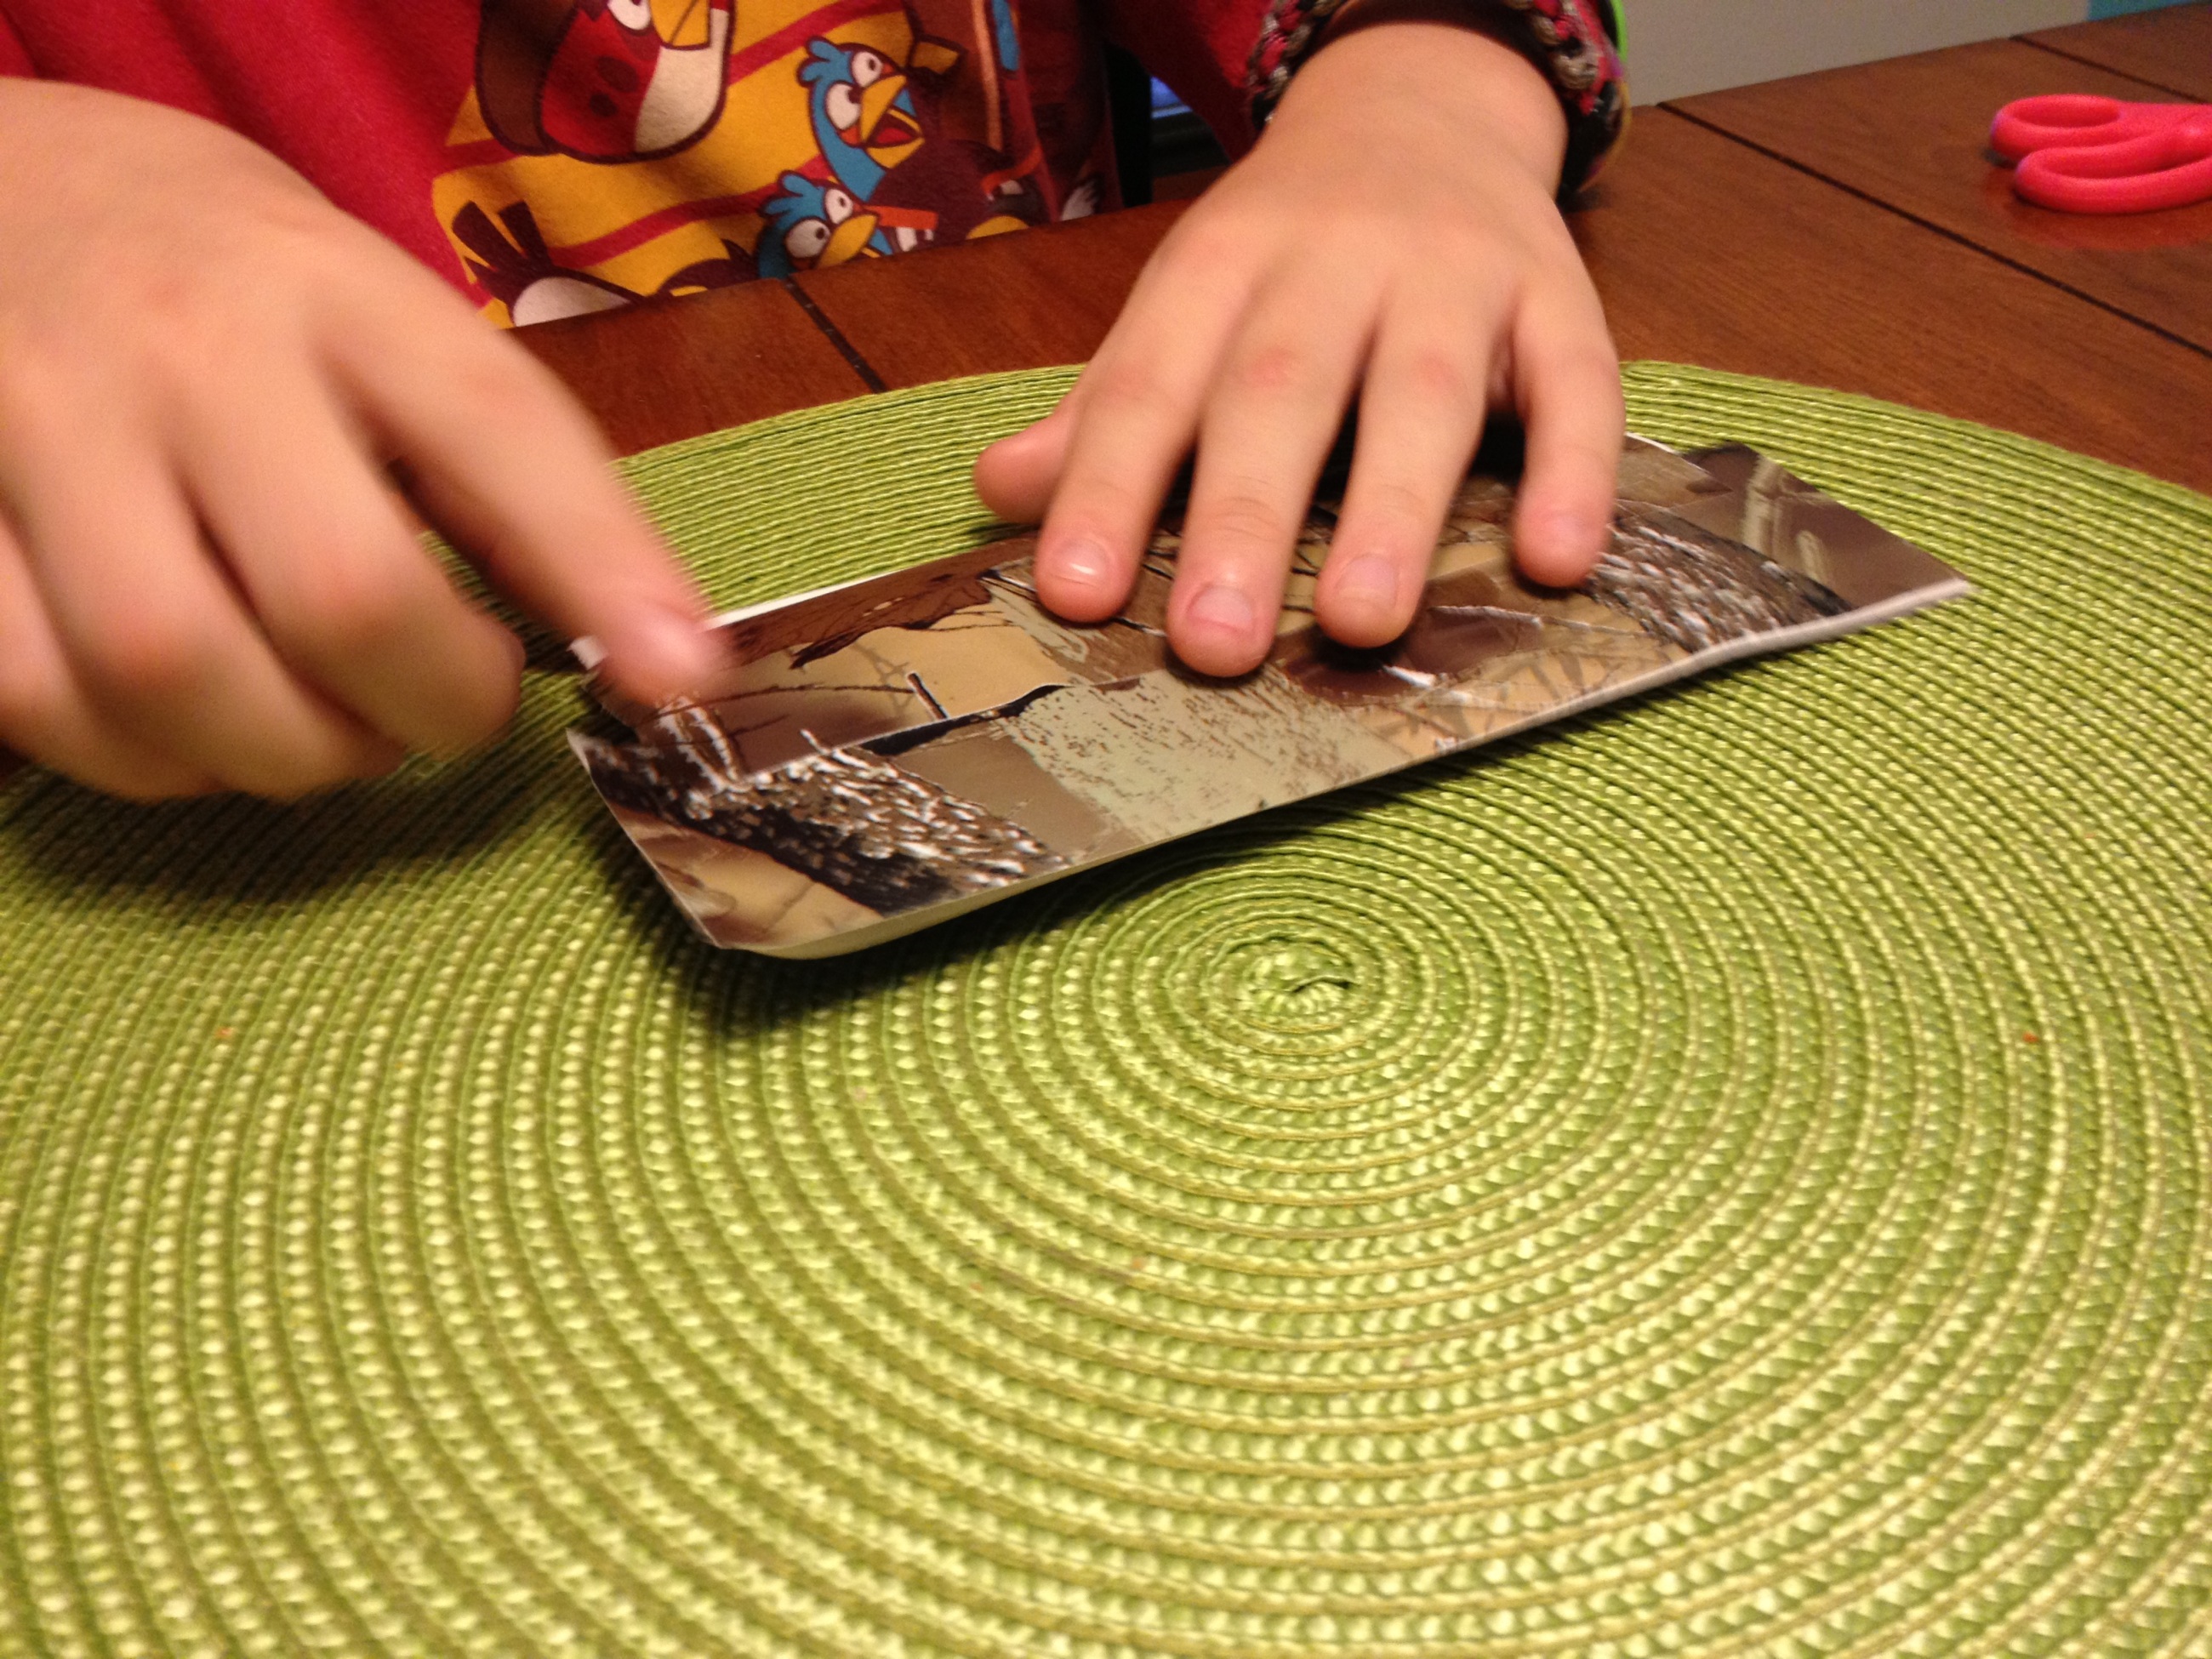
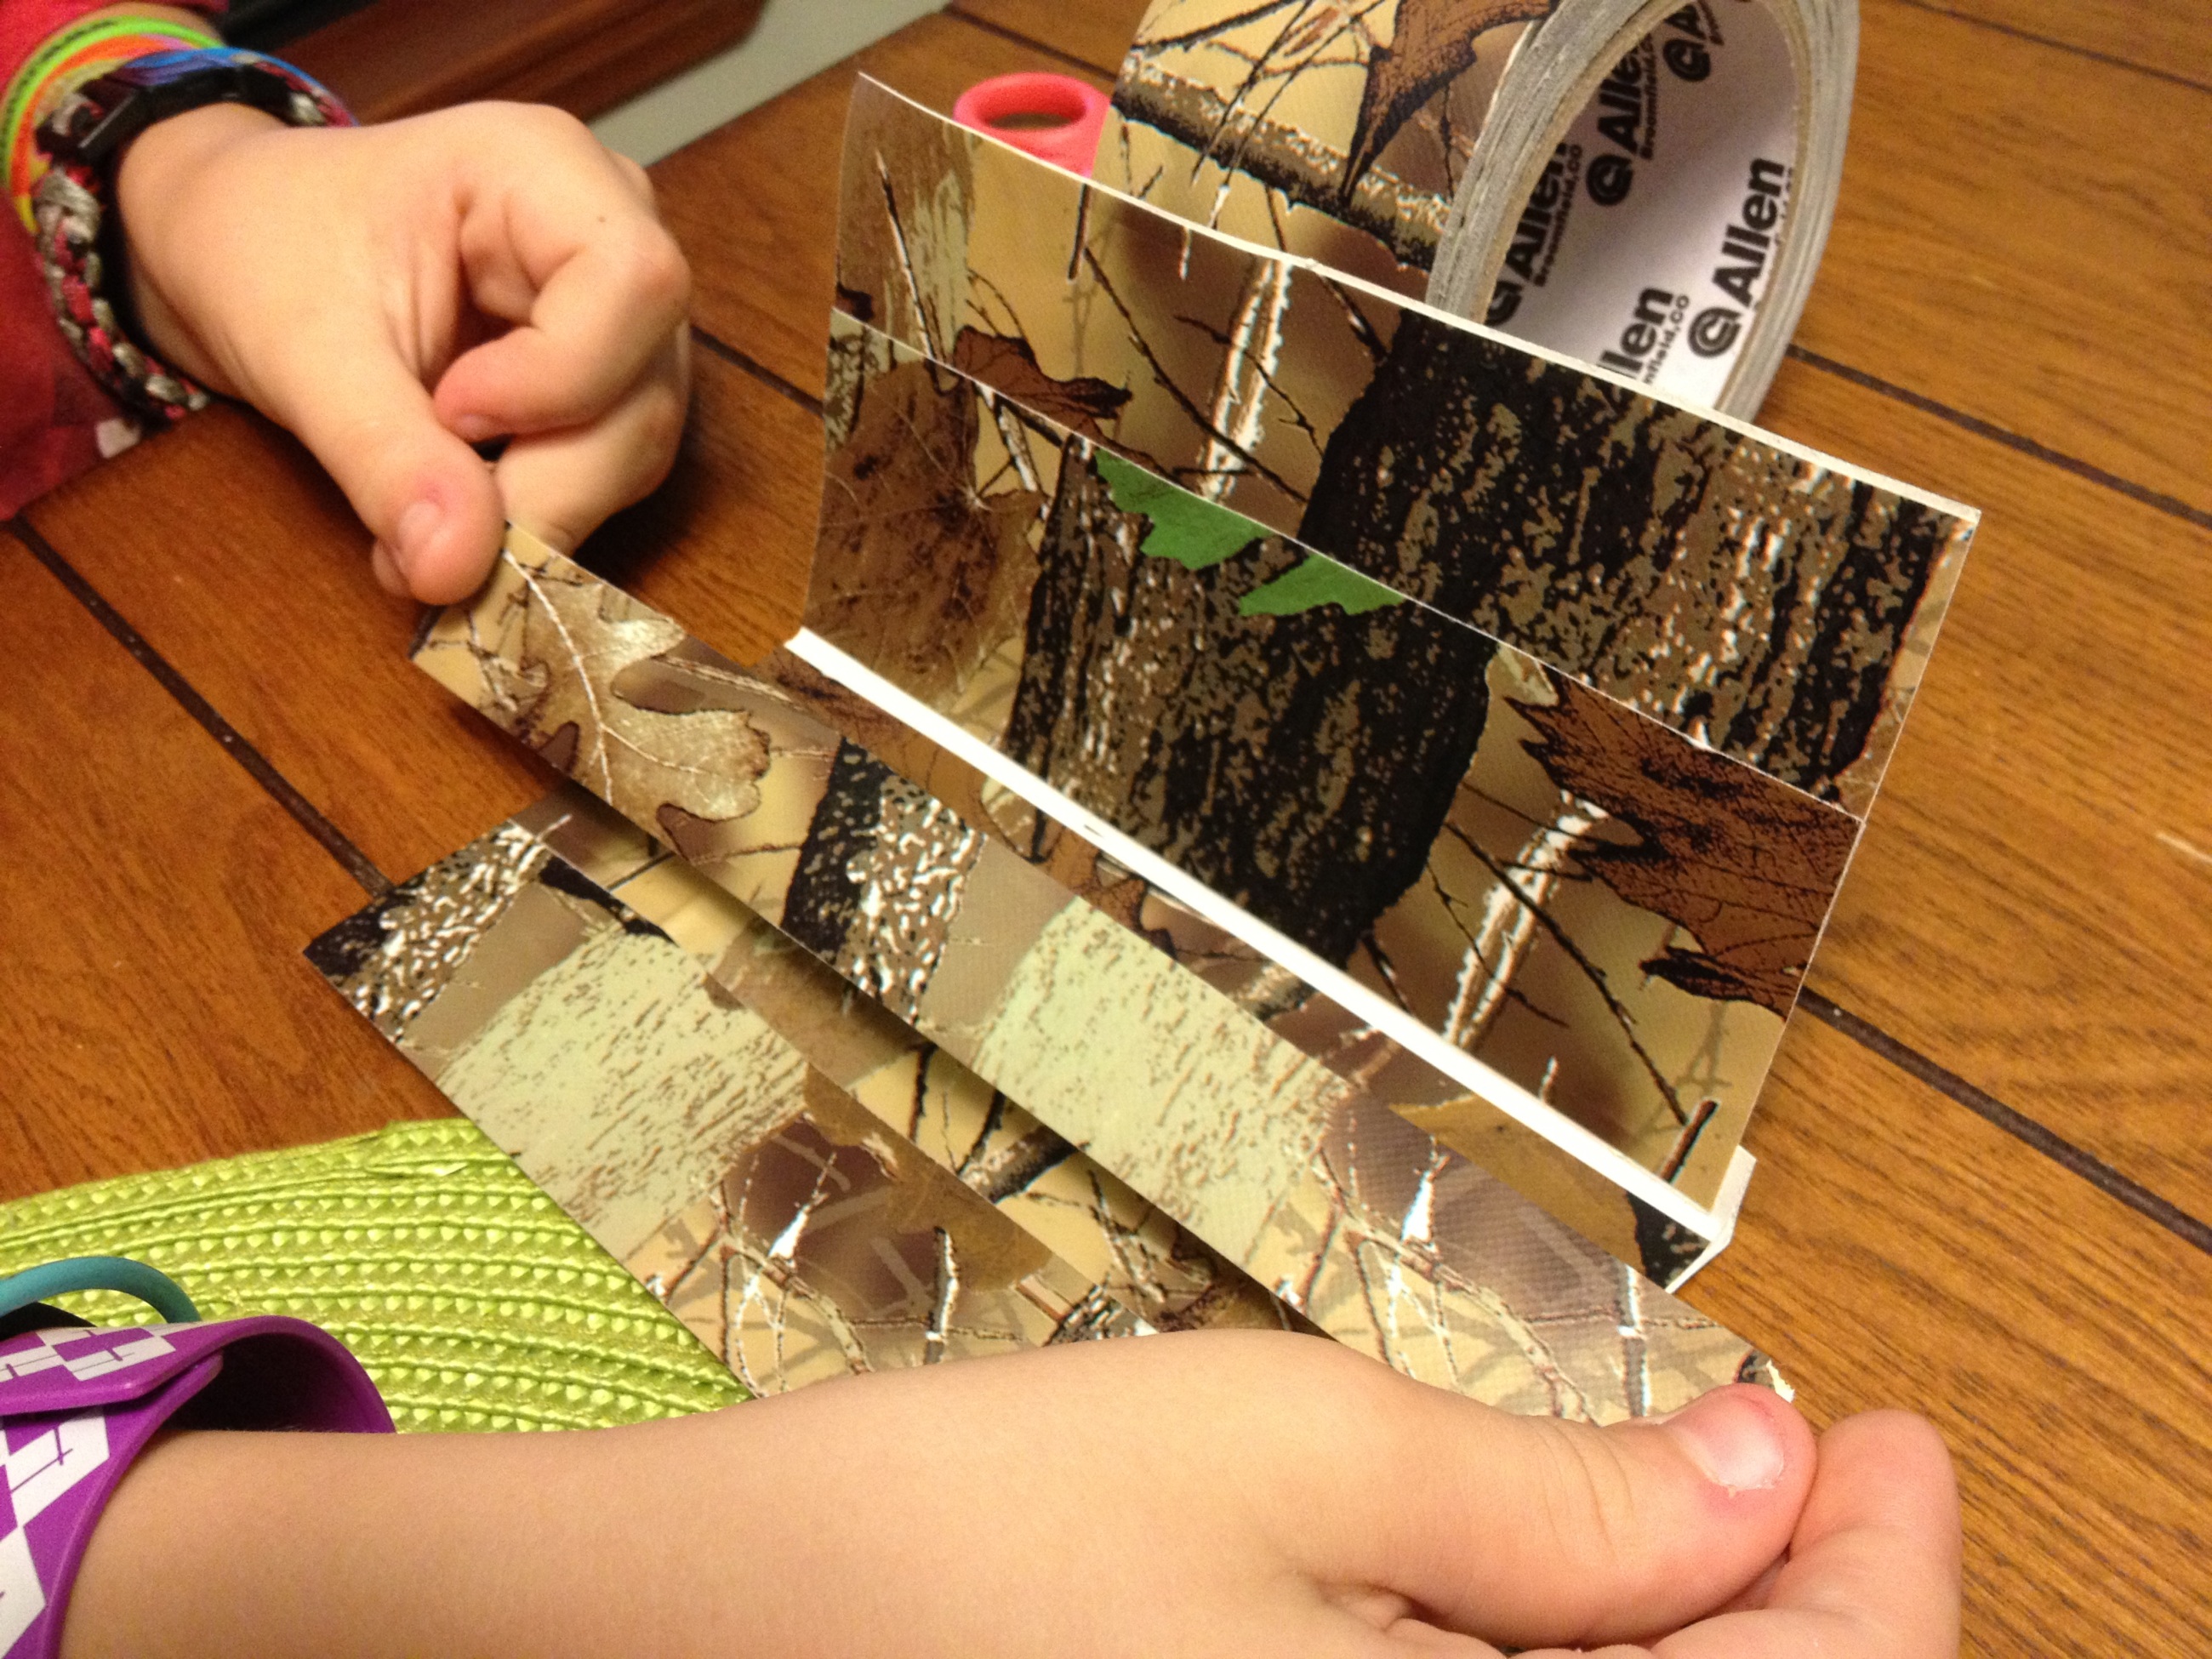
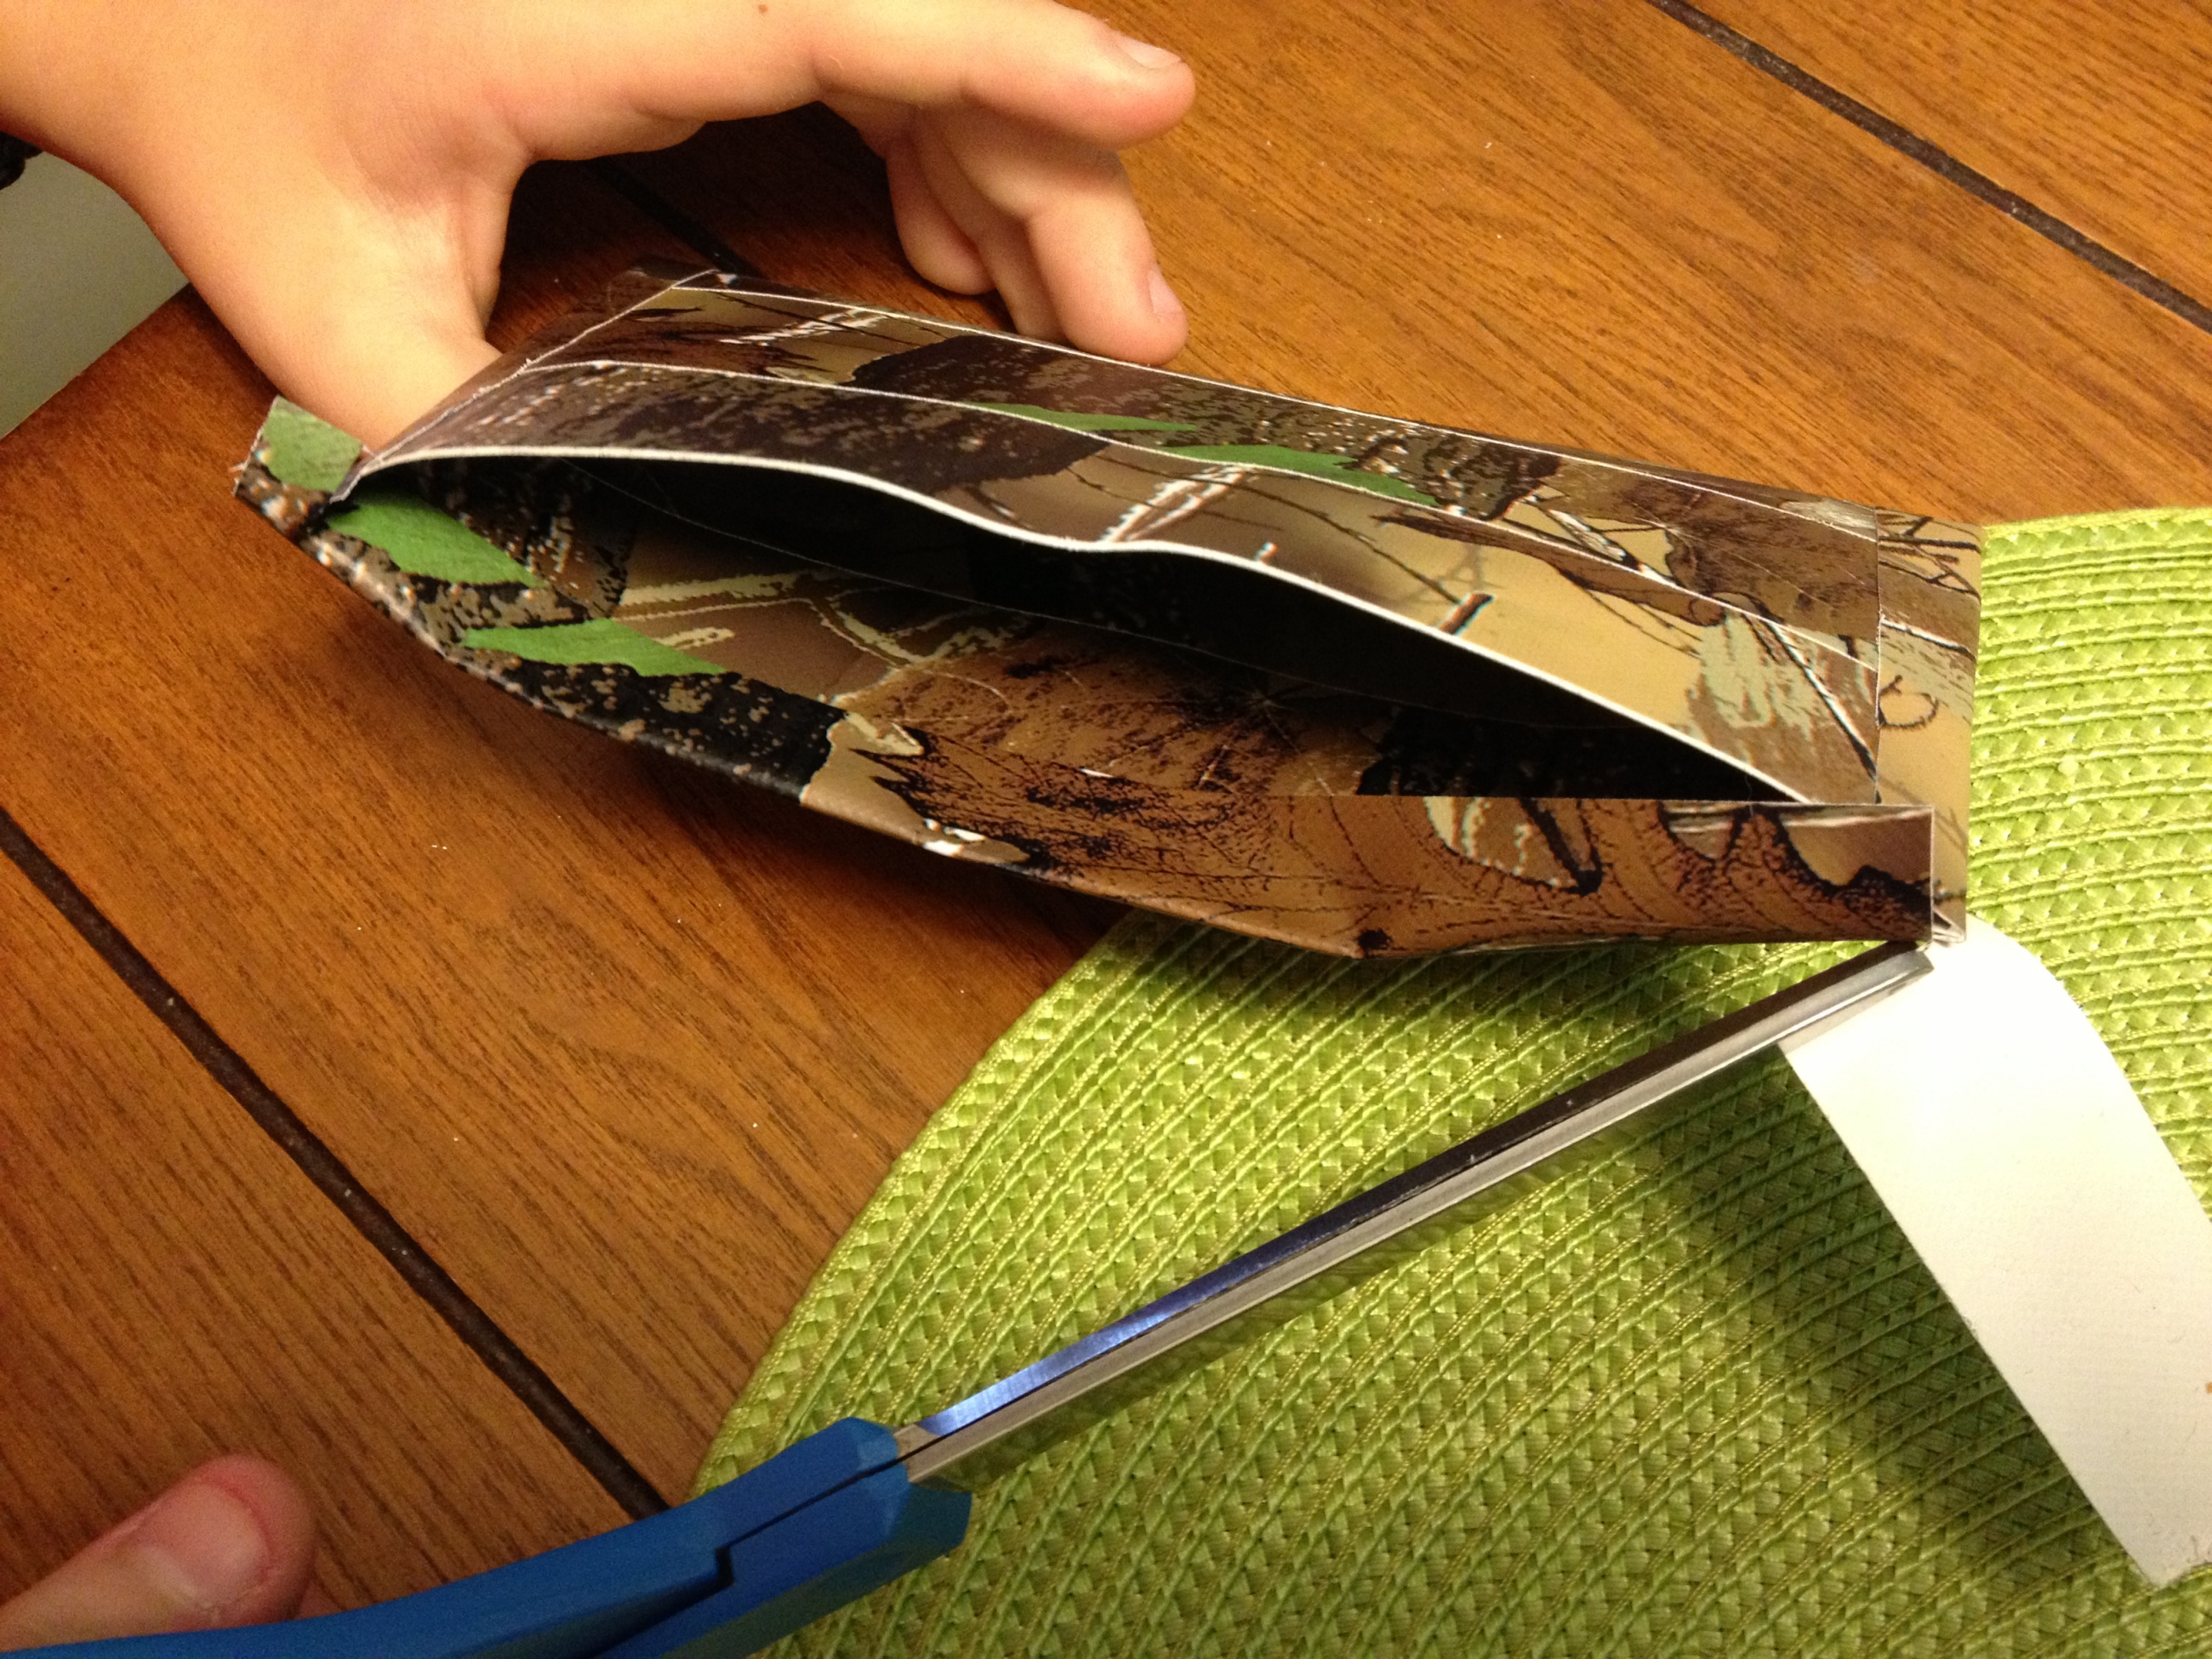
Now cut off both ends to make a nice rectangle.

These are now the front and back walls of your duct tape wallet.
A fit check should show that the dollar bill fits inside.

Now cut another strip of duct tape that is longer than the dollar bill and then cut that strip long ways down the middle to make a thin long strip of duct tape. Having three hands definitely helps here. 🙂

Attach one strip along the bottom long edge of one of the wall pieces so that half is attached and half is still showing.
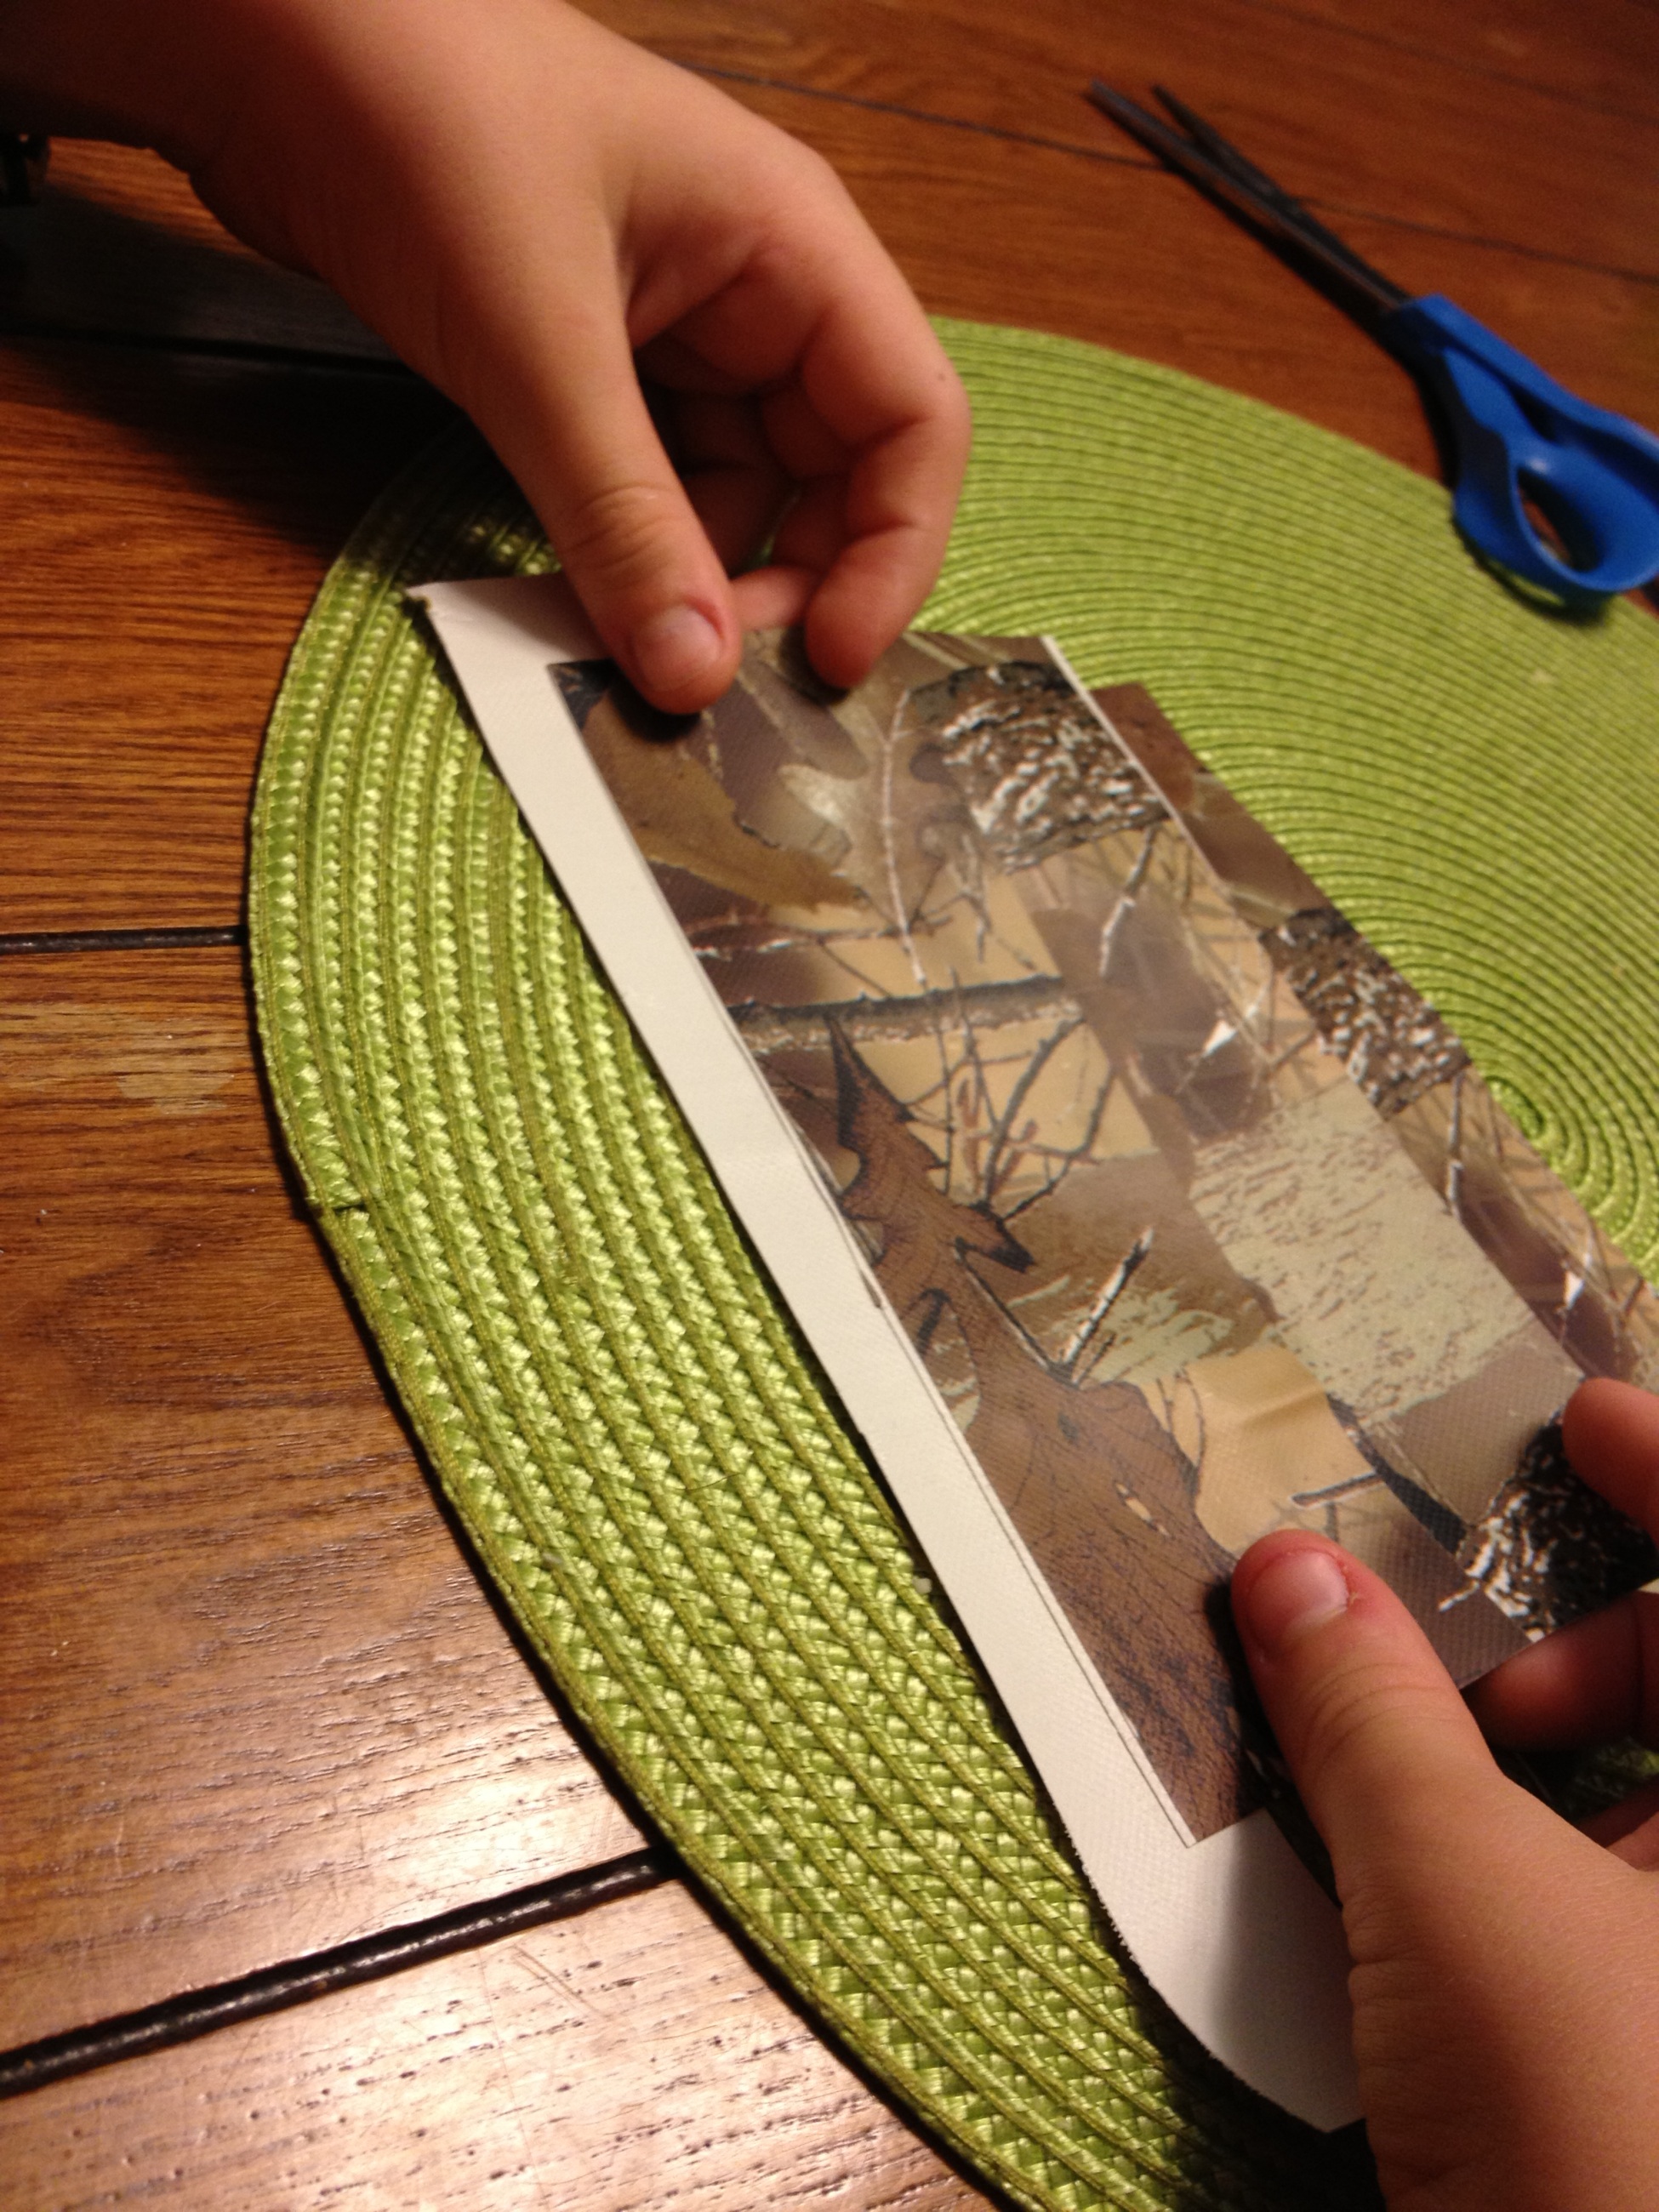
Now carefully lay the other wall piece directly on top.
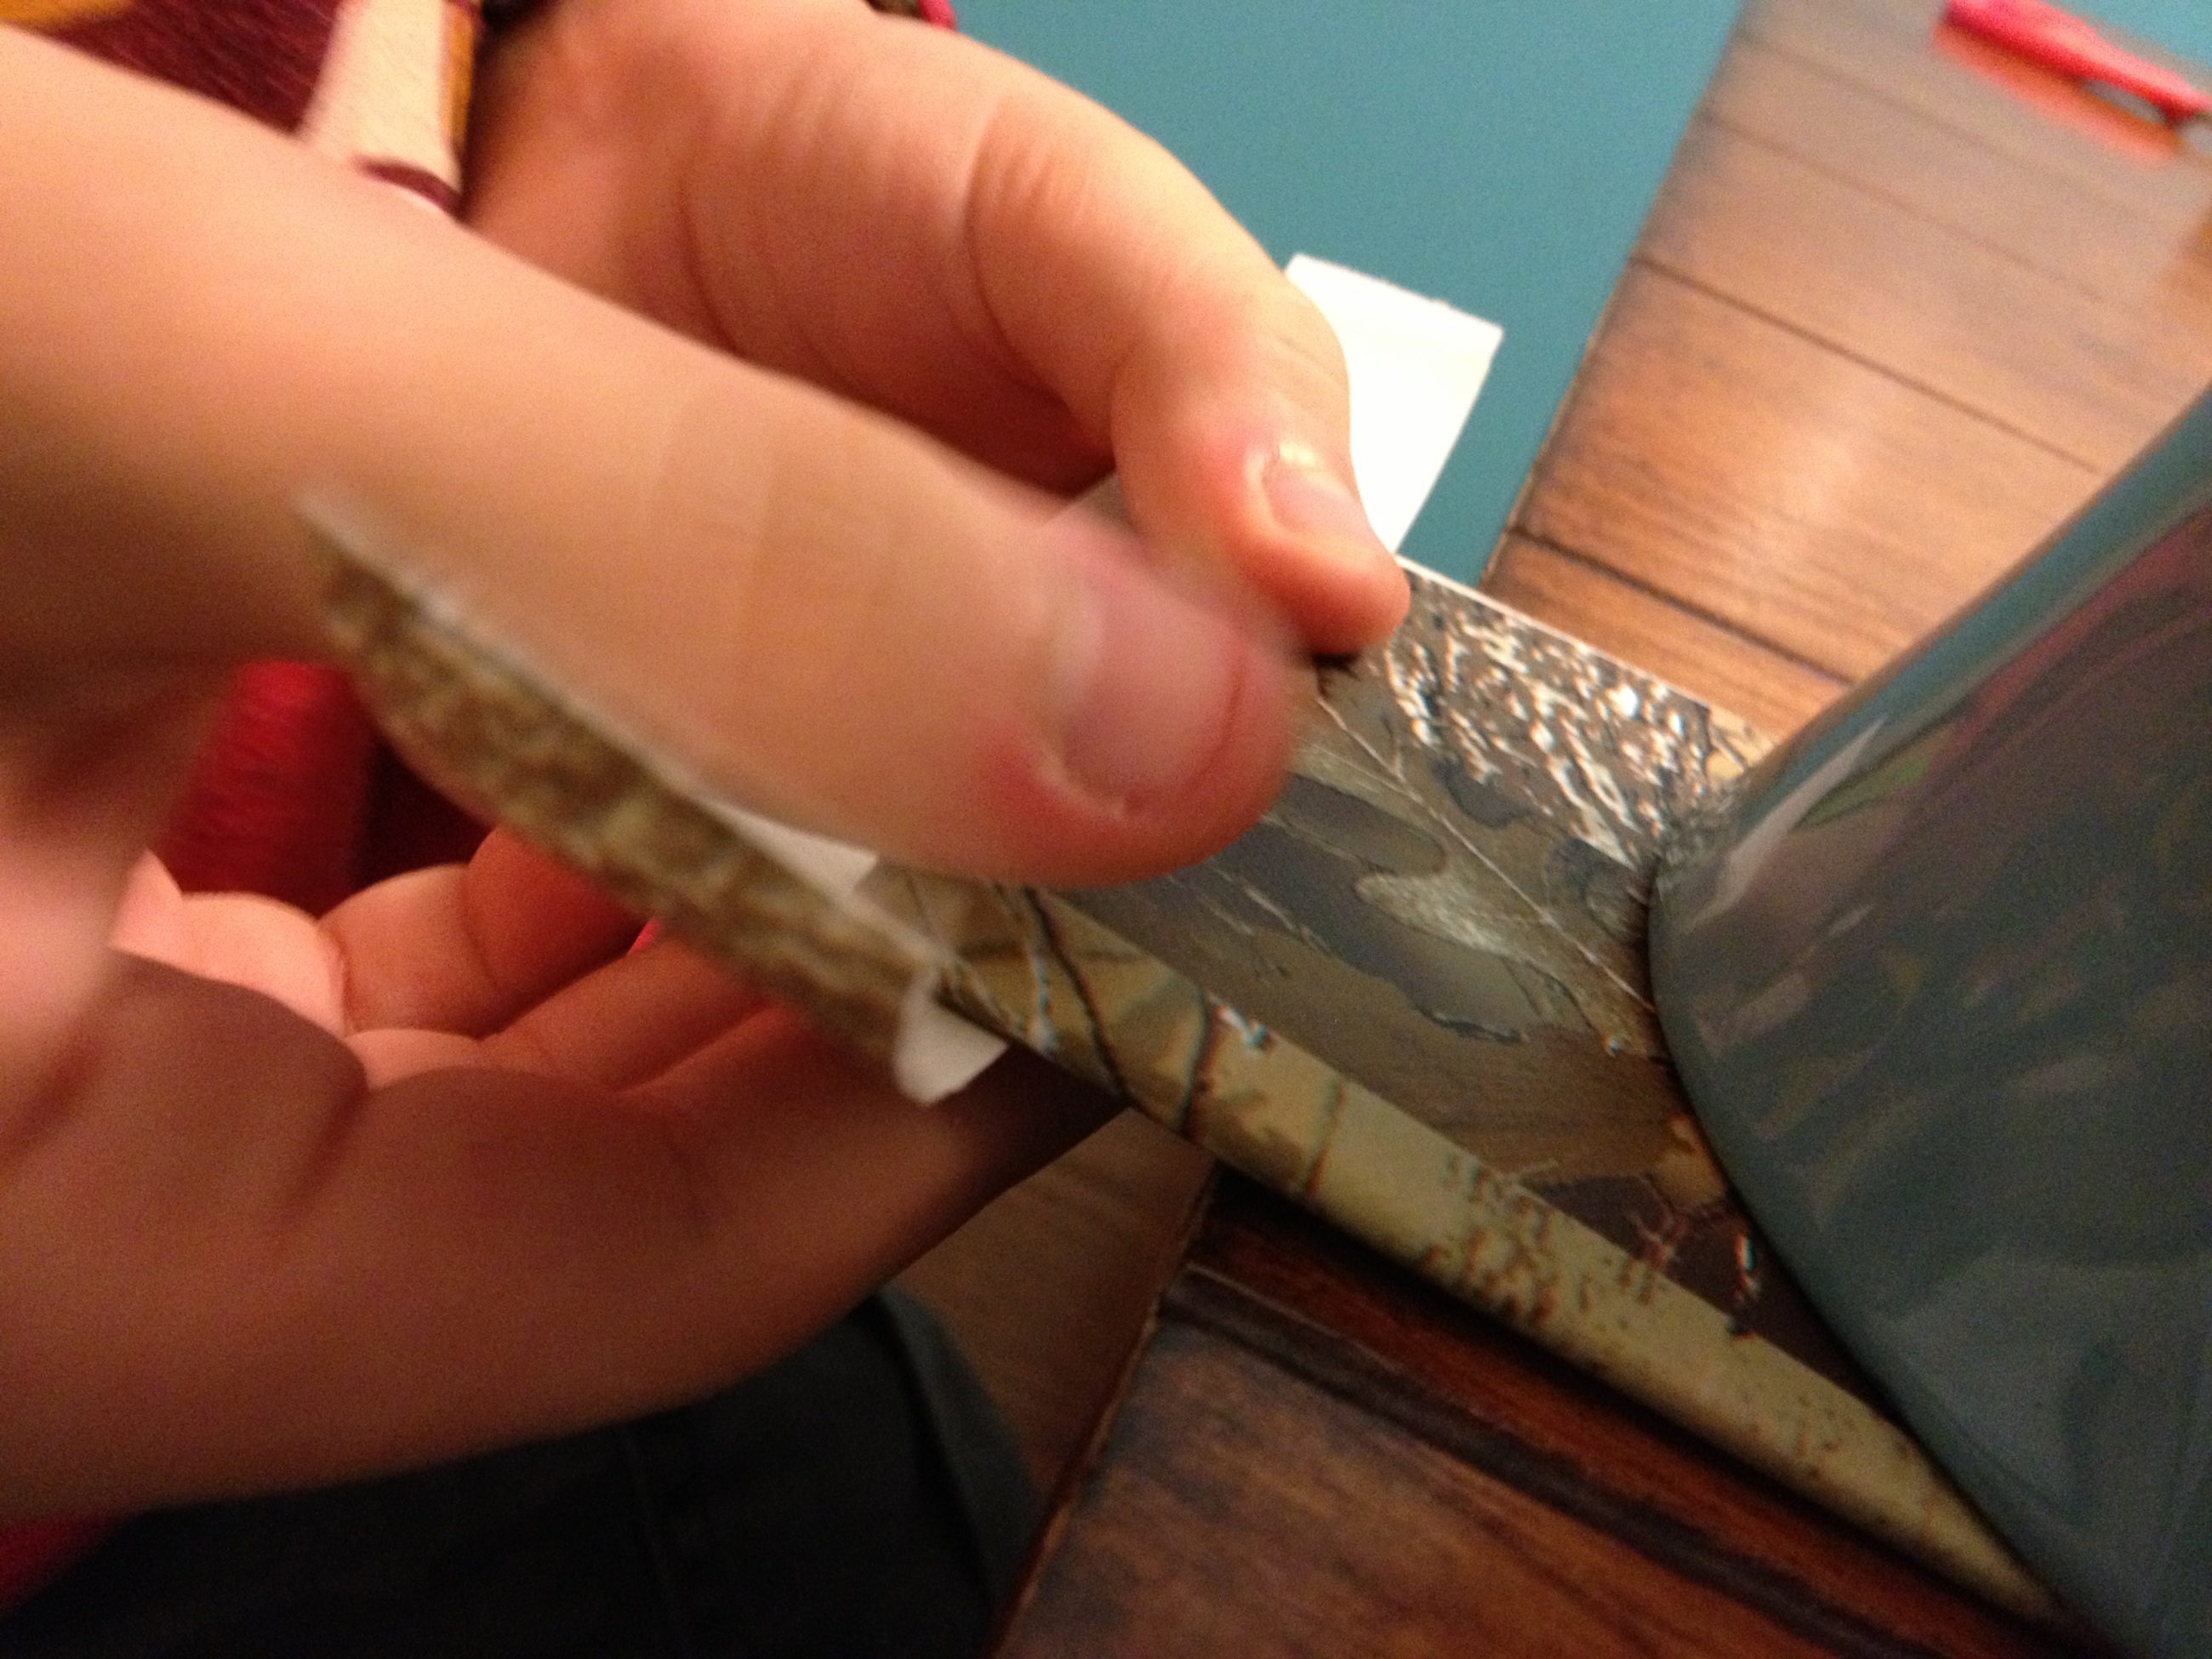
Now roll the long strip over to attach the two wall pieces together. This long thin strip is now the bottom of your wallet.

We don’t want any sticky duct tape inside there to stick to our dollar bills, so take the other half of the long thin strip and place it over the first half.
Now use another thin strip of duct tape that has been cut long ways in half to seal up one side of your duct tape wallet.
Do this on both sides.
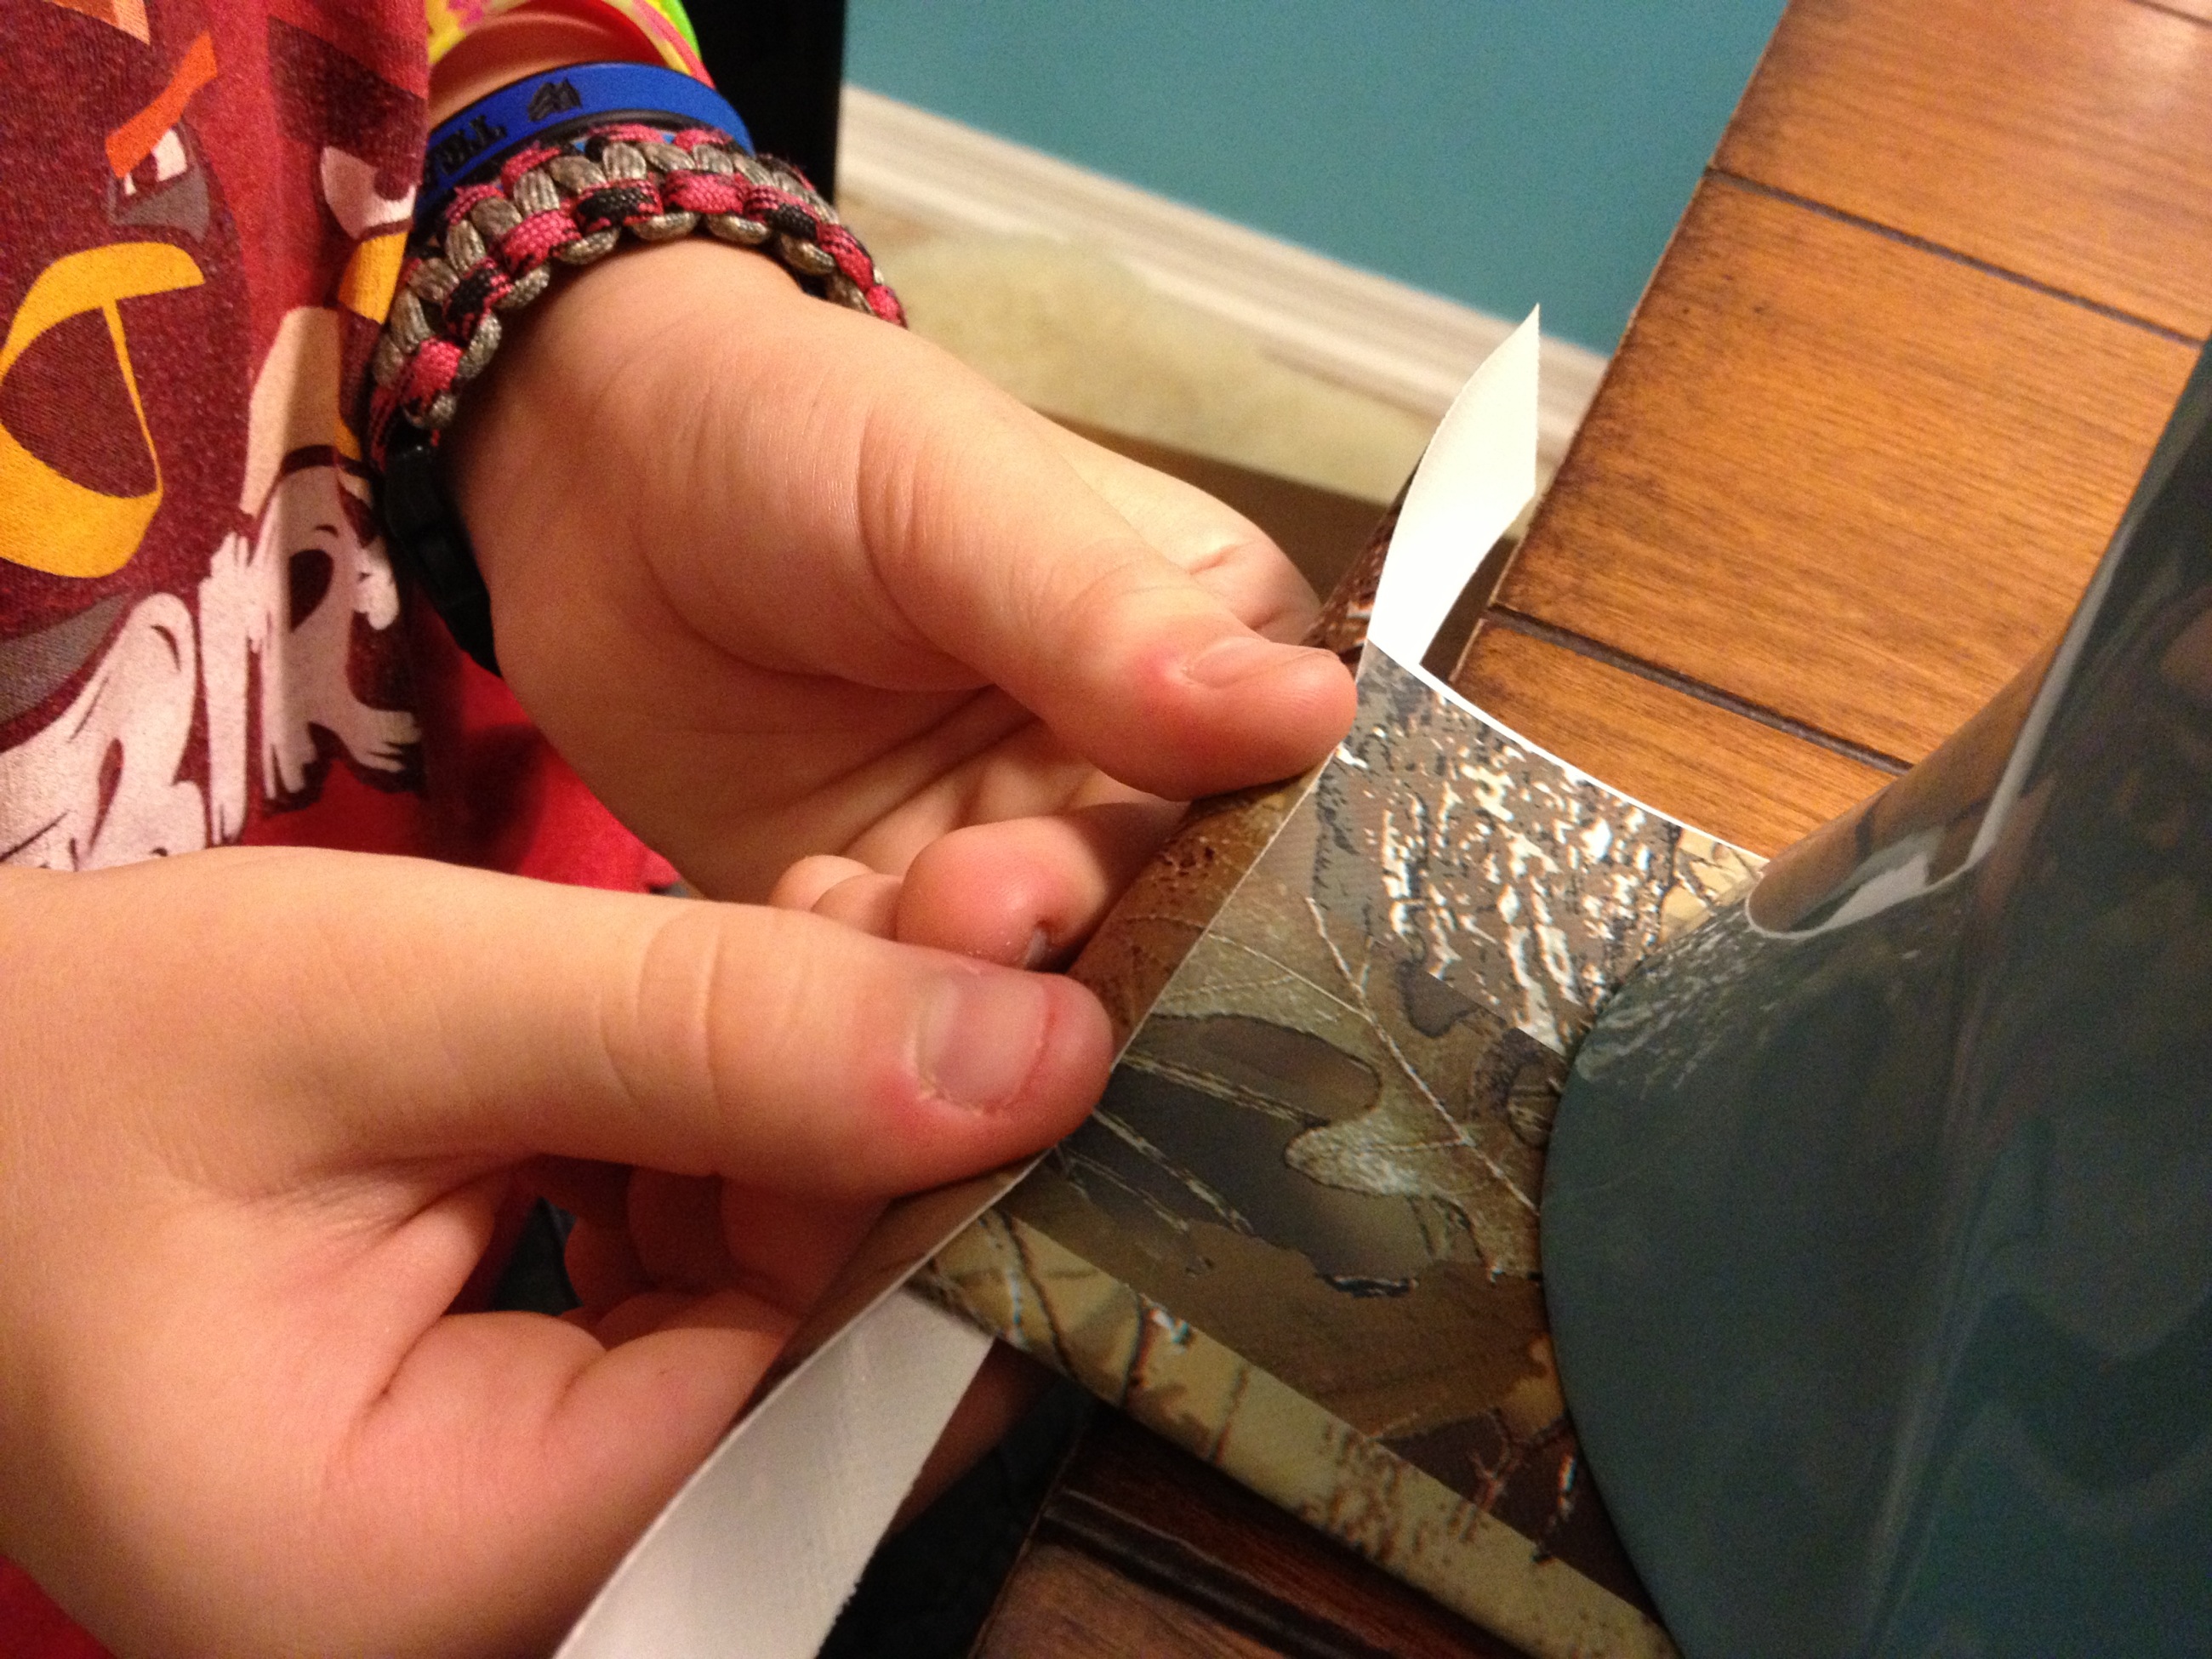
Now the top edges need to be sealed off with a couple more of those thin half strips of duct tape. Just cut them off a bit short of the edge and tuck them inside.
That’s it! Pretty easy, huh?!?!
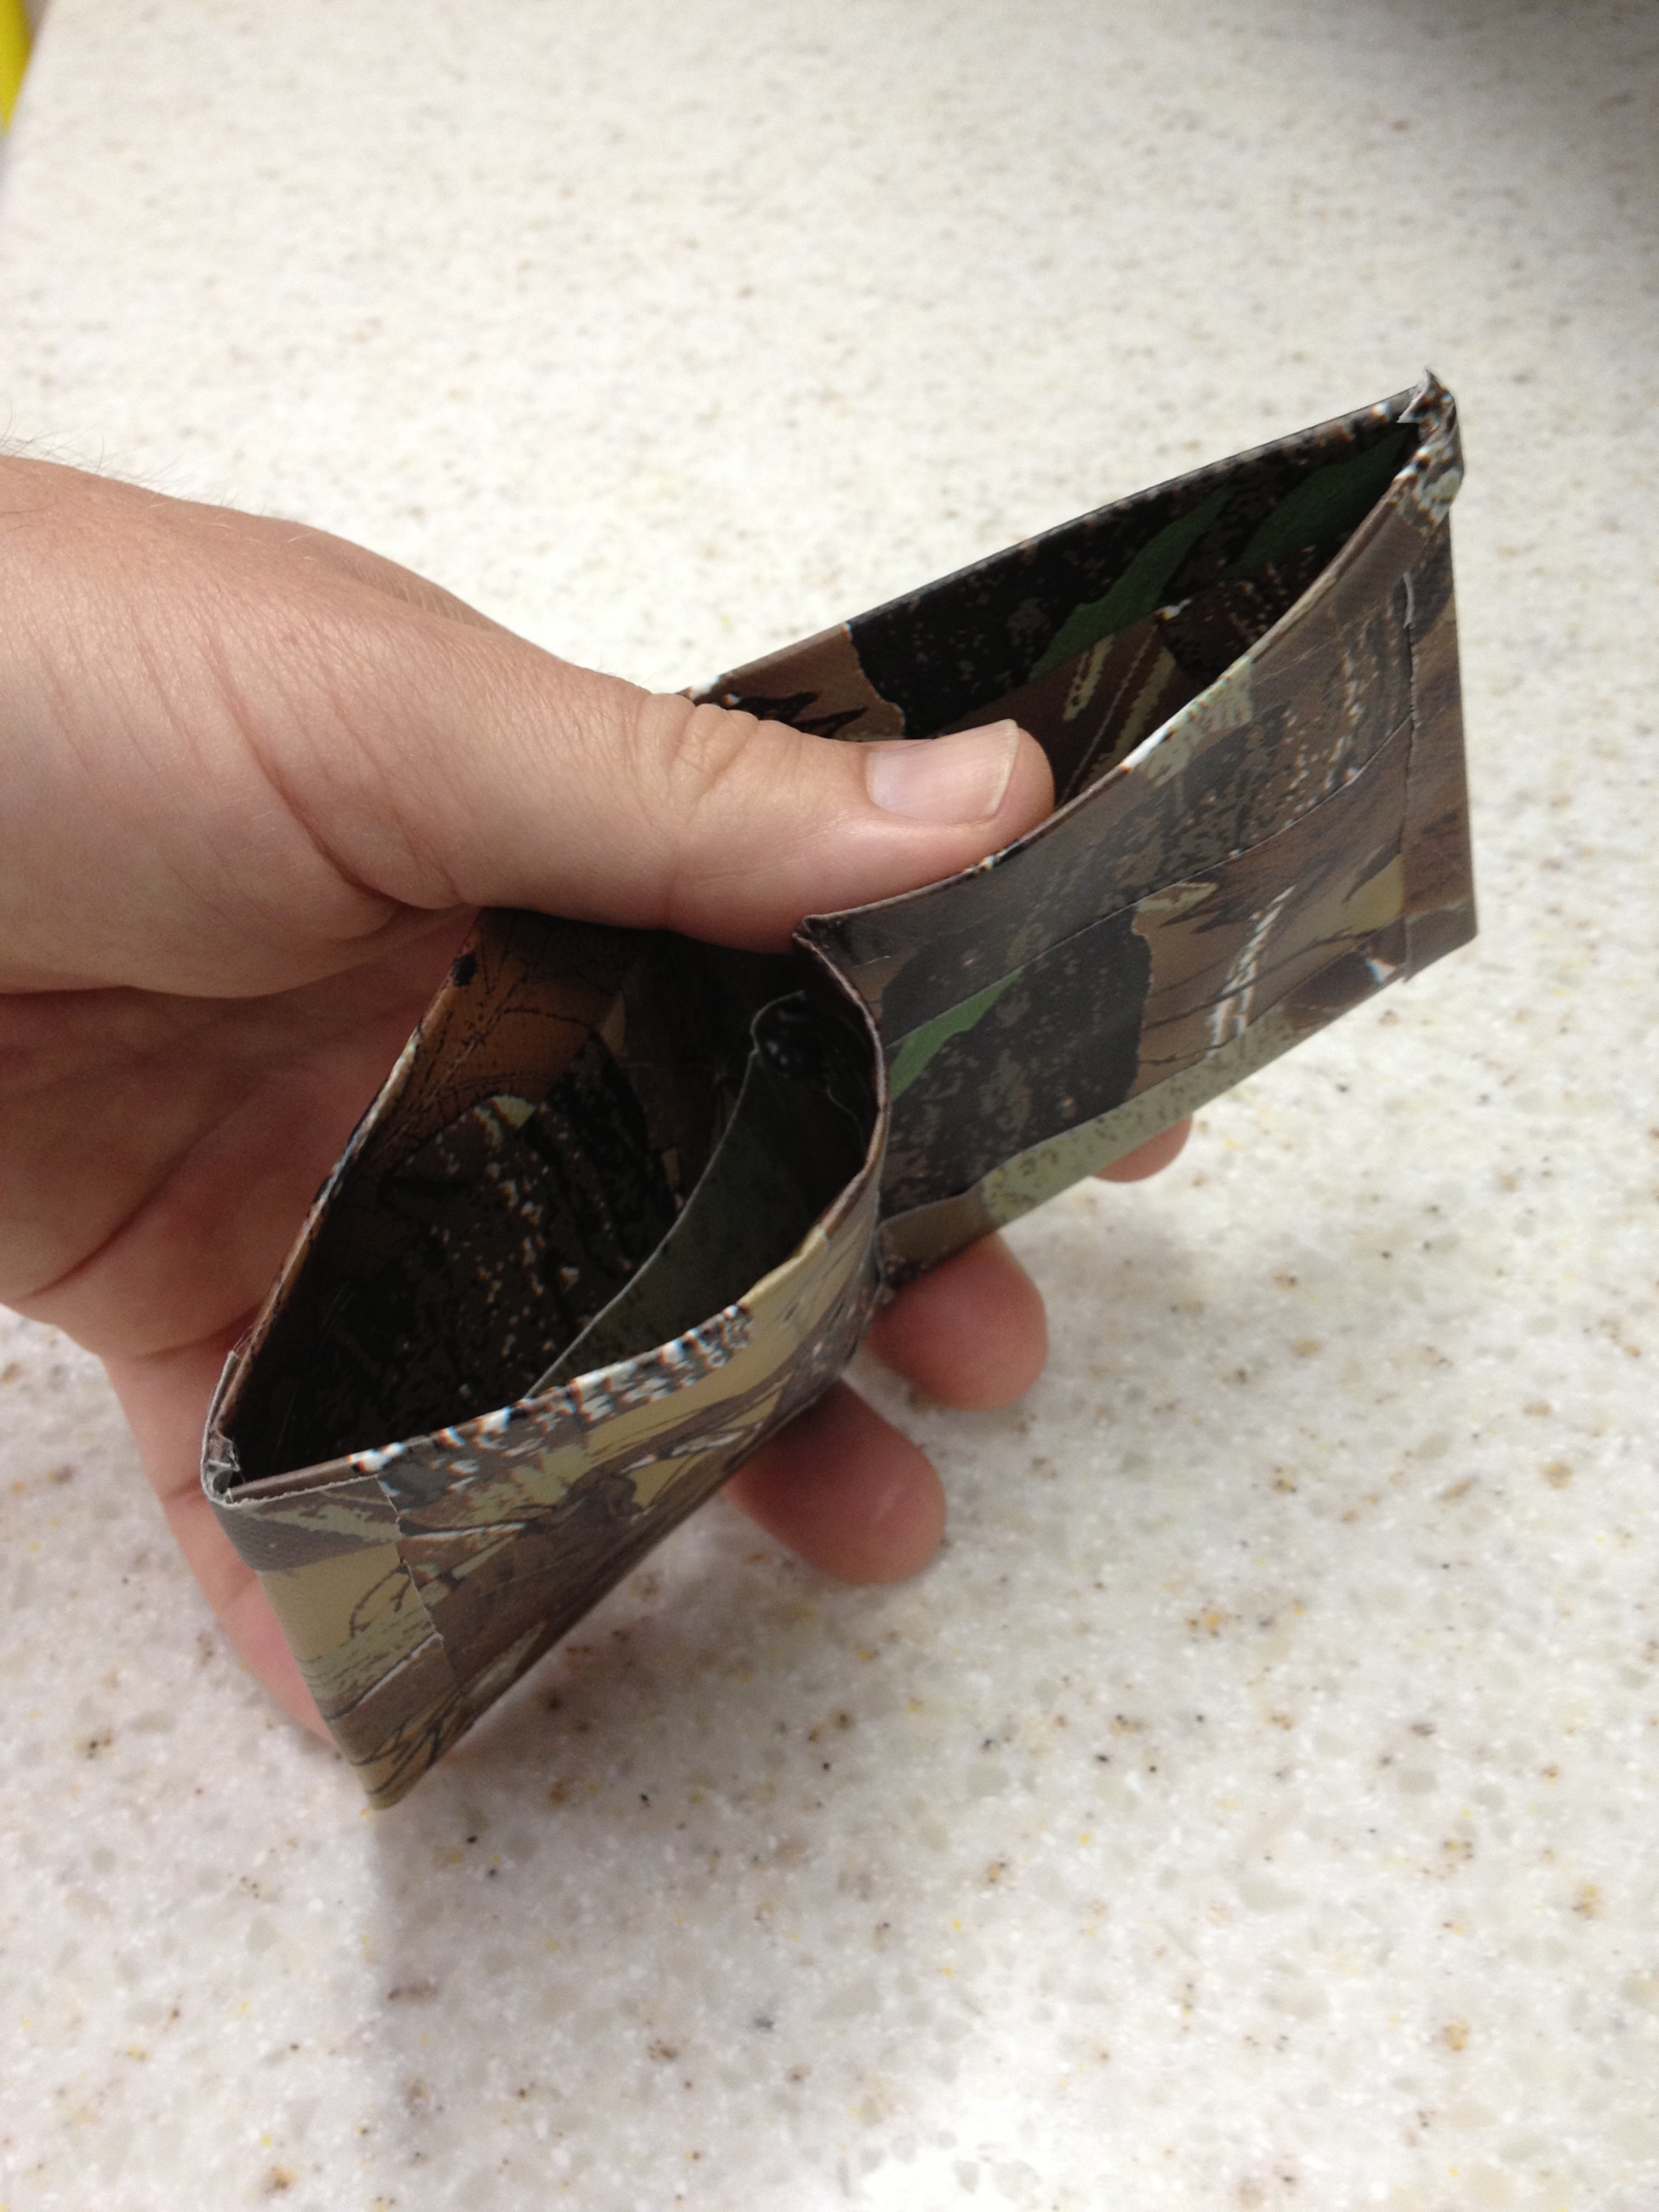
Thanks for reading my duct tape wallet instructions!
[Let us know using the “email us” link or using the blog comments if you have any suggestions or if you made your own duct tape wallet or duct tape craft that you’d like to share with the world!]