
Here is a simple and straightforward Pinewood Derby trophy design that is easy enough that almost anyone can build it. Many woodworkers will probably have some scrap wood laying around that can be used to make these car display trophies. If not, this wood is very inexpensive.
I used the following materials for this trophy design:
- 7 inch long pine 1×6 (base plate)
- 7 inch long pine 1×4 (top plate)
- 6 inch long pine 2×4 (upright)
- 7 inch long 1/4 inch thick material, like plywood, wood flooring, etc. (rail to hold pinewood derby car)
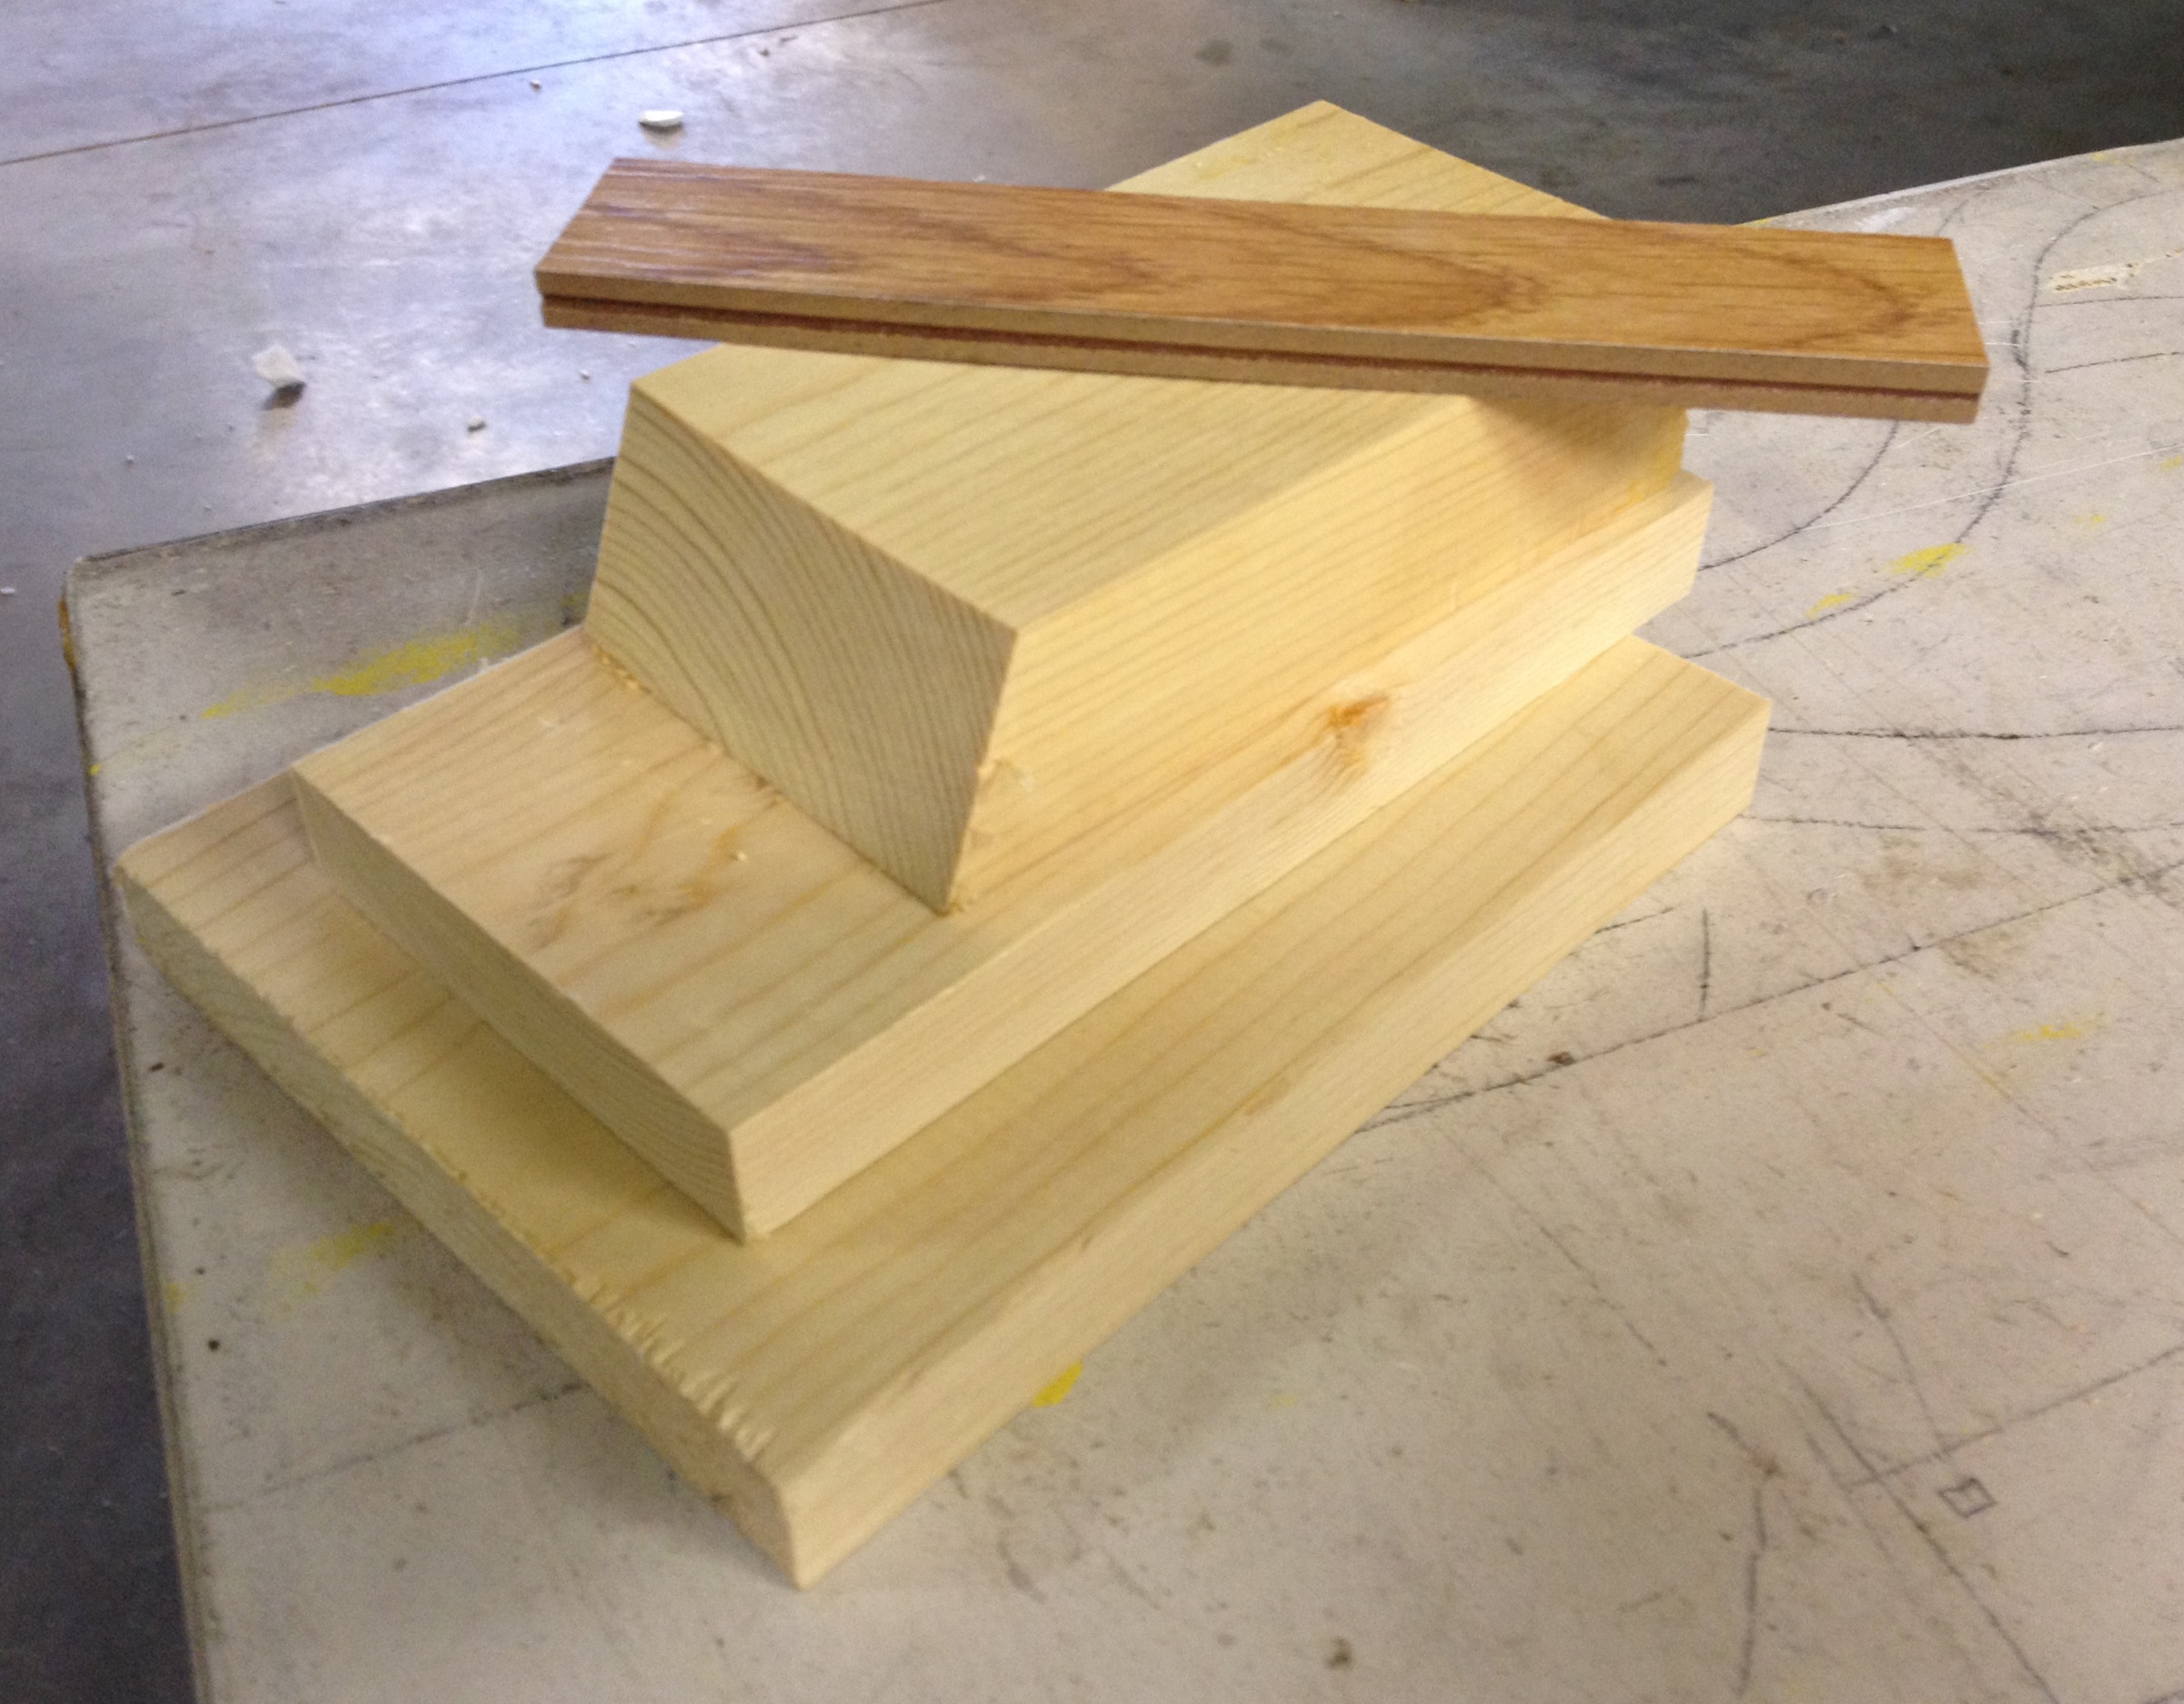
I used a compound miter saw to cut one end of the 2×4 roughly 20 degrees beyond square, as you can see in the below photo. You can make this same cut with a hand saw if you don’t have access to a miter saw.
I used a router to round over the edges of the 1×6 and 1×4 pieces, or you can just sand them real good to get rid of the sharp edges. Then I sanded all 3 pieces and then I stained them. I didn’t stain the 1/4 inch thick rail piece because it was from some flooring and it already had a stain finish.

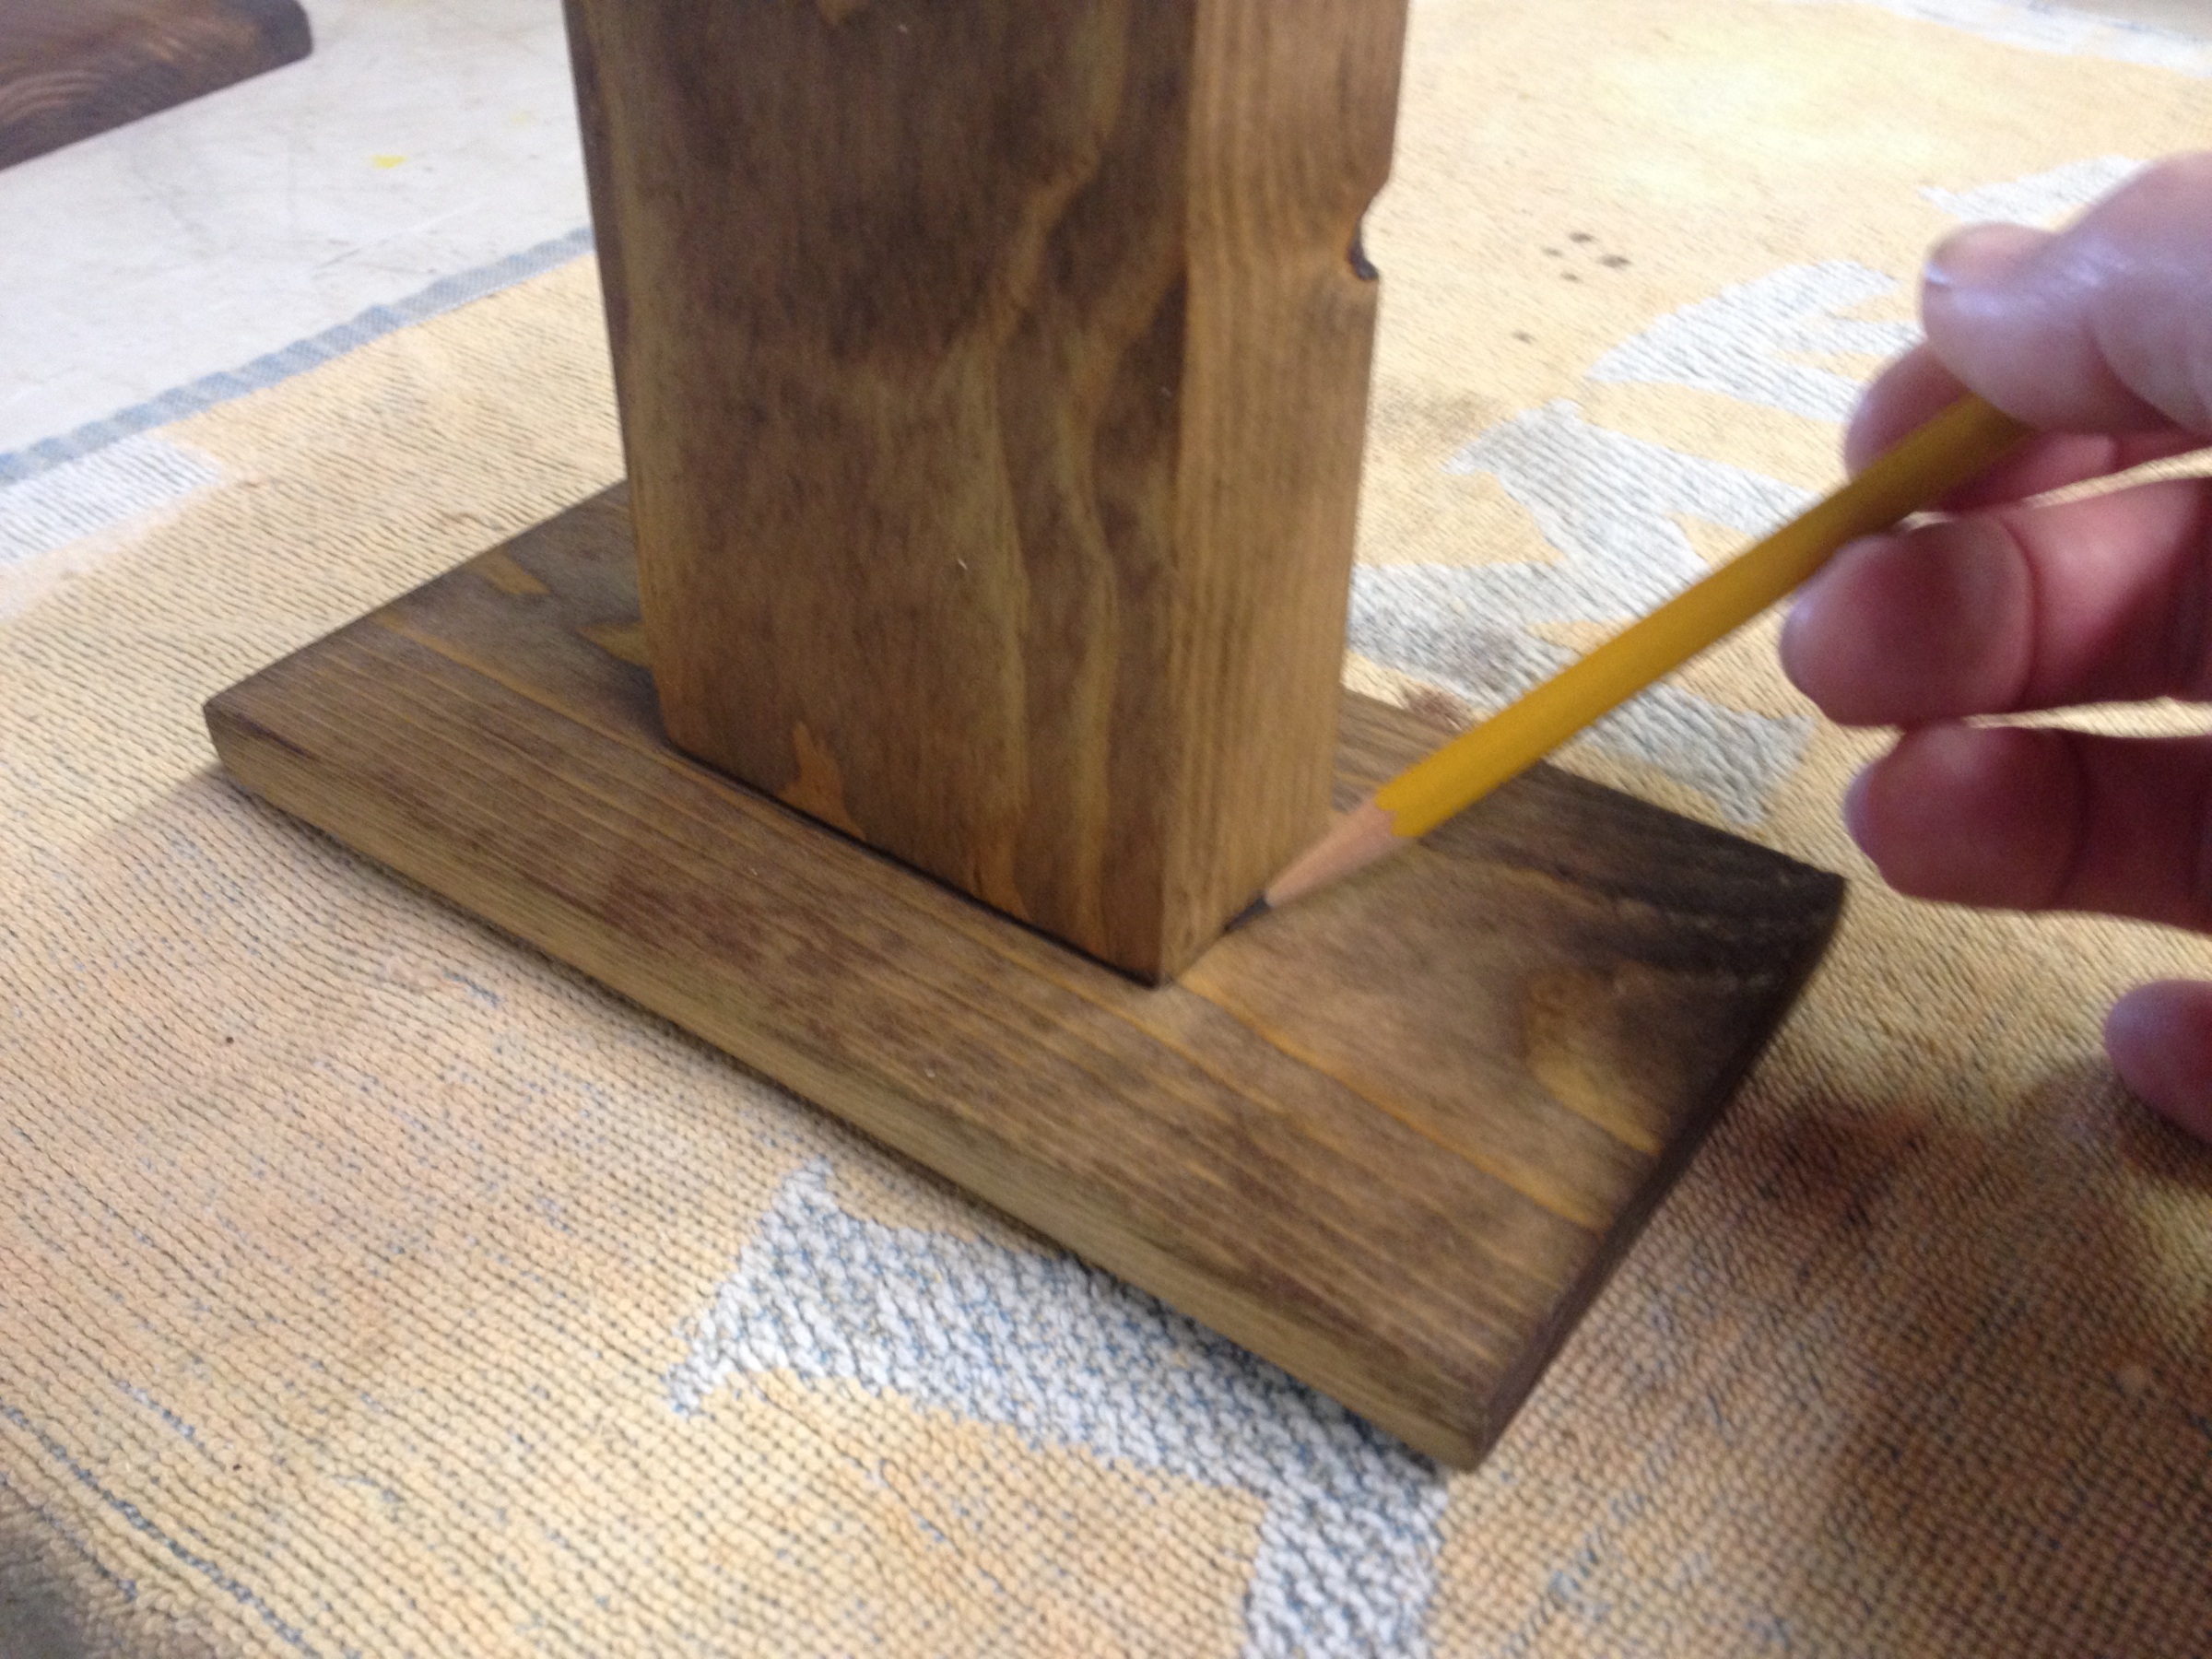
Now it’s time to attach the 1×4 to the angled end of the 2×4. First I centered the 2×4 on the other board and made pencil marks on the 1×4.
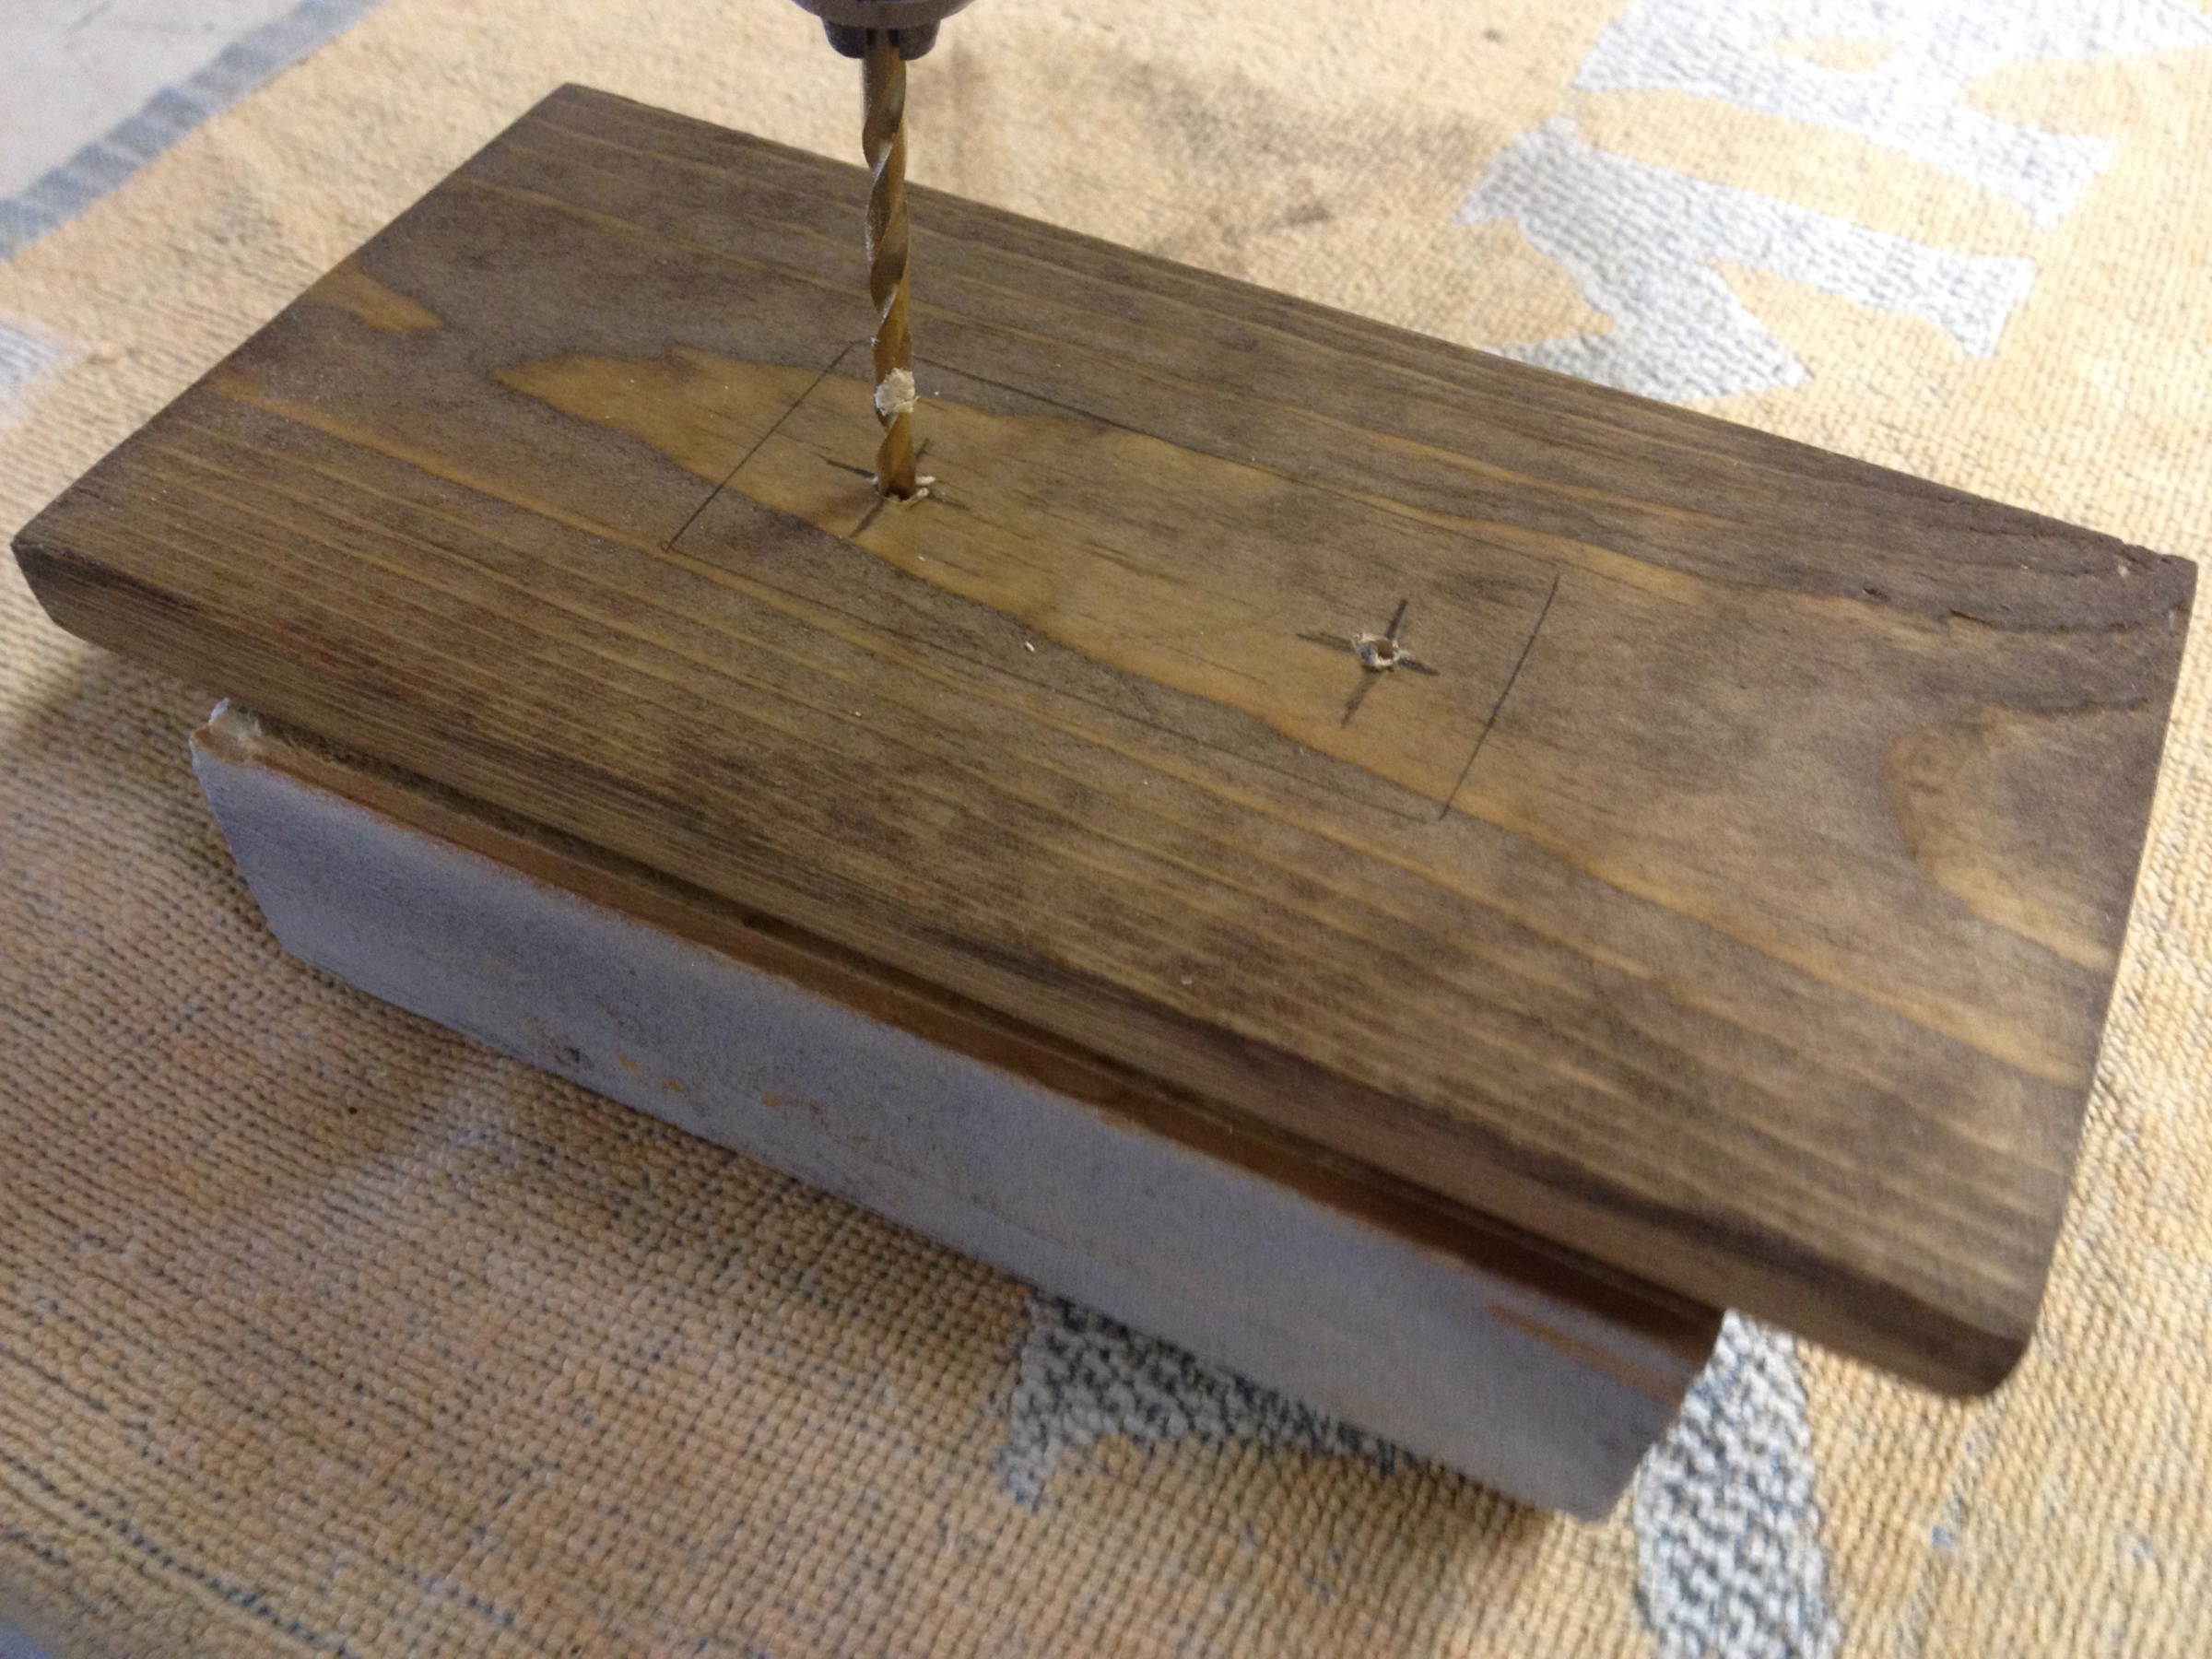
Then I drilled a couple of pilot holes completely through the 1×4.
Then I screwed some 2 inch screws through so they were just barely poking out the other side.

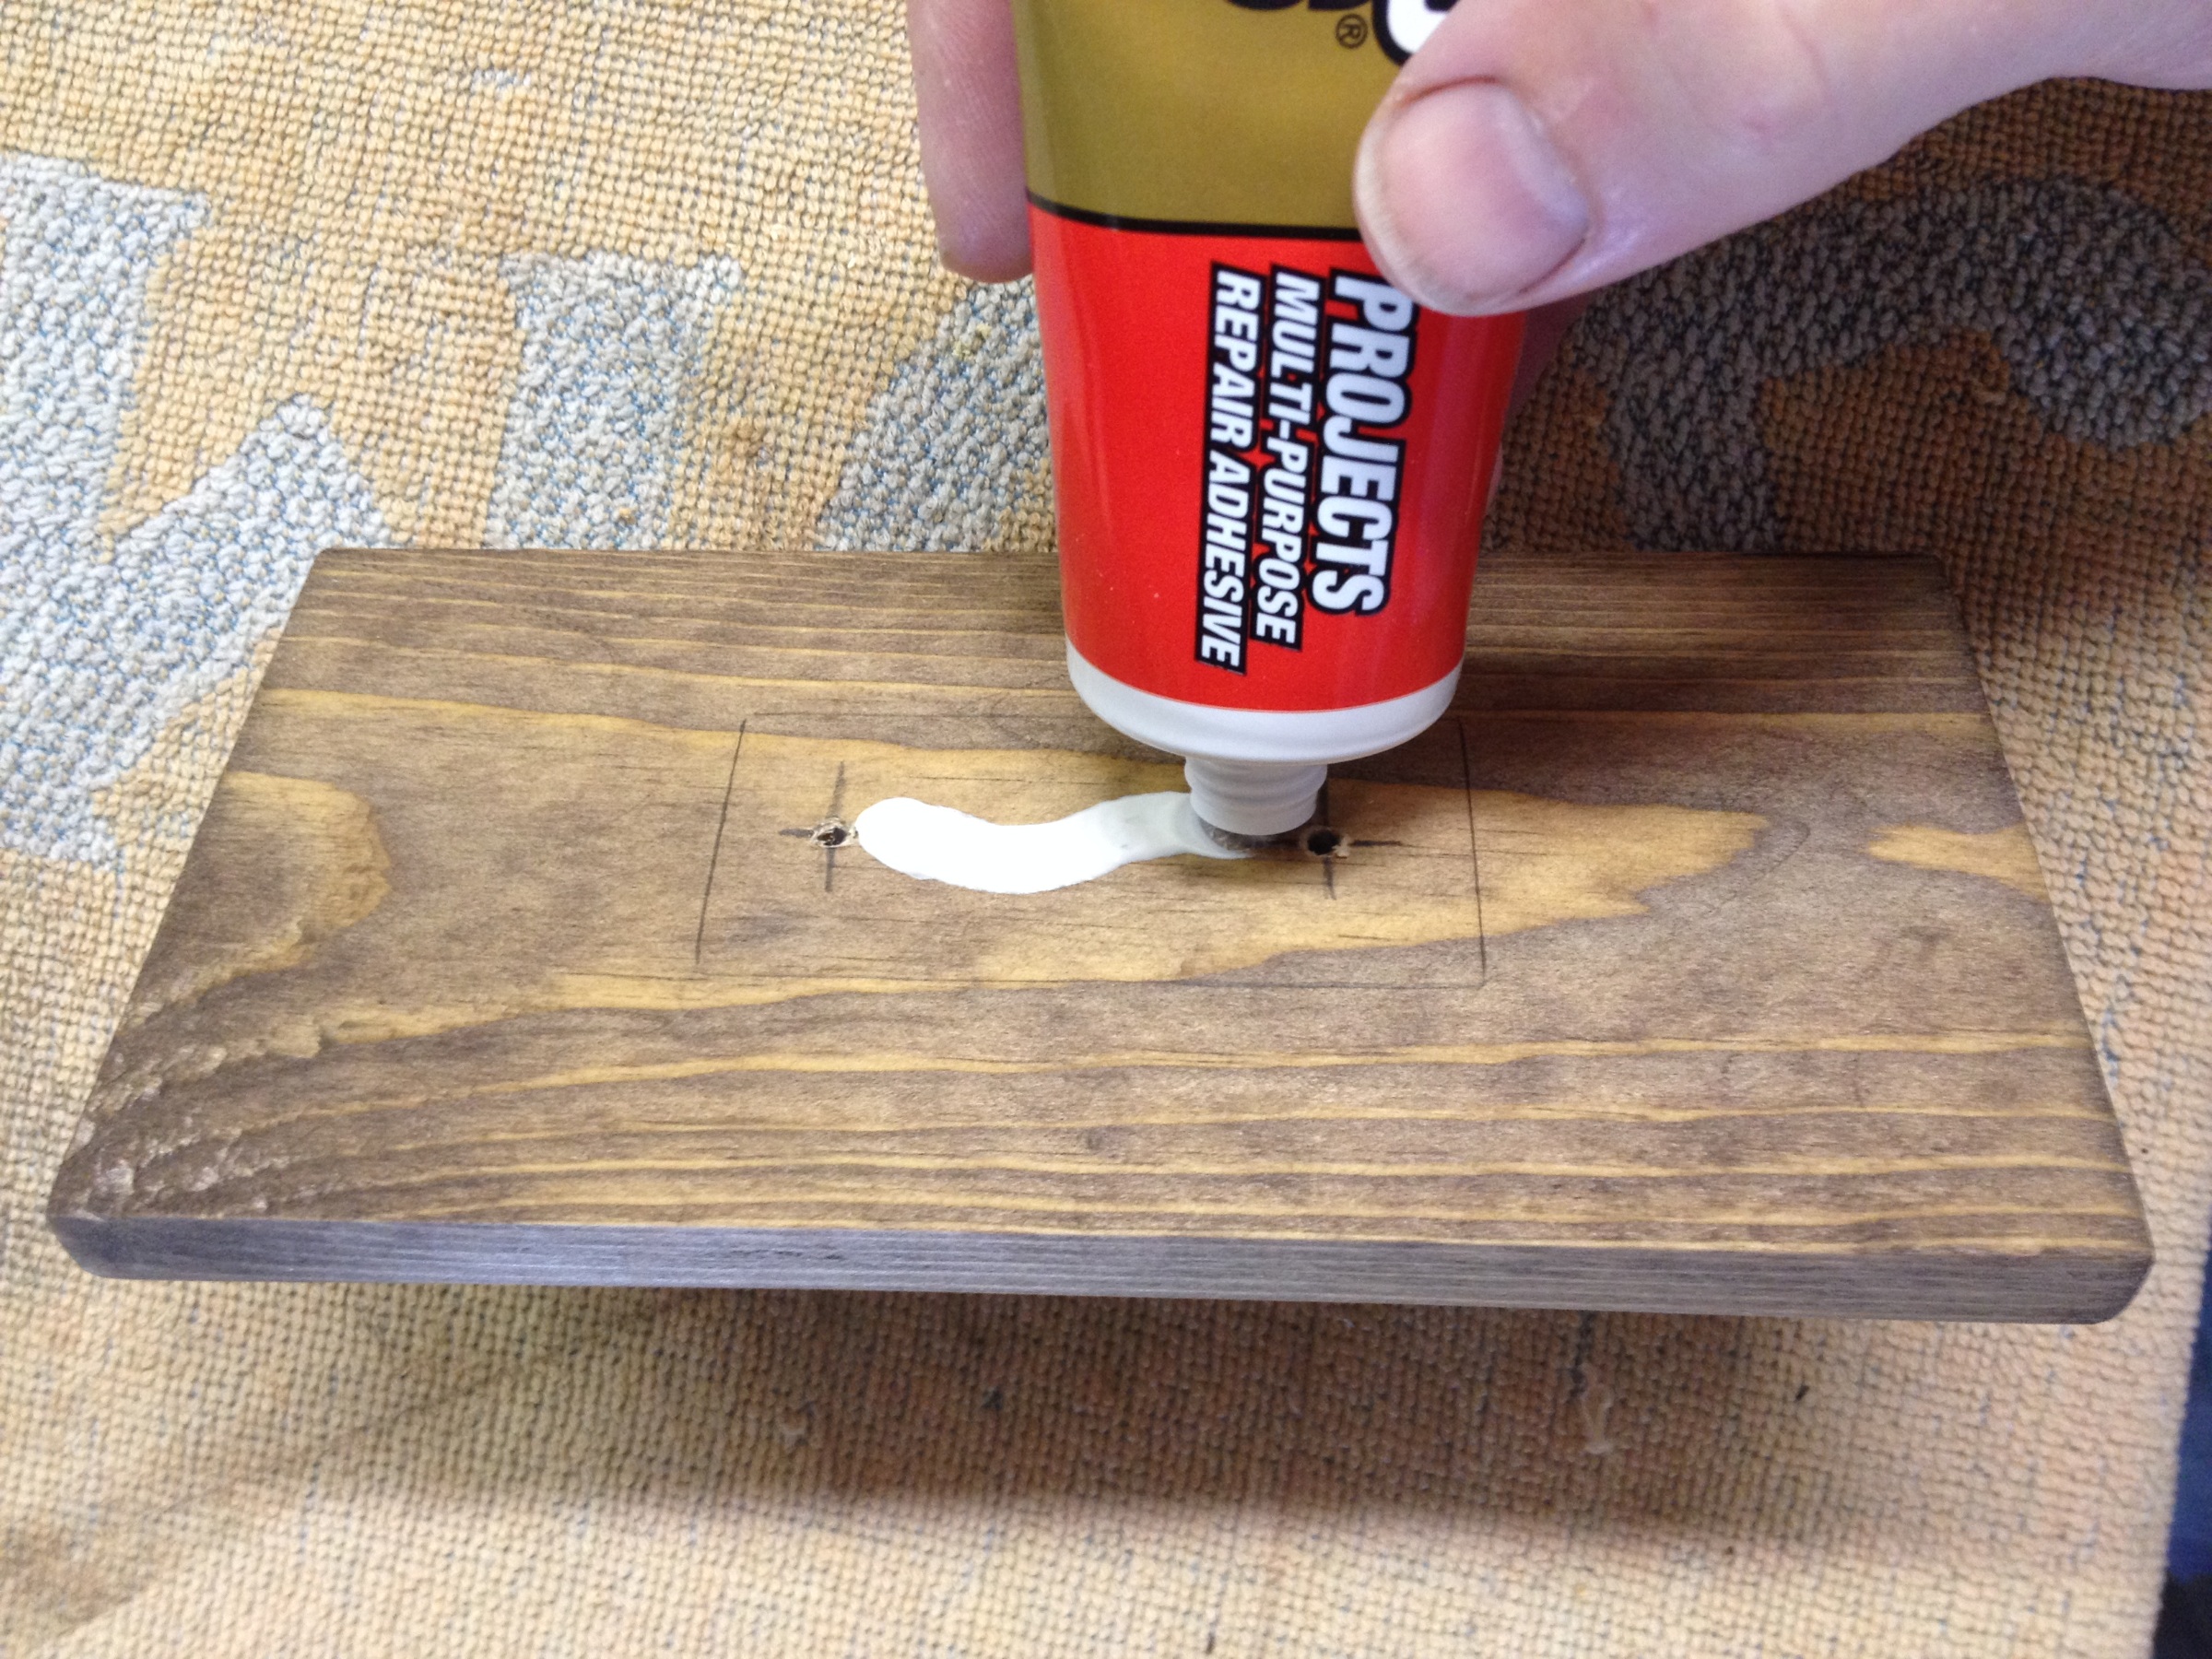
I used glue for extra strength, but if the screws are installed properly, they are plenty strong for this application.
This would be easier with a jig to hold it together while tightening the screws down, but I was able to hold it tight enough with one hand and tighten the screws with the other. This is soft pine so it was not difficult to tighten the screws at this angle. If I had a third hand, I could have taken a photo of the operation!
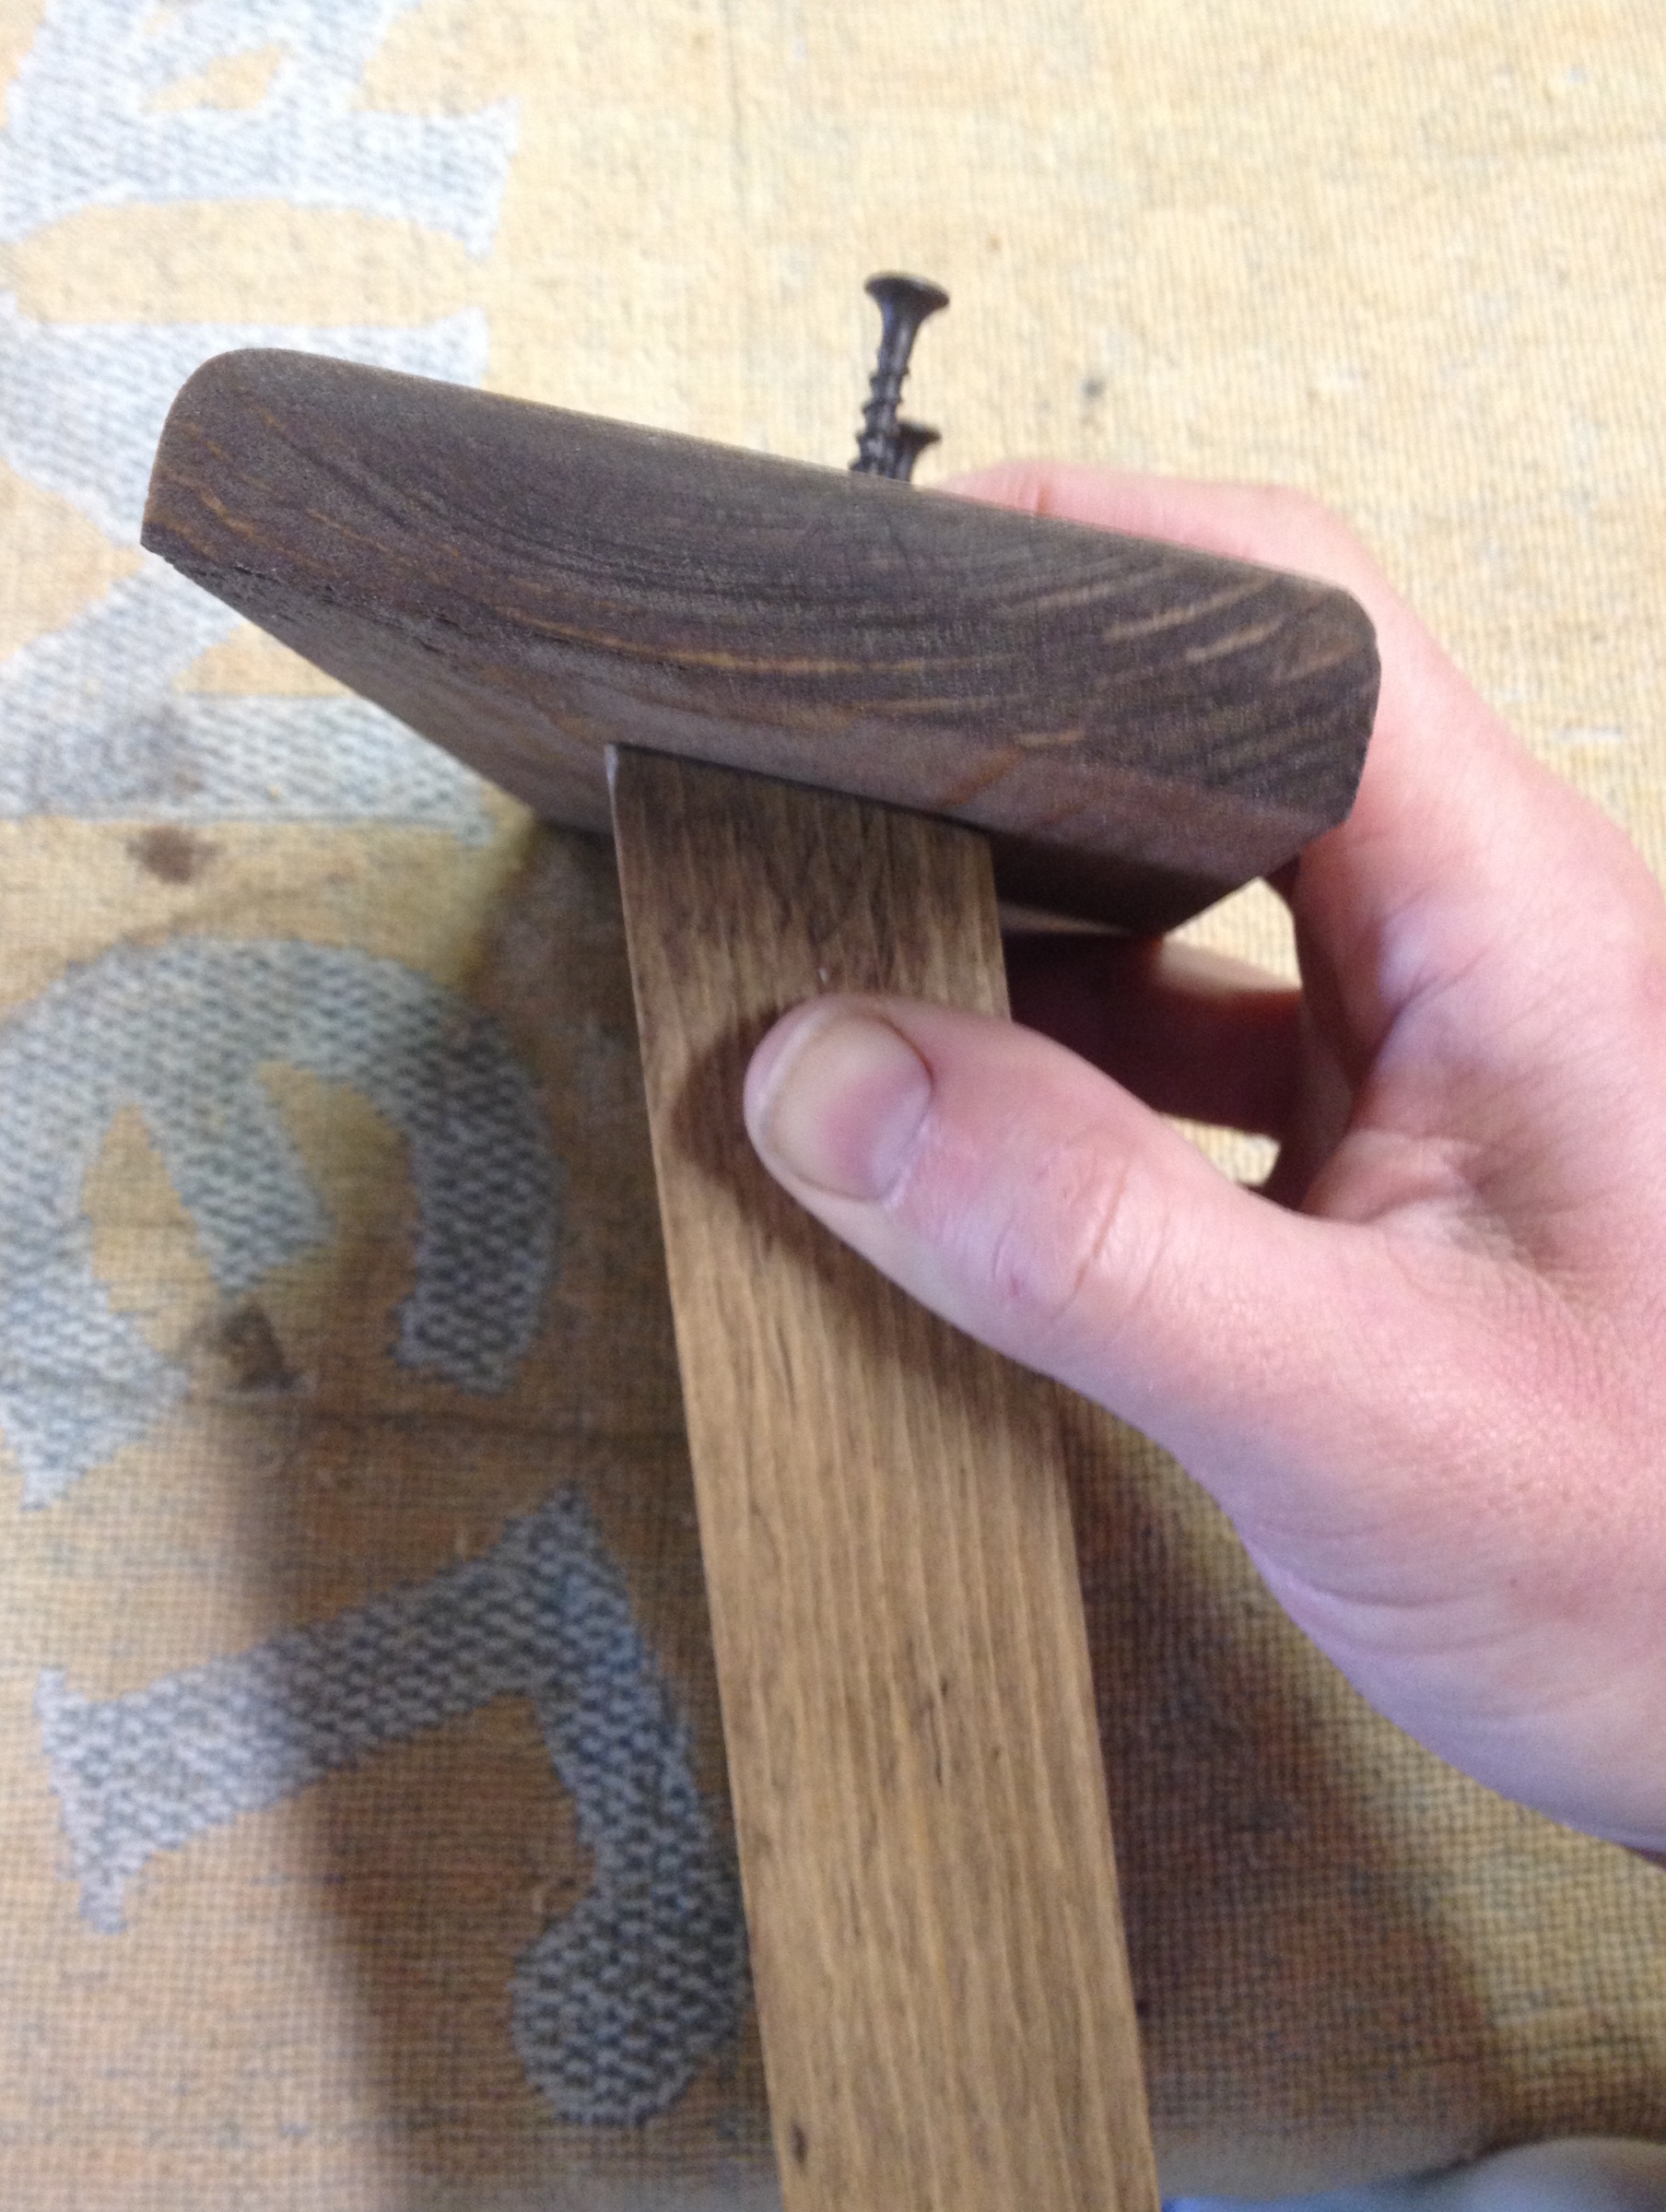
So now we have the top plate of the trophy stand mounted to the upright. This photo has it laying on its back, though.

I did essentially the same operation to attach the 1×6 base plate to the 2×4 upright.

Now it’s time to attach the 1/4 inch thick rail piece to the top plate. Notice that it will cover up and hide the screws that are holding the top plate to the upright.
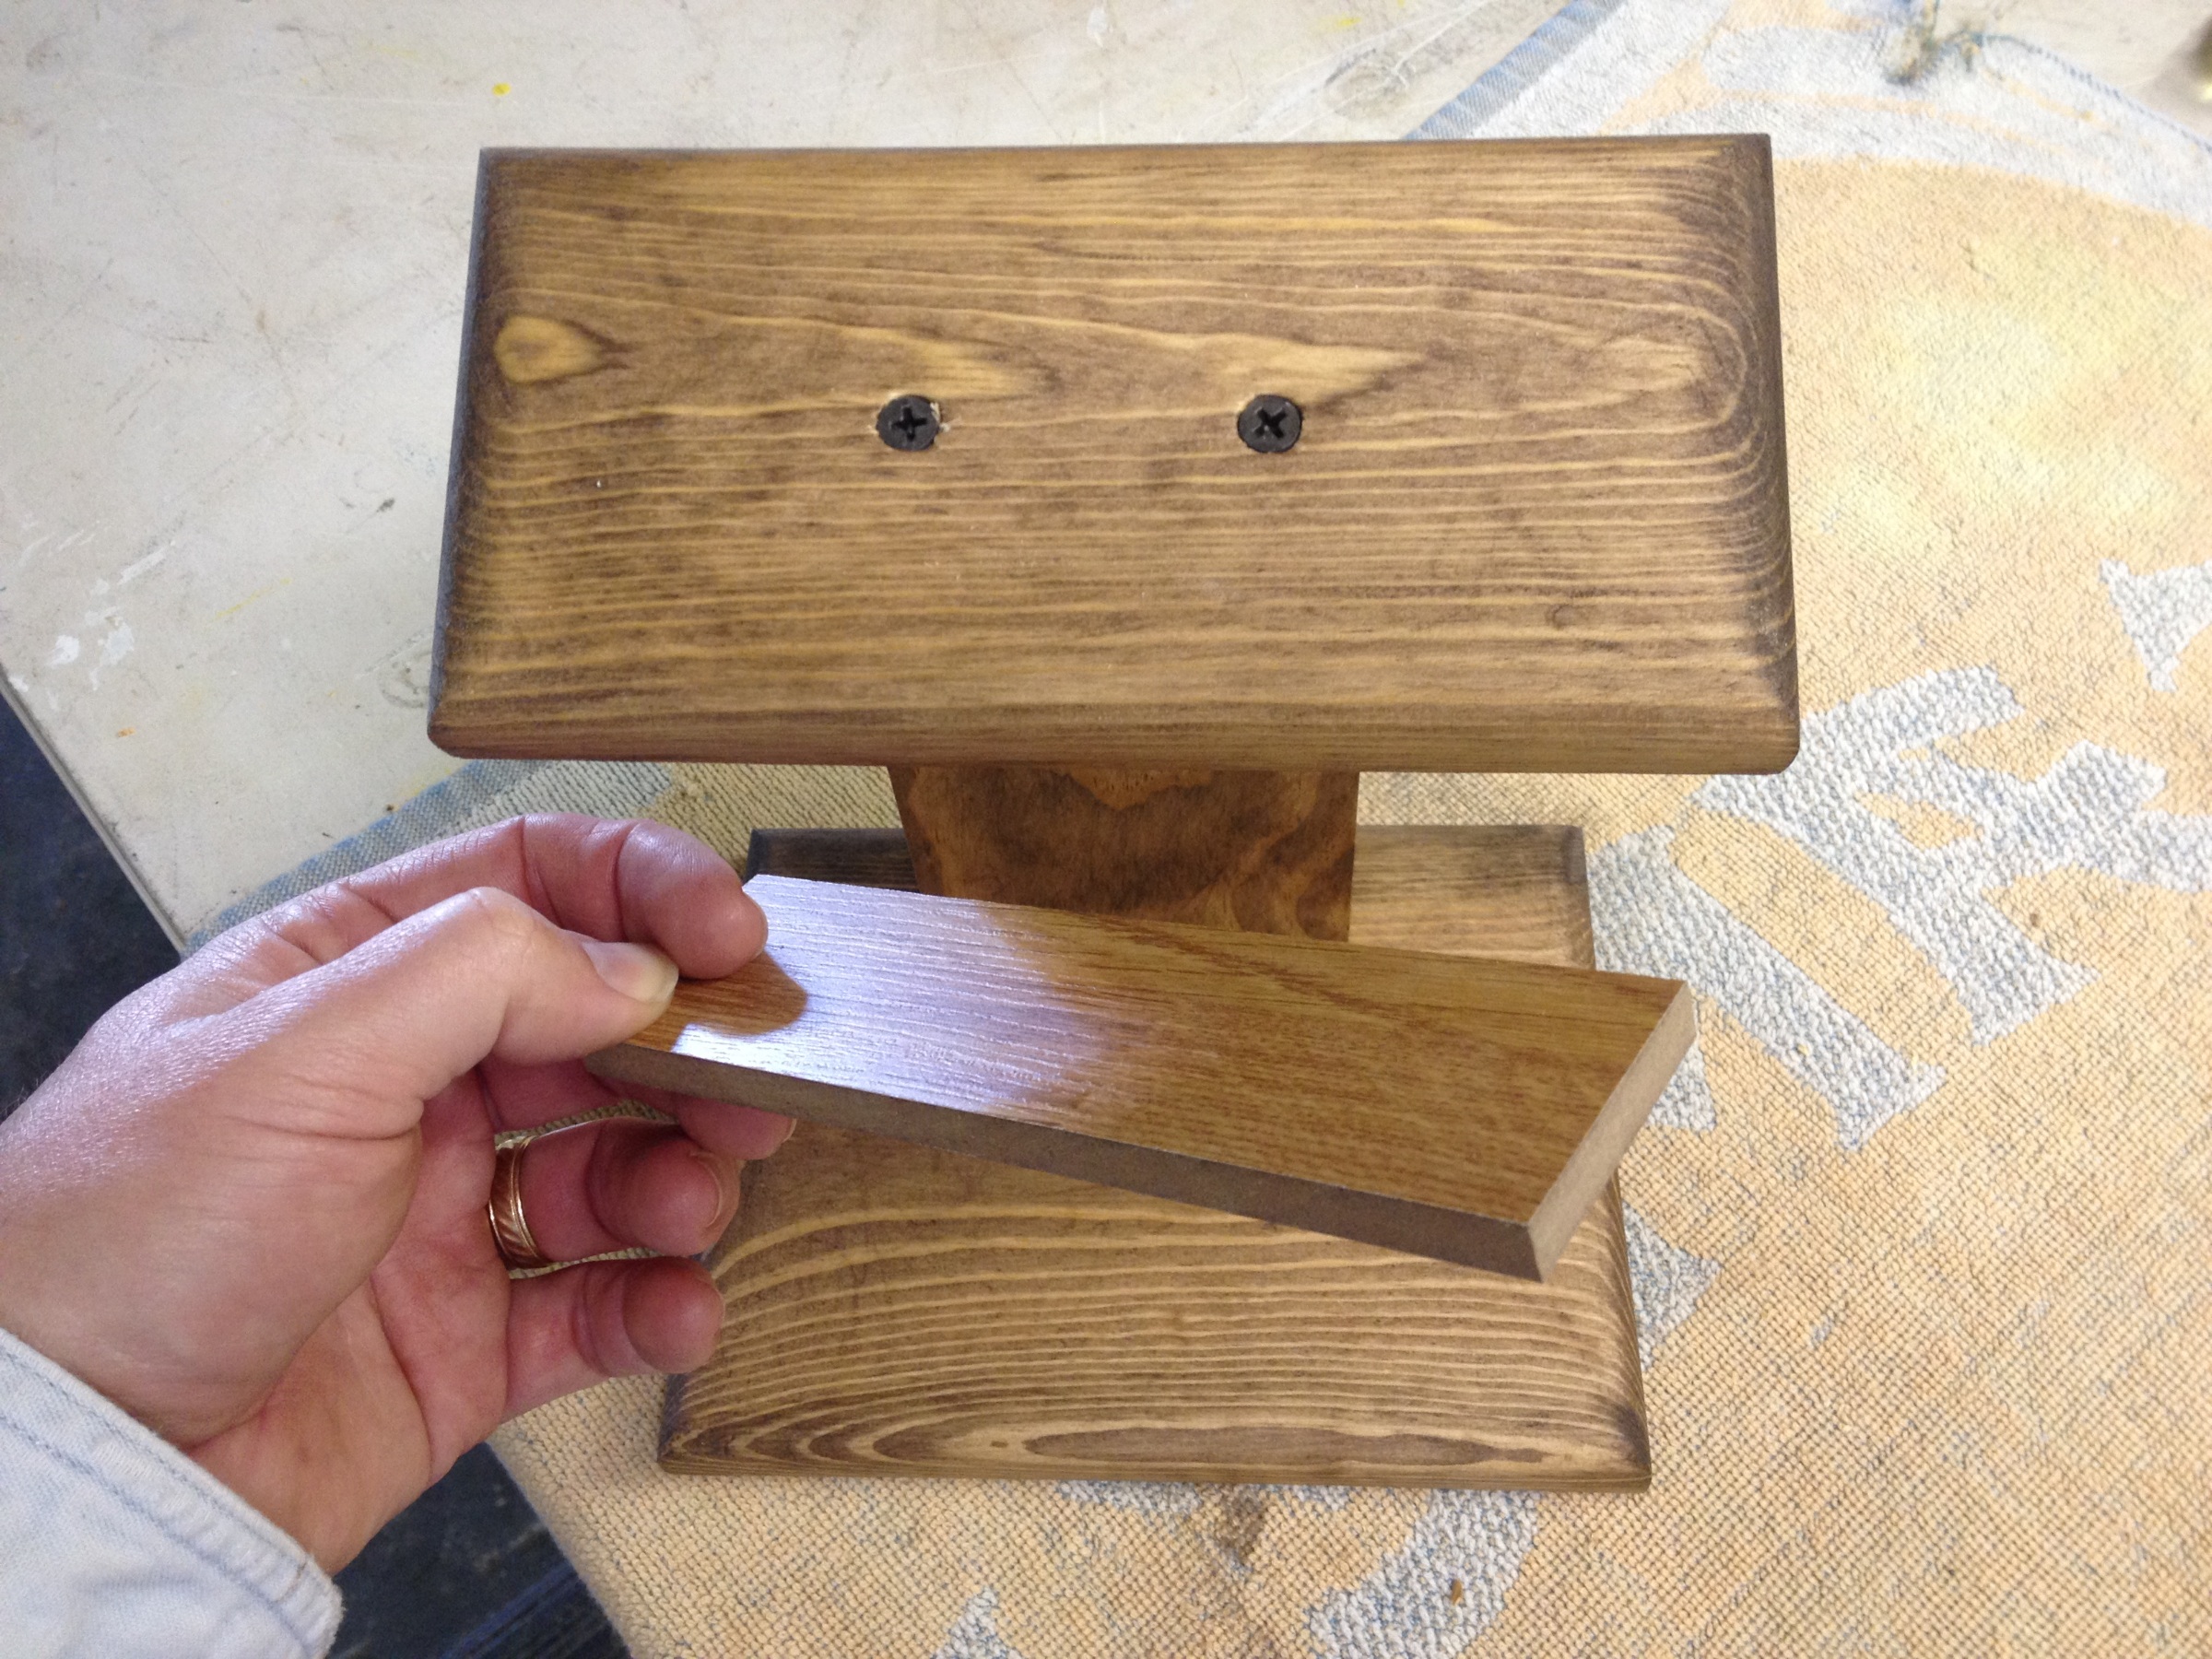
This rail piece will be straddled by the Pinewood Derby car, so it will only be holding 5 ounces worth of weight. So we can just glue it directly to the top plate and that will hold the weight just fine.
Since my rail piece was scrap flooring material, I scored the bottom surface with a utility knife to roughen up the surface and give the glue something to grab hold of.

After gluing the rail piece on, I clamped it for a few hours to dry.

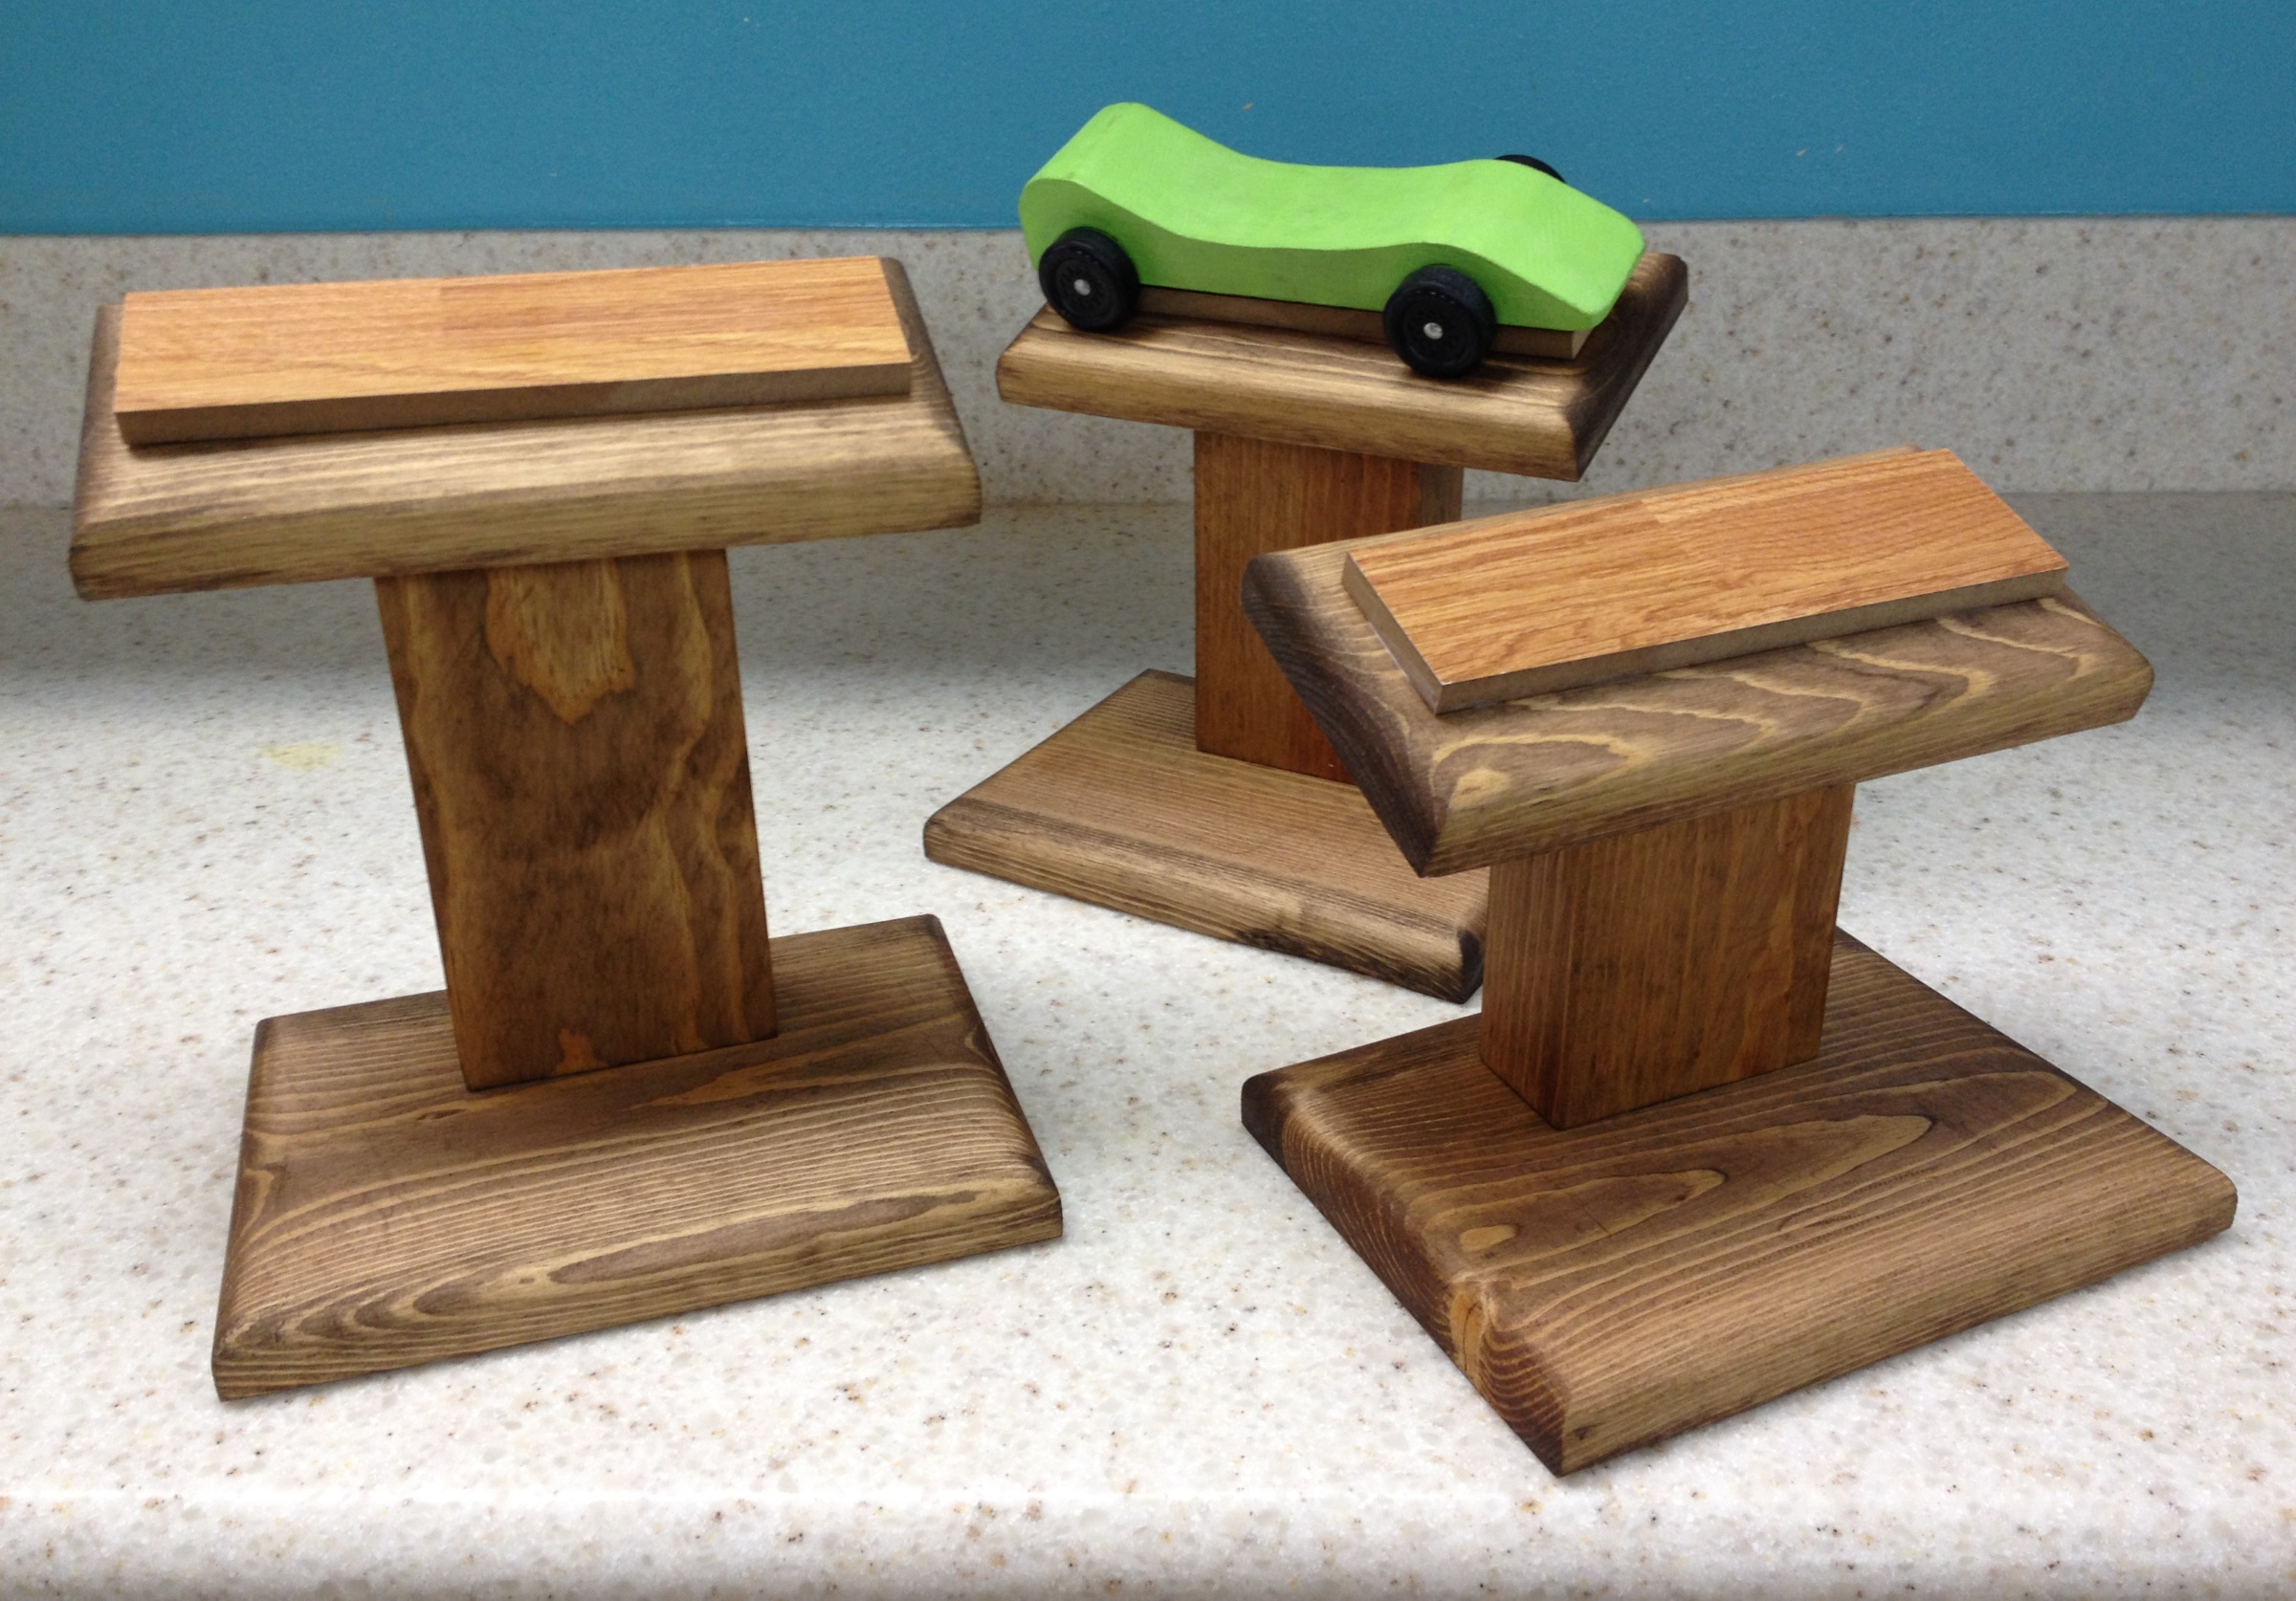
And here is a photo of the final product. I ended up making three trophies, each with a slightly higher upright. One for third place, one for second place, and one for first place. The base plate has plenty of room for a custom purchased metal nameplate that contains the name and year of the event, plus if you wait till after the event, you can get the winning cub scout’s name also put on the metal nameplate!
I hope this idea and these instructions were helpful!
If you have any comments or suggestions or other ideas, please feel free to leave a comment below or you can email me directly by clicking on the “email us” link at the bottom of the web page.
Thanks for your interest!
Kurt
This is a great idea and tutorial. Thank you!
Thank you! I really want to make a YouTube video showing how I did it. But that’s so much effort and I’m so busy!