
If you’ve followed me for any length of time, you probably noticed that I like to make things myself if I can, rather than buy them. Most of my projects are in wood, but occasionally I do some light metal-work out of necessity.
In today’s installment, I will show you how I was able to make a custom fitted metal bracket which allowed me to mount an old vanity plate to the front of my new-to-me car. Hopefully, this information ends up being useful to someone out there in the Interwebs.

My new-to-me car is a 2010 Honda Civic SI. She’s a beaut, isn’t she? But when I tried to mount my vanity tag, which has my name on it, to the front of the car, the mounting holes were nowhere near where they needed to be. Apparently, a mounting bracket is required here. In my prior car, a 2004 Chrysler PT Cruiser, I just drilled holes right into the plastic bumper and screwed the plate right in. But this car is quite a bit too new and much too nice for that technique.
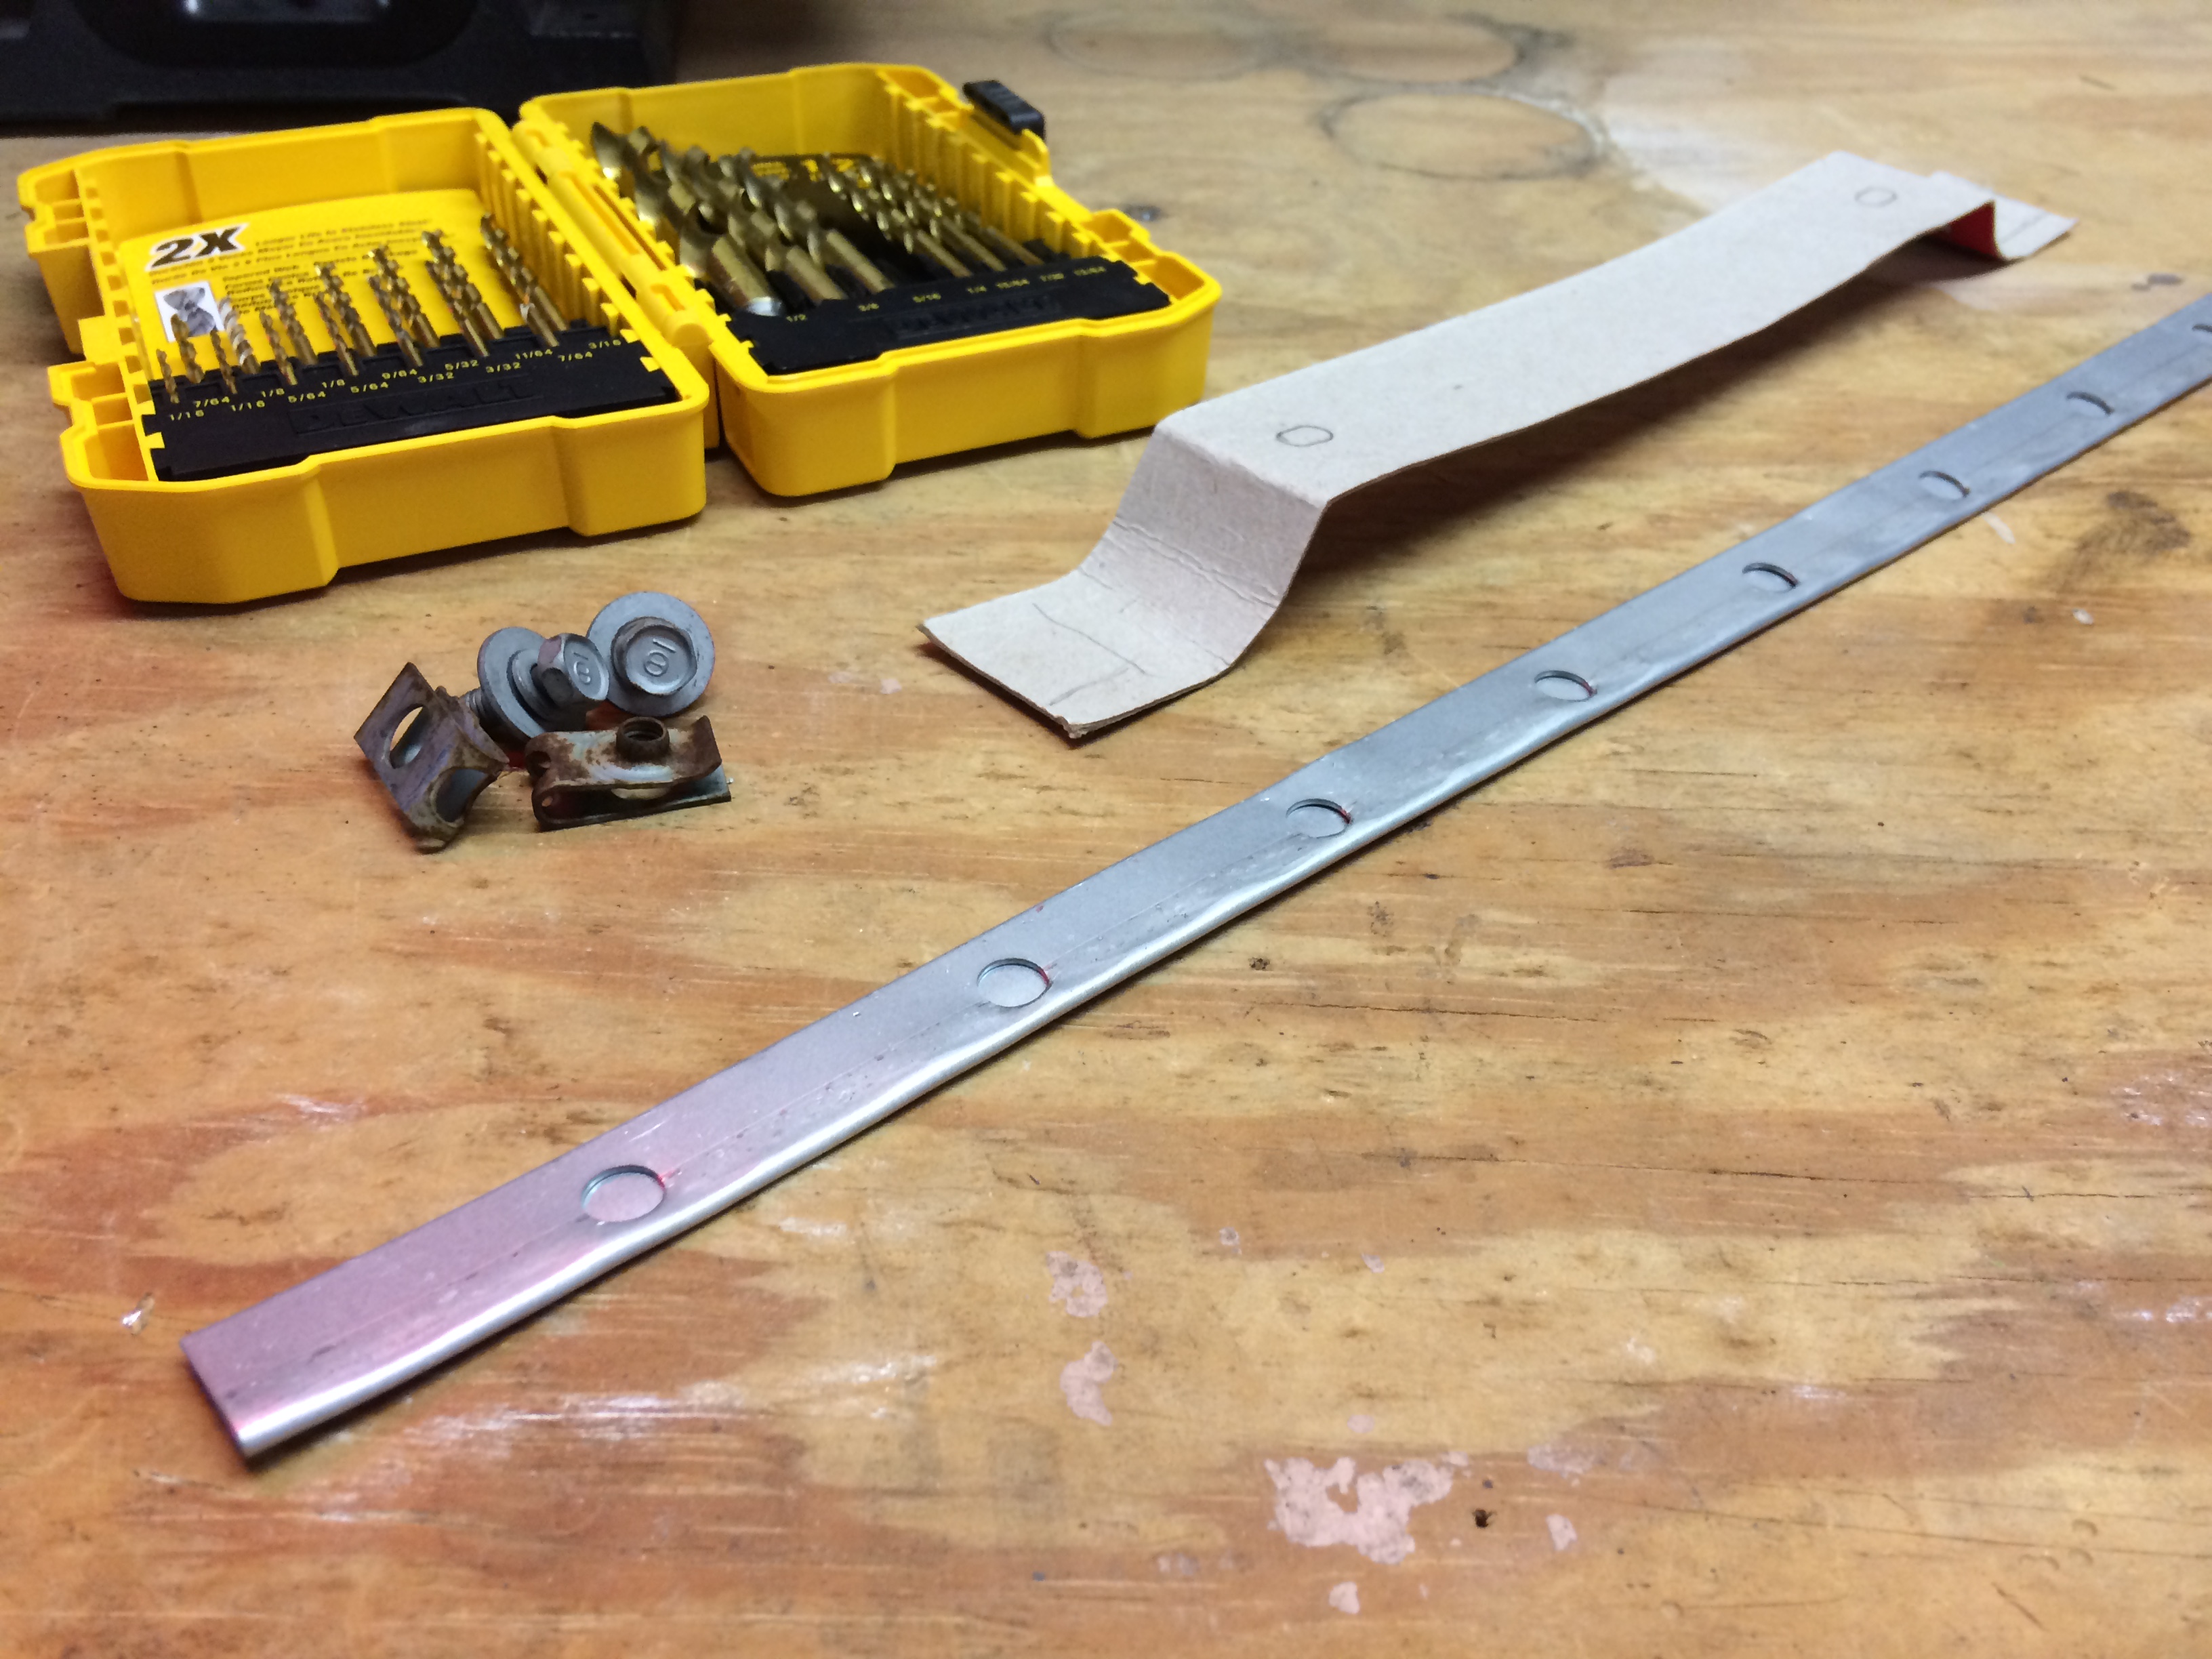
I looked at my local auto parts stores for a bracket, assuming that it was some sort of common standard, but I came up empty. So I looked around my woodworking shop to see what I had laying around. Luckily, I had just the thing. I had a couple unused pieces of thin steel perforated angle iron from my new garage door opener. If you don’t have any laying around, your local home improvement store sells this sort of material. Just search for Metal Angles.
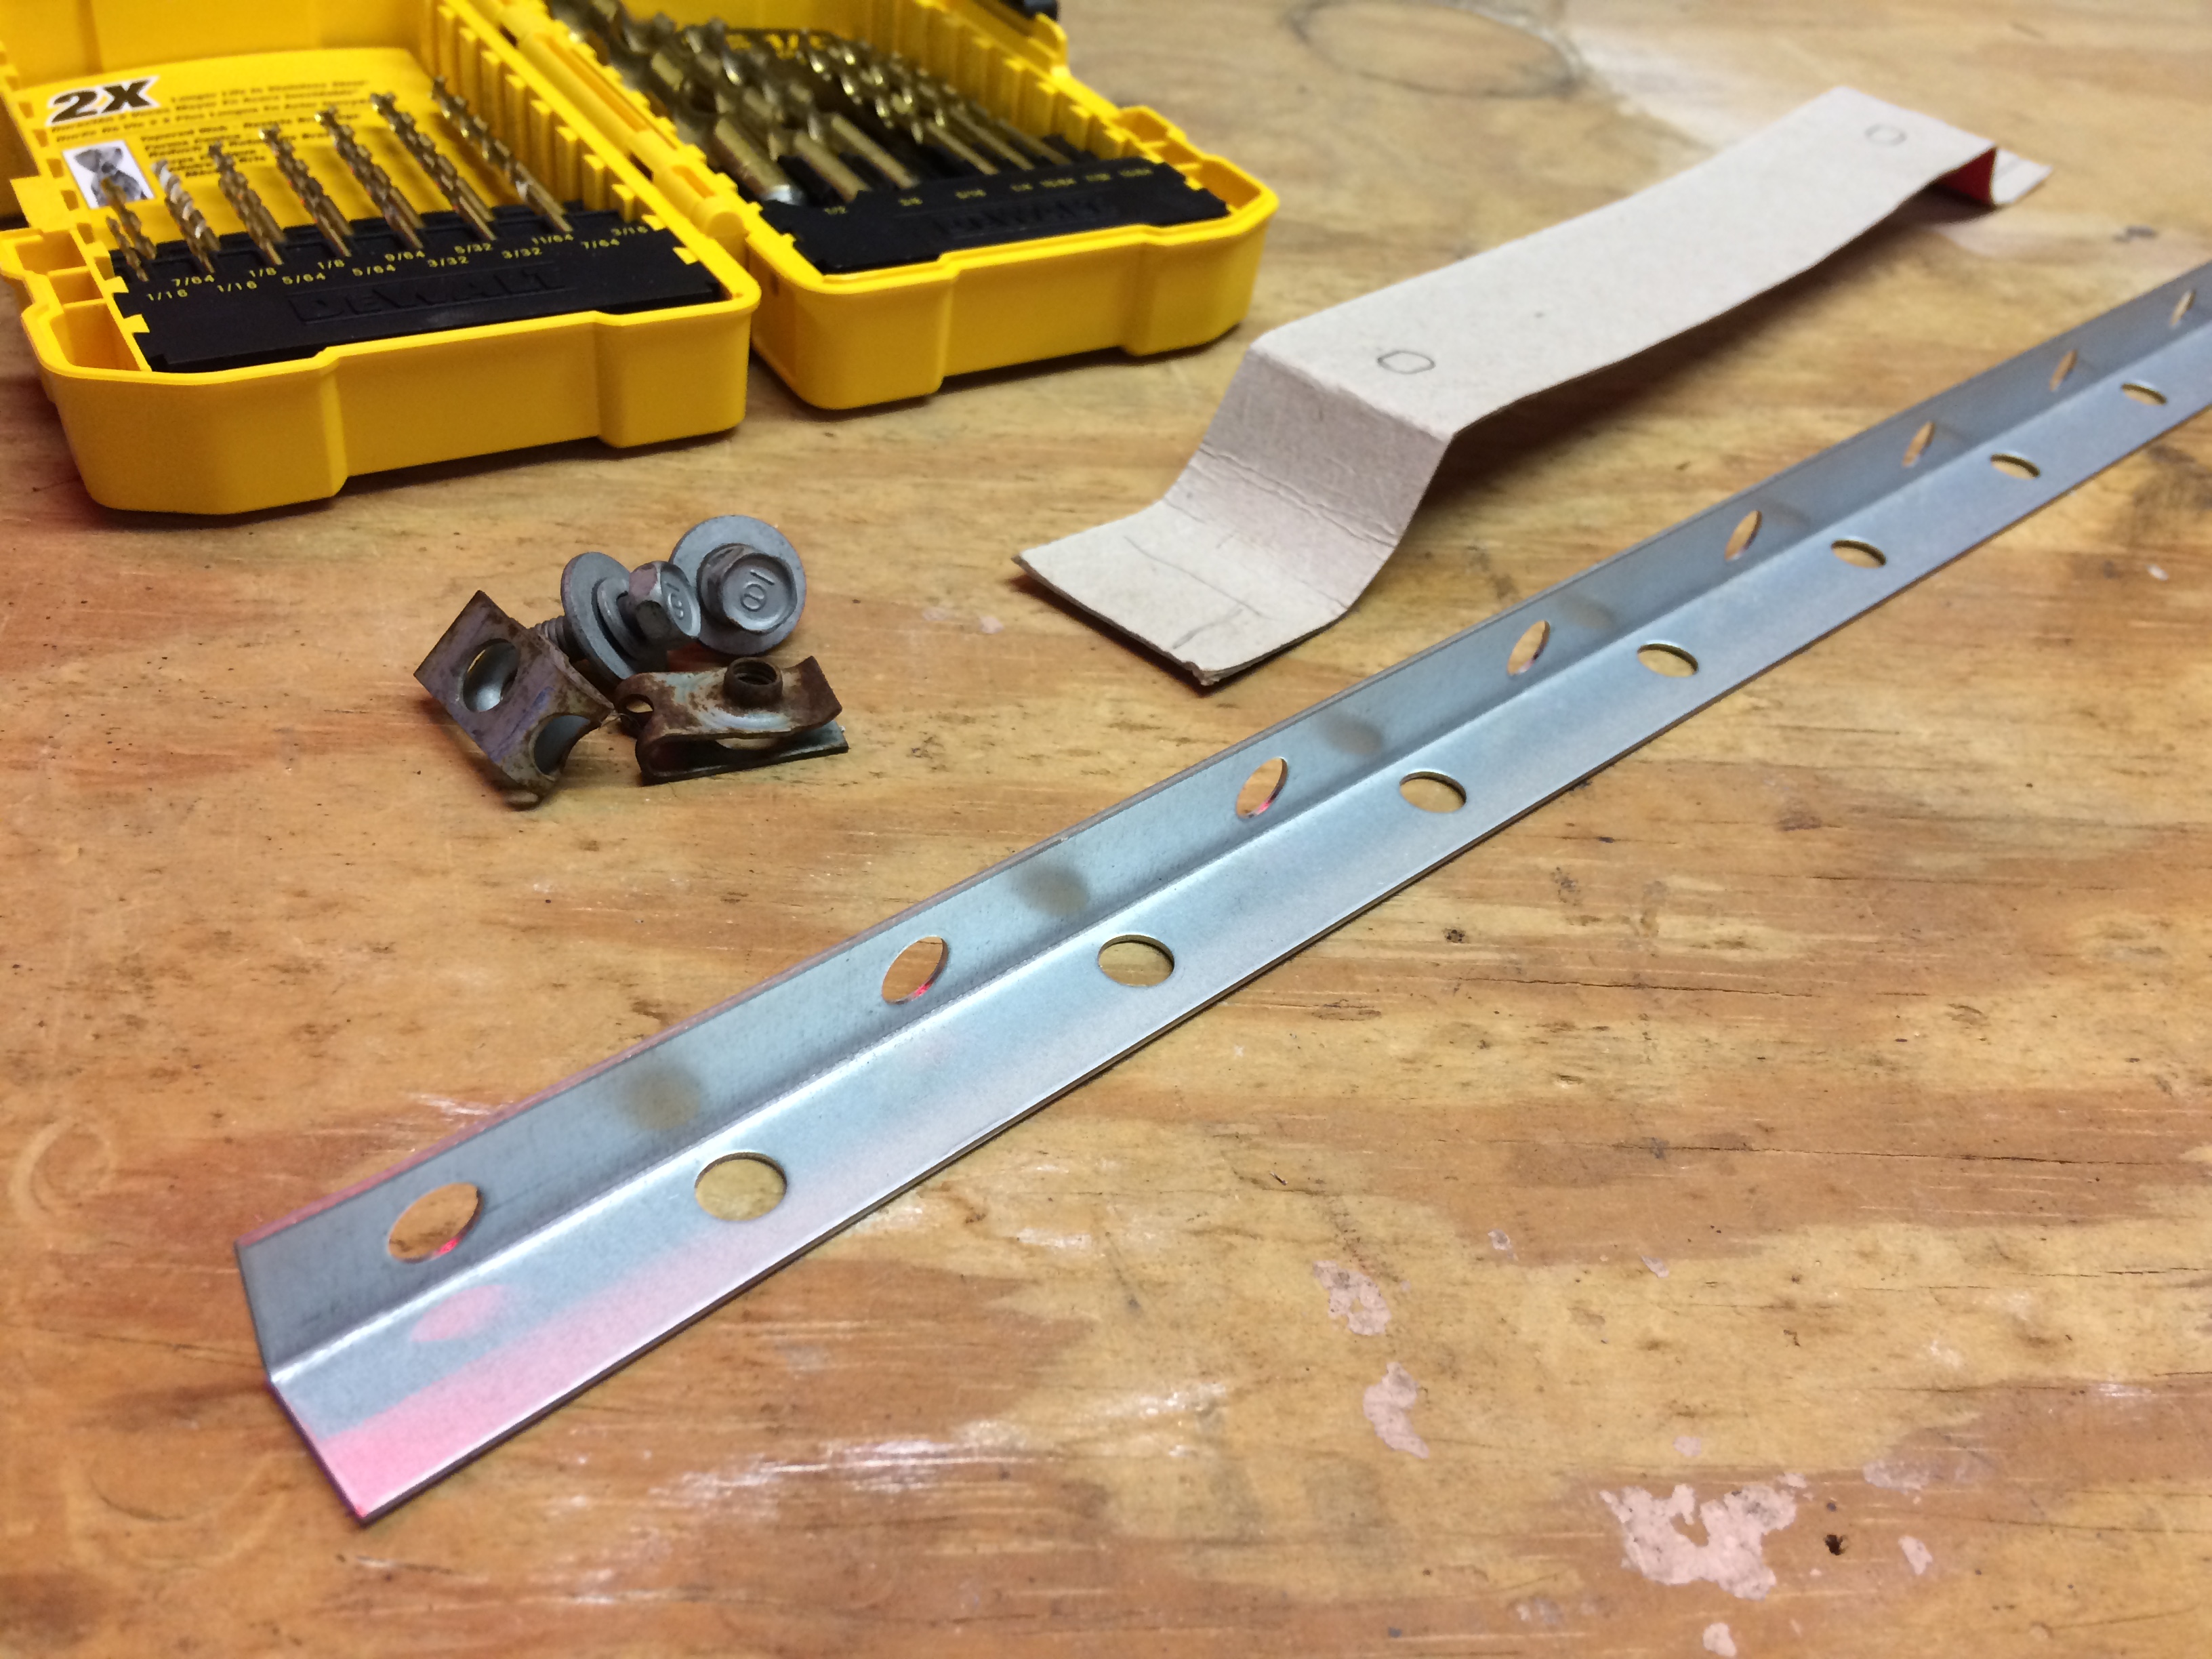
Notice in the photo above, the cardboard prototype on the bench. Making a cardboard prototype of the final product was step one in this process. It will save you a lot of time and frustration if you always start out by making a cardboard version first! You can see in the cardboard design, that the bracket needs to swoop up, go straight across, and then swoop back down. Easy peasy!
The second step was to fold over the angle iron to make it into a flat plate. Mashing it between my hammer and my bench vise worked nicely.
Then I hammered it into a 90 degree angle by squeezing it in my bench vise and hammering it over and nicely flat. The bench vise makes it easy to create sharp angles like this out of thin steel.
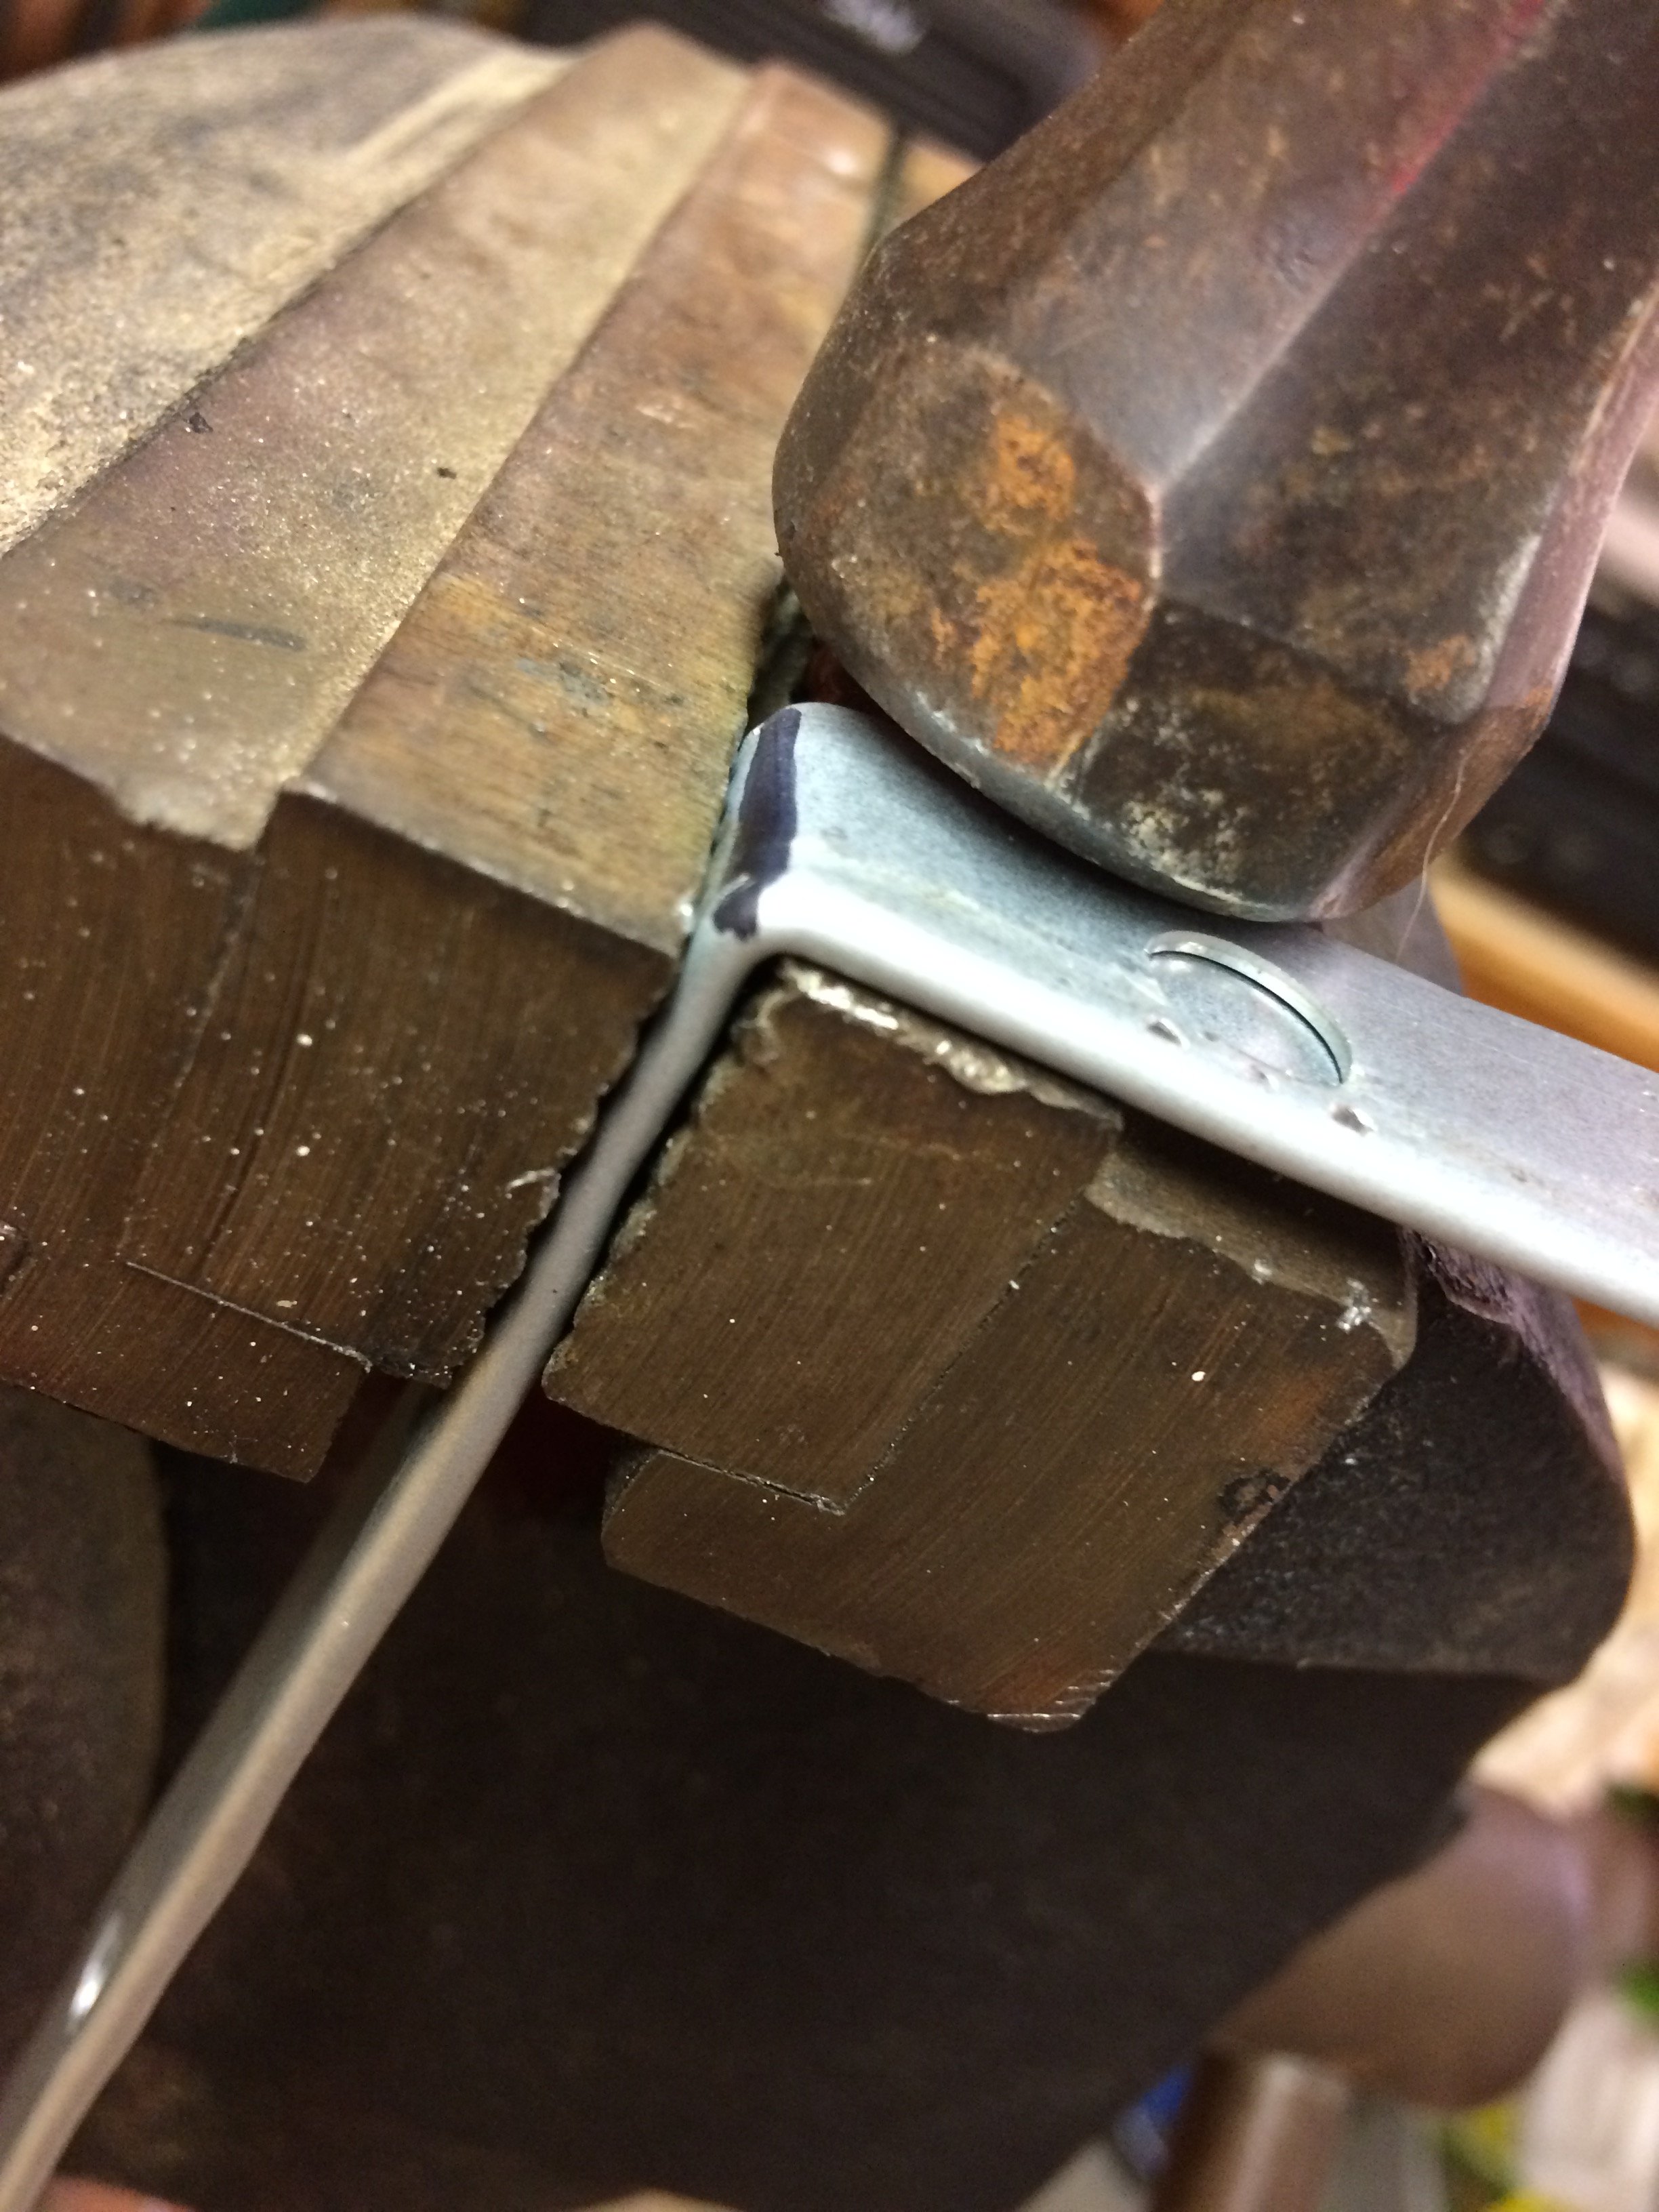
The curved section was a bit more work. And it took some trial and error. A round tip anvil might have been the right tool for this part, but sometimes you have to deal with the tools that are in your toolbox.

So here is the bracket compared to the cardboard prototype. Not too shabby.
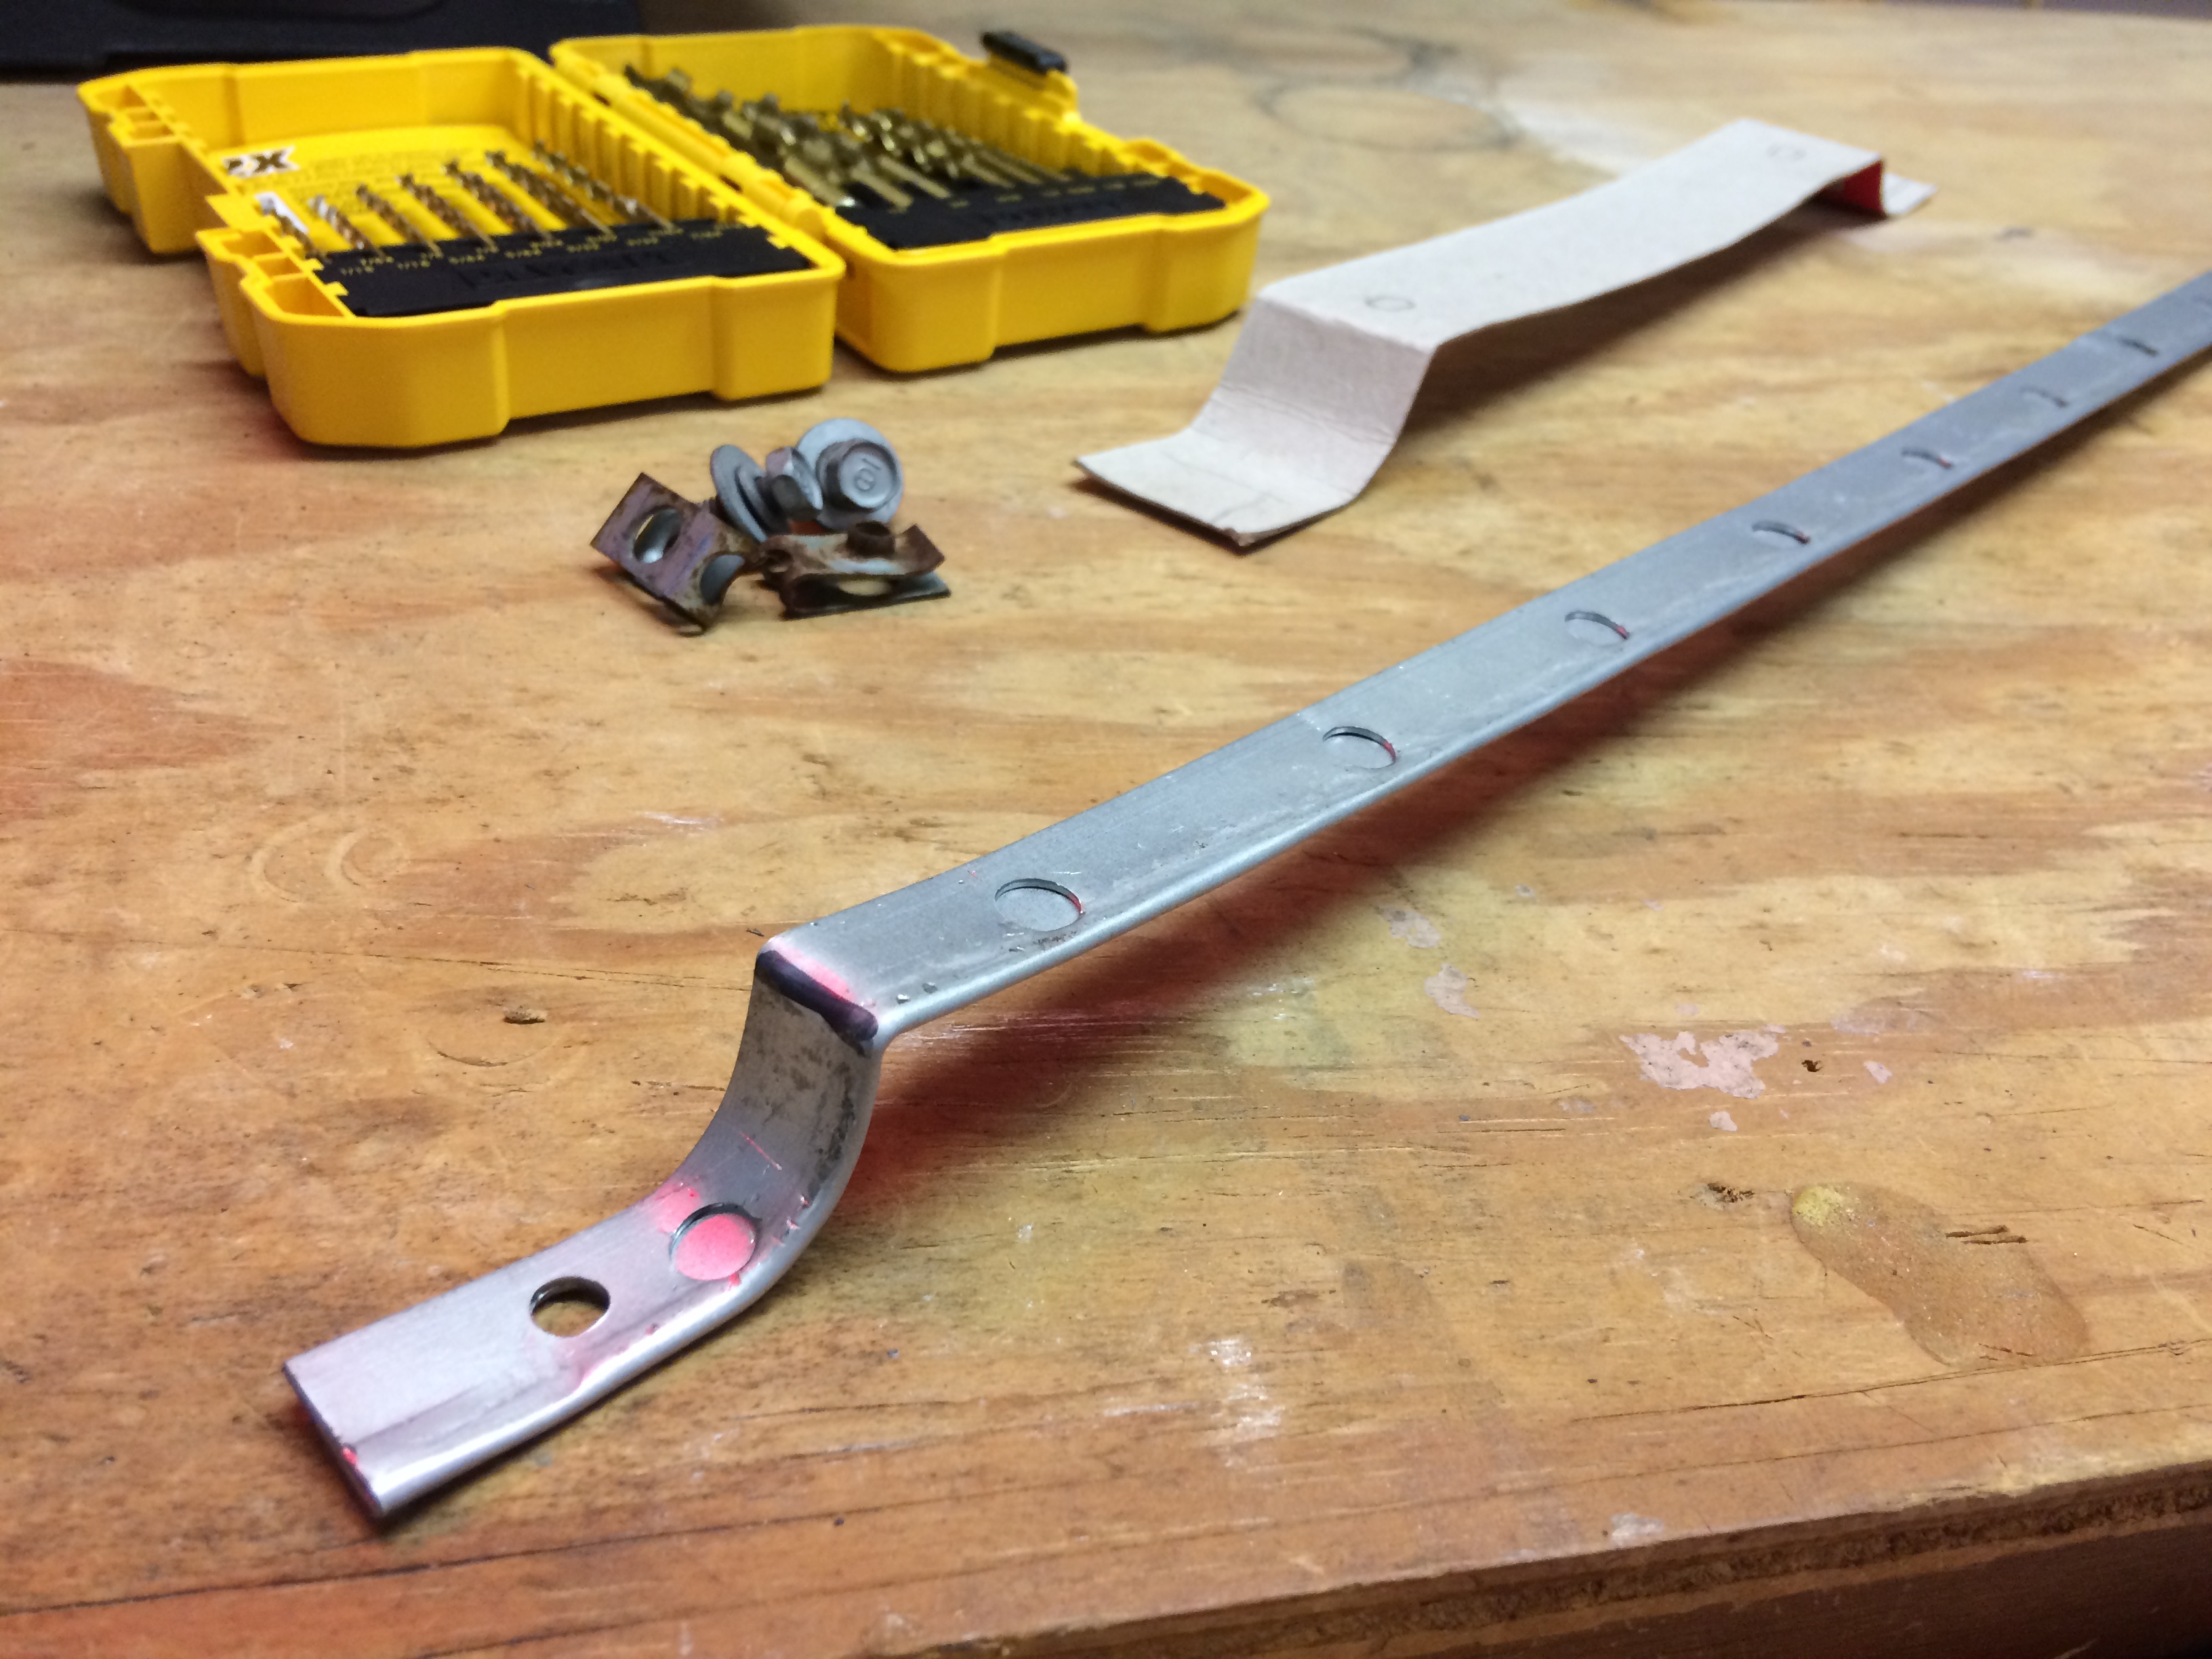
And a bit more sweat got it looking like so! Yep, my cardboard prototype was from a Fruit Loops cereal box. Don’t judge me!

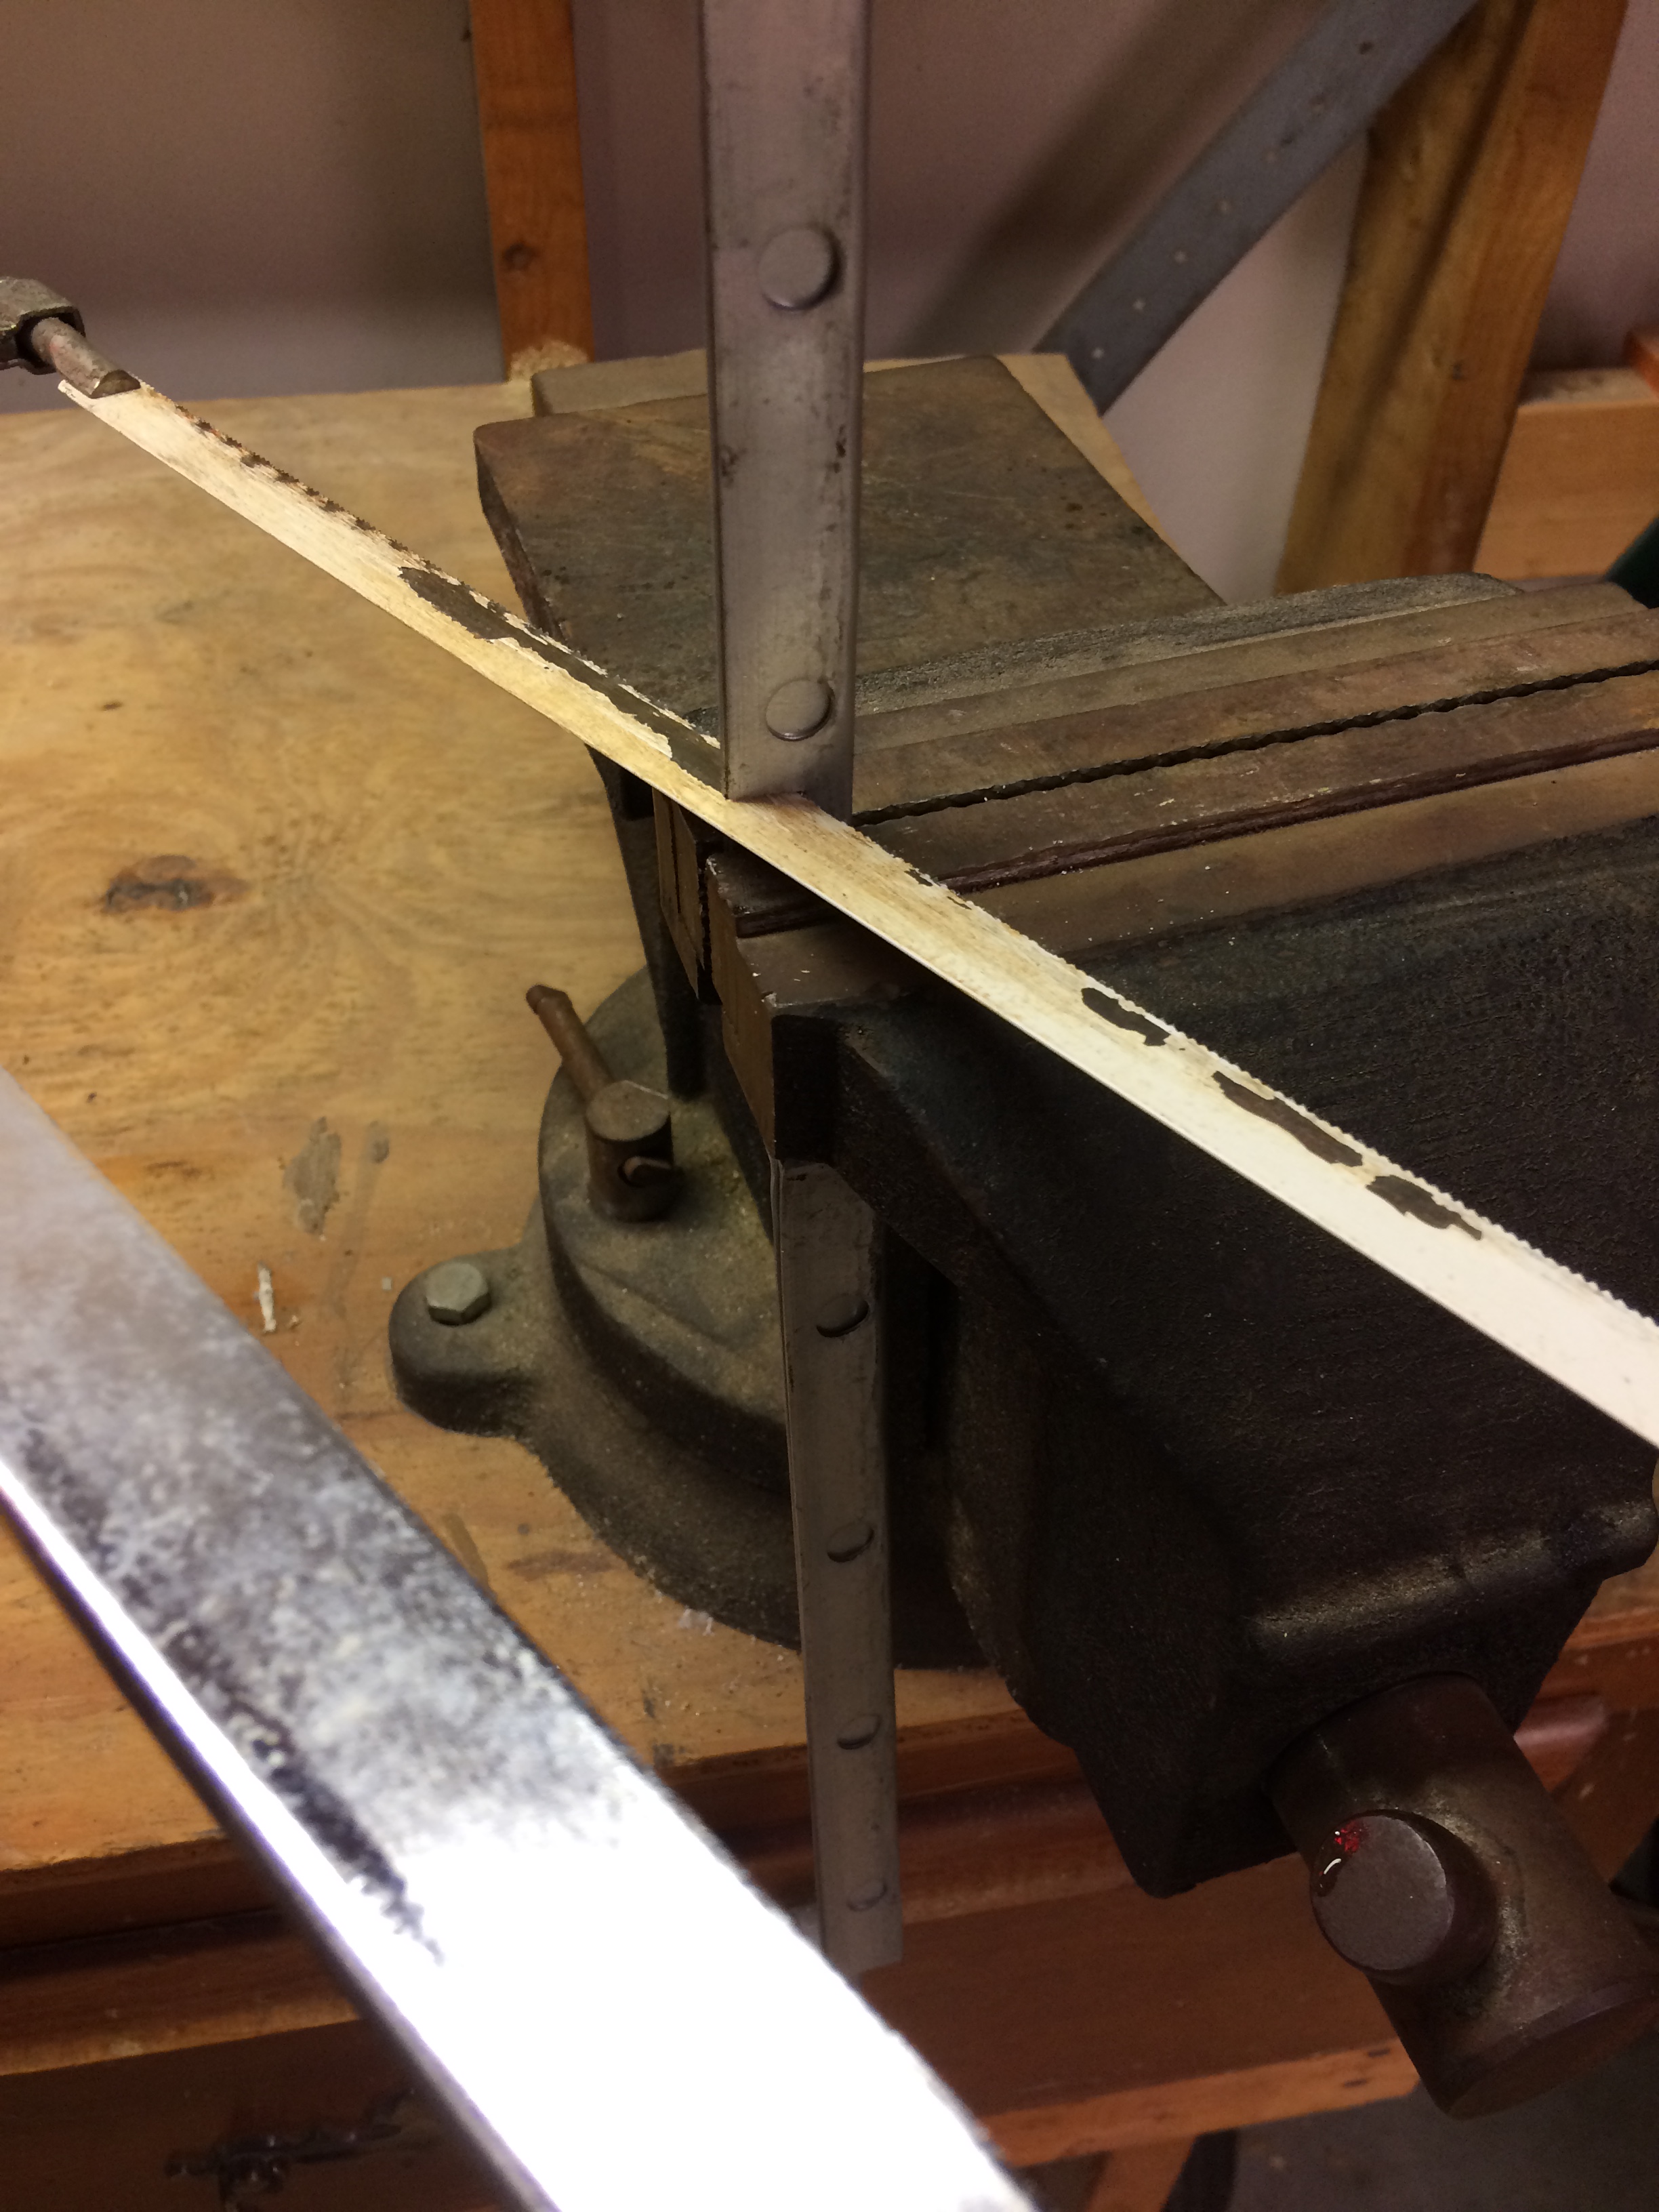
After passing the side by side comparison test with the cardboard prototype, I hacked off the extra material with a … you guessed it … hacksaw.
Now a fit check to the actual license tag was in order. Looking good!

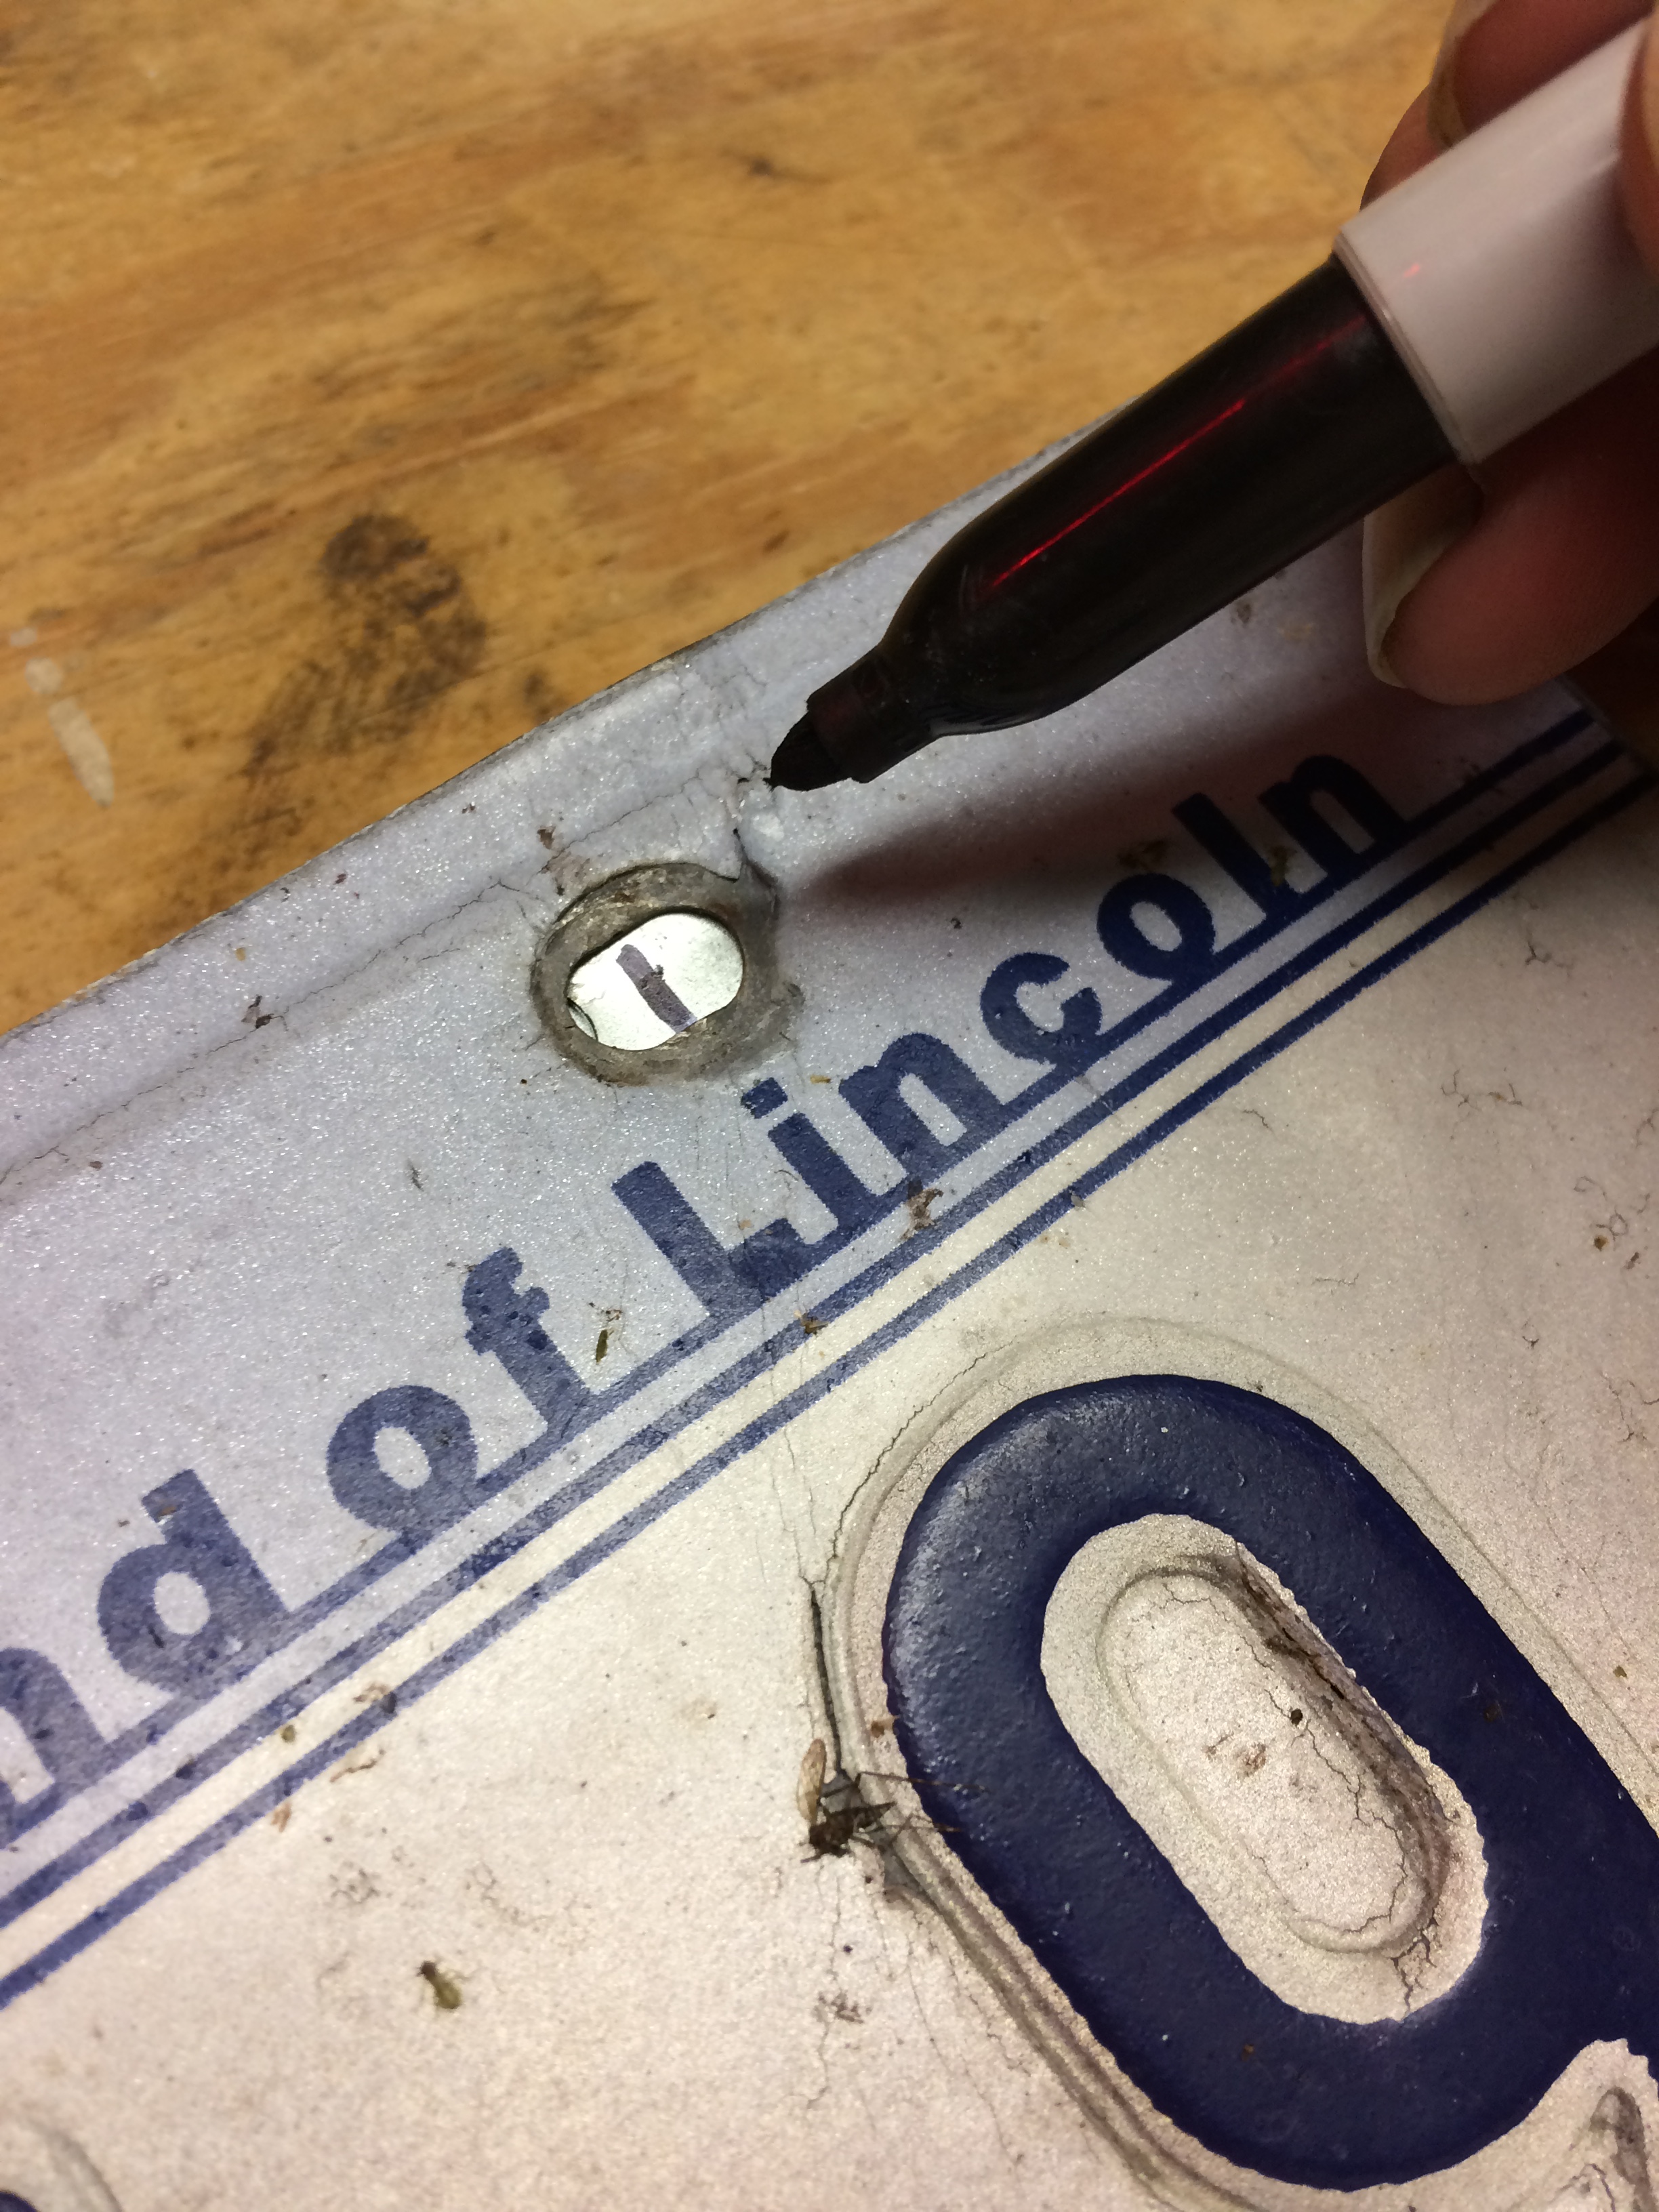
Then the holes were marked and drilled. By the way, if you work mostly with wood, like I do, don’t use your wood drill bits for steel! If you don’t ruin the bits completely, you will at least dull them terribly. Do yourself a favor and buy a set of hardened bits just for metal.
Here is a photo of the finished product! It worked like a charm! And it looks great!

I mean the bracket itself doesn’t look all that great. But it’s completely hidden behind the vanity plate! So why spend 20 bucks on a fancy tag bracket when nobody ever sees it!
Thanks for your interest!
If you have any comments or questions, feel free to leave a comment or click on the Email Us link at the bottom of the page!
Kurt