I woke up at 6am this morning like usual, even though my alarm was not set. I checked CNN on my phone and saw that the government shutdown had actually happened while I was sleeping.
Basically for me the shutdown is a vacation with no guarantee of a paycheck. Although there is a decent chance that Congress will approve back pay for the furloughed government employees. But even civil servants need to pile up a solid emergency fund in case they lose their job (even if only temporary). Back pay is never guaranteed.
I’m not a gambler, but I wouldn’t be completely surprised if I lost a week or two worth of my salary over this mess. That’s not the end of the world for myself and my family, but thousands of other federal employees might get into some trouble if that happens.
I checked my NASA email account right away for the official furlough notice but it was not there yet. Once the notice arrives I’m supposed to acknowledge it by forwarding it to my supervisor.
I have a huge to-do list that never seems to ever get any smaller so I got the list out and created a sub-list which is my furlough to-do list. This new sub-list now has 35 items on it. Probably twice as much as I’ll be able to get done during the furlough. But we have no idea how long this thing is gonna last.
Not everything on my furlough list is work-and-no-play though. There are things like “go see a movie” and “go canoeing” and stuff like that. I plan to fill my furlough time with both work and play activities.
After creating my to-do list, I made myself a banana and strawberry smoothie and enjoyed it on my front porch in my adirondack chair. During a normal NASA work day, I would never have time for this sort of thing. Mornings are usually pretty rushed.
First official order of business: fix clogged toilet
I went ahead and cleaned and disinfected all three toilets while I was at it.
I threw in a load of laundry while I was in the area. One of our bathrooms is through the laundry room and I noticed that the washer and dryer were both unoccupied so what the heck. My wife will be so surprised when she gets home from work and notices that some laundry magically got done!
My NASA supervisor then called my cell and asked me to check for the official furlough notice. It still wasn’t there in my NASA inbox, so I called my supervisor back at home and she forwarded me a copy to my home email address. It’s likely that some NASA server was shut down this morning before all the thousands of official furlough notices were delivered. Oh well.
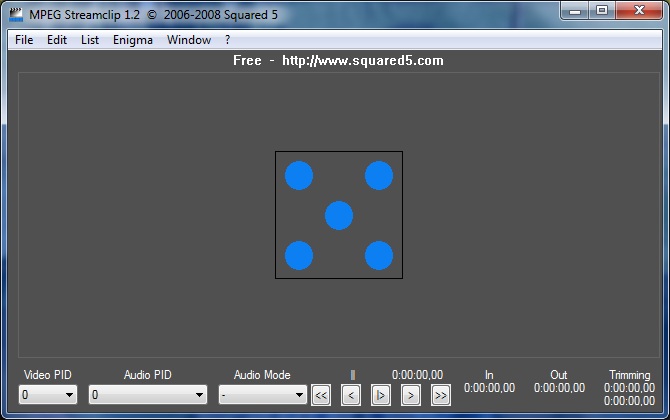
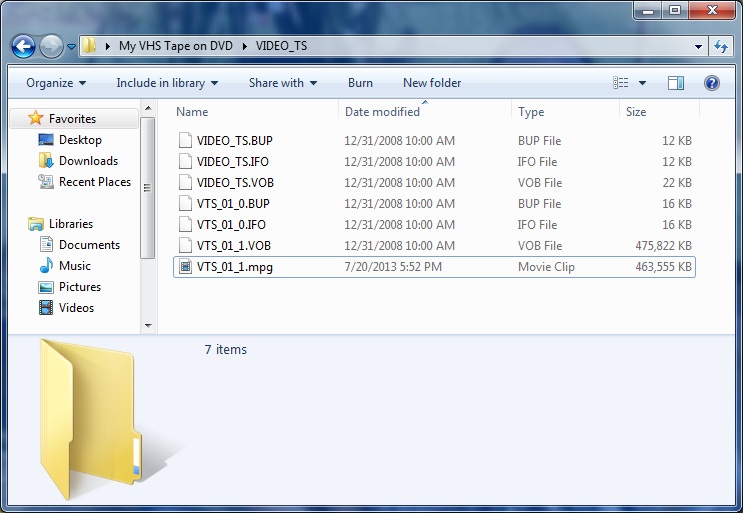
Back to my to-do list. I had a one hour DVD that I needed to watch. It’s an old VHS tape that I transferred to DVD a while ago and I needed to watch it on a regular DVD player to make sure it was acceptable.
Then I did a second load of laundry. Yay, me!
Then after a quick trip to my in-law’s house to borrow an air finish nailer and a quick trip to Lowes and a quick stop for lunch at Burger King, I spent the next several hours measuring/cutting/installing baseboard trim in the house.
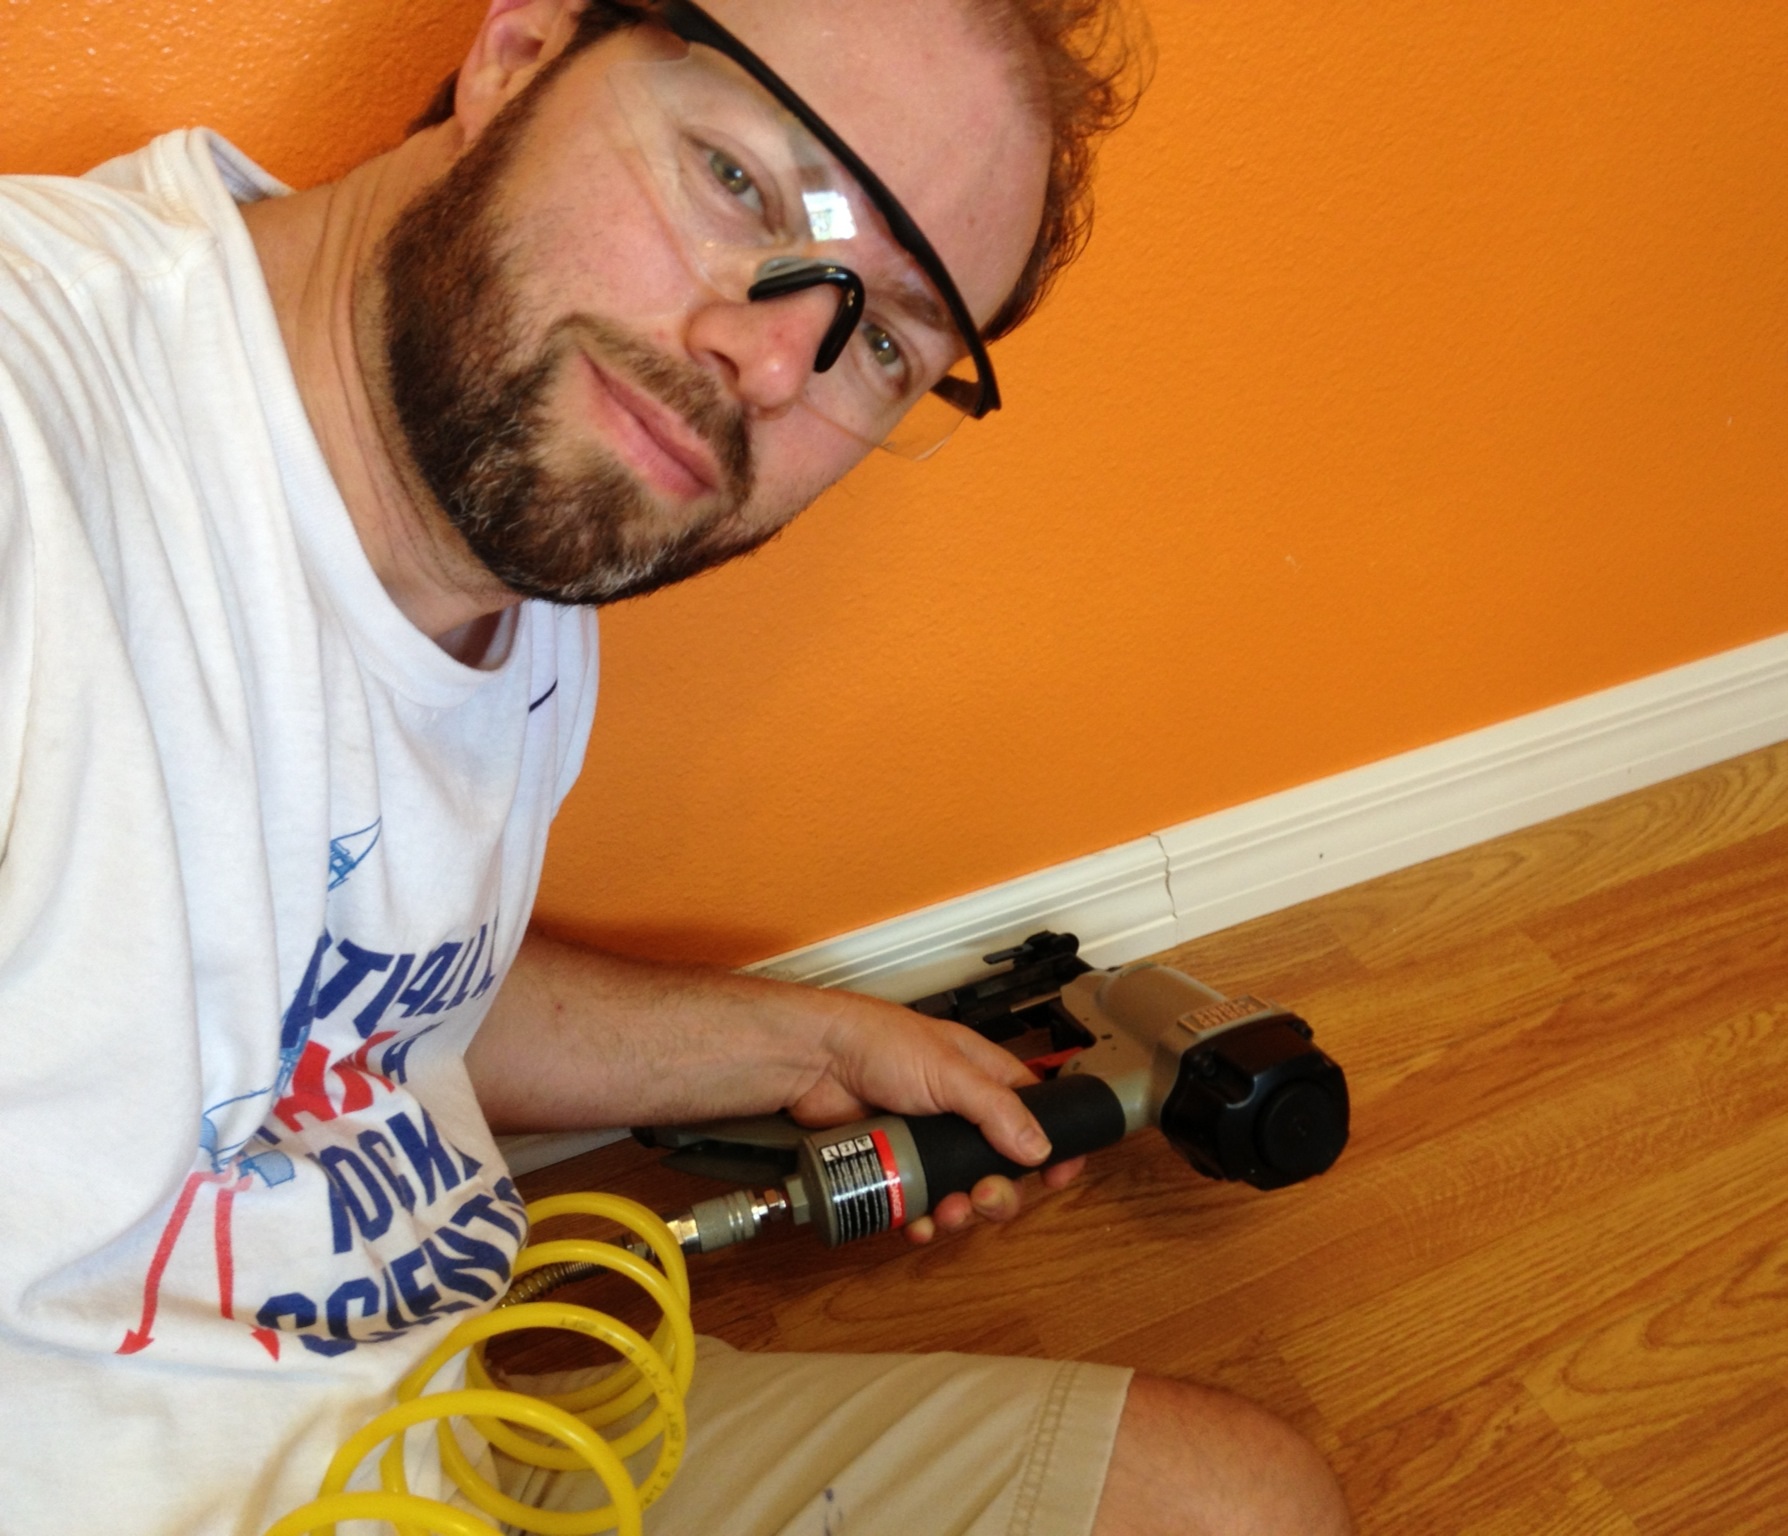
We’ve lived here for just over two years and I got distracted before all the trim got installed. Today I worked in the kids hallway, both kids rooms, and also in the front office.
Then I took a shower and ate dinner and went to church choir rehearsal. And now I’m writing this blog post. That’s pretty much day one of my unplanned furlough slash vacation.
My to-do list still has 35 items on it. I crossed several off today and did some tasks that were never on the list and I also added several new items to the list throughout the day. Typical.
What will tomorrow hold? Stay tuned! 🙂
Kurt