Computer nerds and statistics nerds unite! Here are some interesting stats and facts about my website, courtesy of Google Analytics:
After nearly 6 years of collecting site visitor data (68 months, actually), there were nearly 80,500 site visitors. These are not page hits … these are unique visits to the site, each of which may include multiple page views. There are actually an average of 1.94 page views per visit. (The site has been around since 1999, but I didn’t hook up Google Analytics till late in 2007.)
- That’s about 1,200 site visitors per month
- or about 300 per week
- or about 40 per day
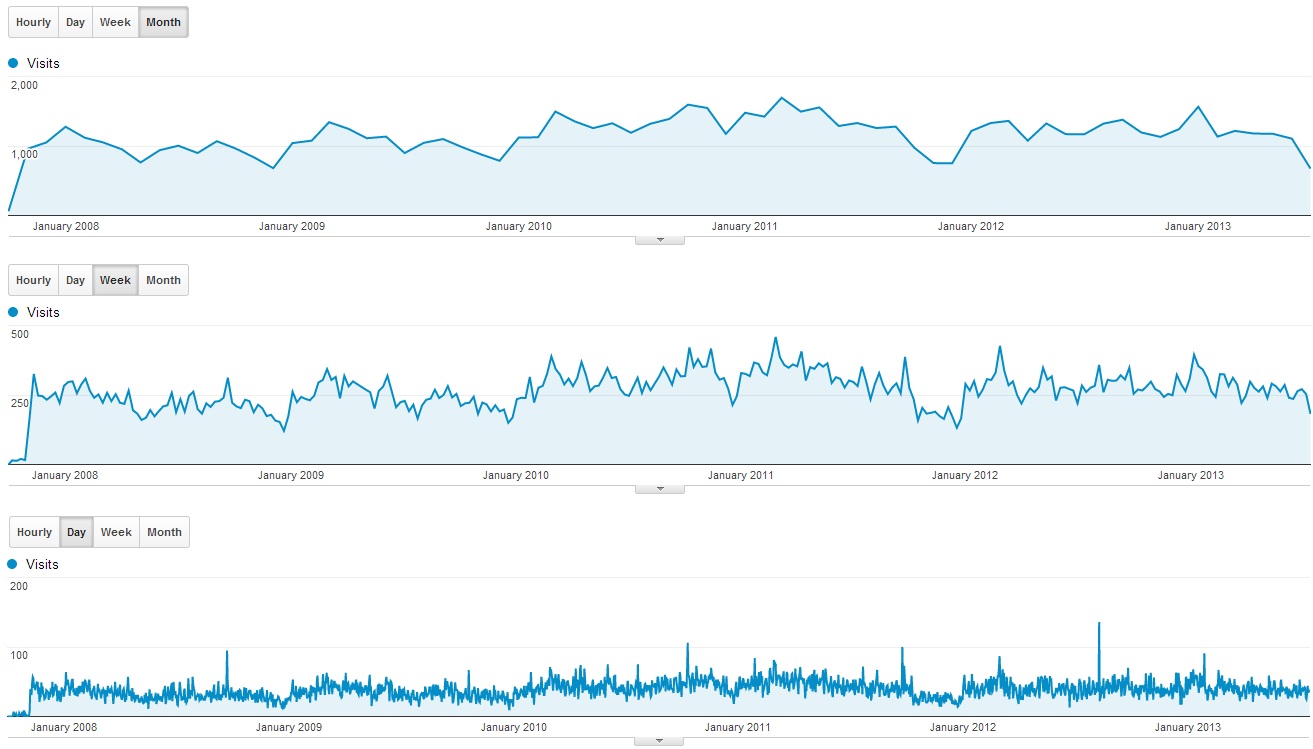
The website leucht.com is just a little unassuming no-frills family website, so I wouldn’t expect much more daily traffic than this. And most of this traffic is probably just search engines crawling the site. You can see by the 6 year data plots above that the traffic is pretty stable over that 6 year period. It’s not growing significantly and it’s not falling significantly over the long term.
So which portions of this little family website have been the most popular over these 6 years? I’m glad you asked. Here are the top 10 pages of all time on the leucht.com website:
| Page | Views | |
| 1 | My Yard Shed Plans | 18,180 |
| 2 | Our Dr Seuss Room | 15,741 |
| 3 | Superman Comic Book PhotoChop | 9,437 |
| 4 | Annie Musical at CVP | 9,047 |
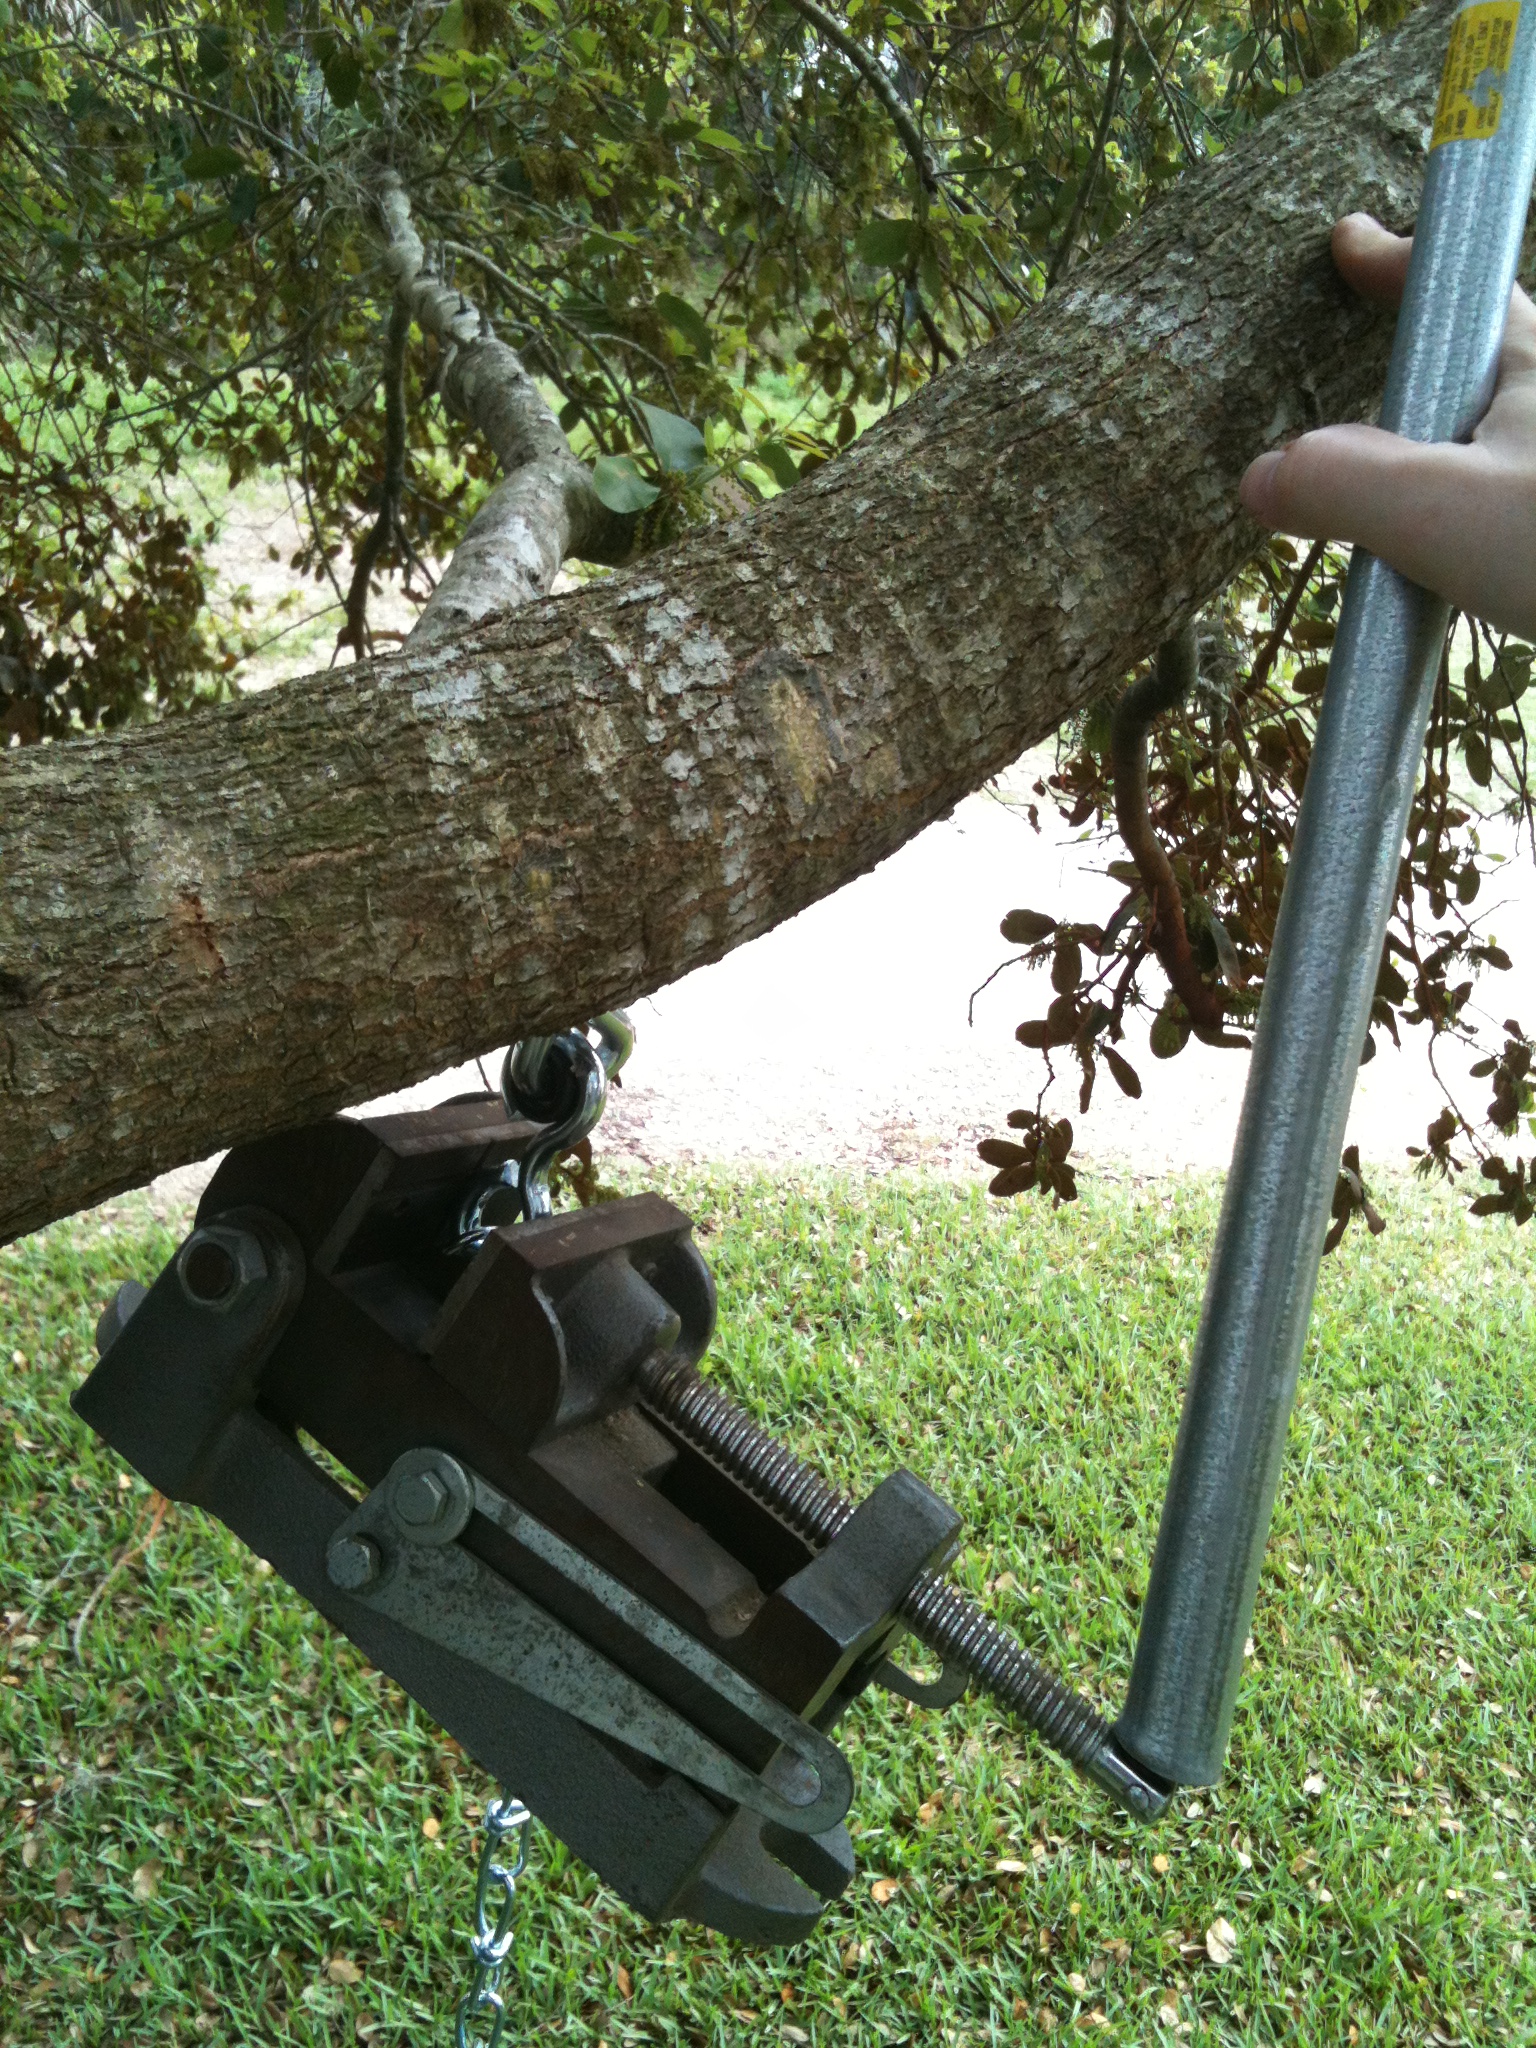
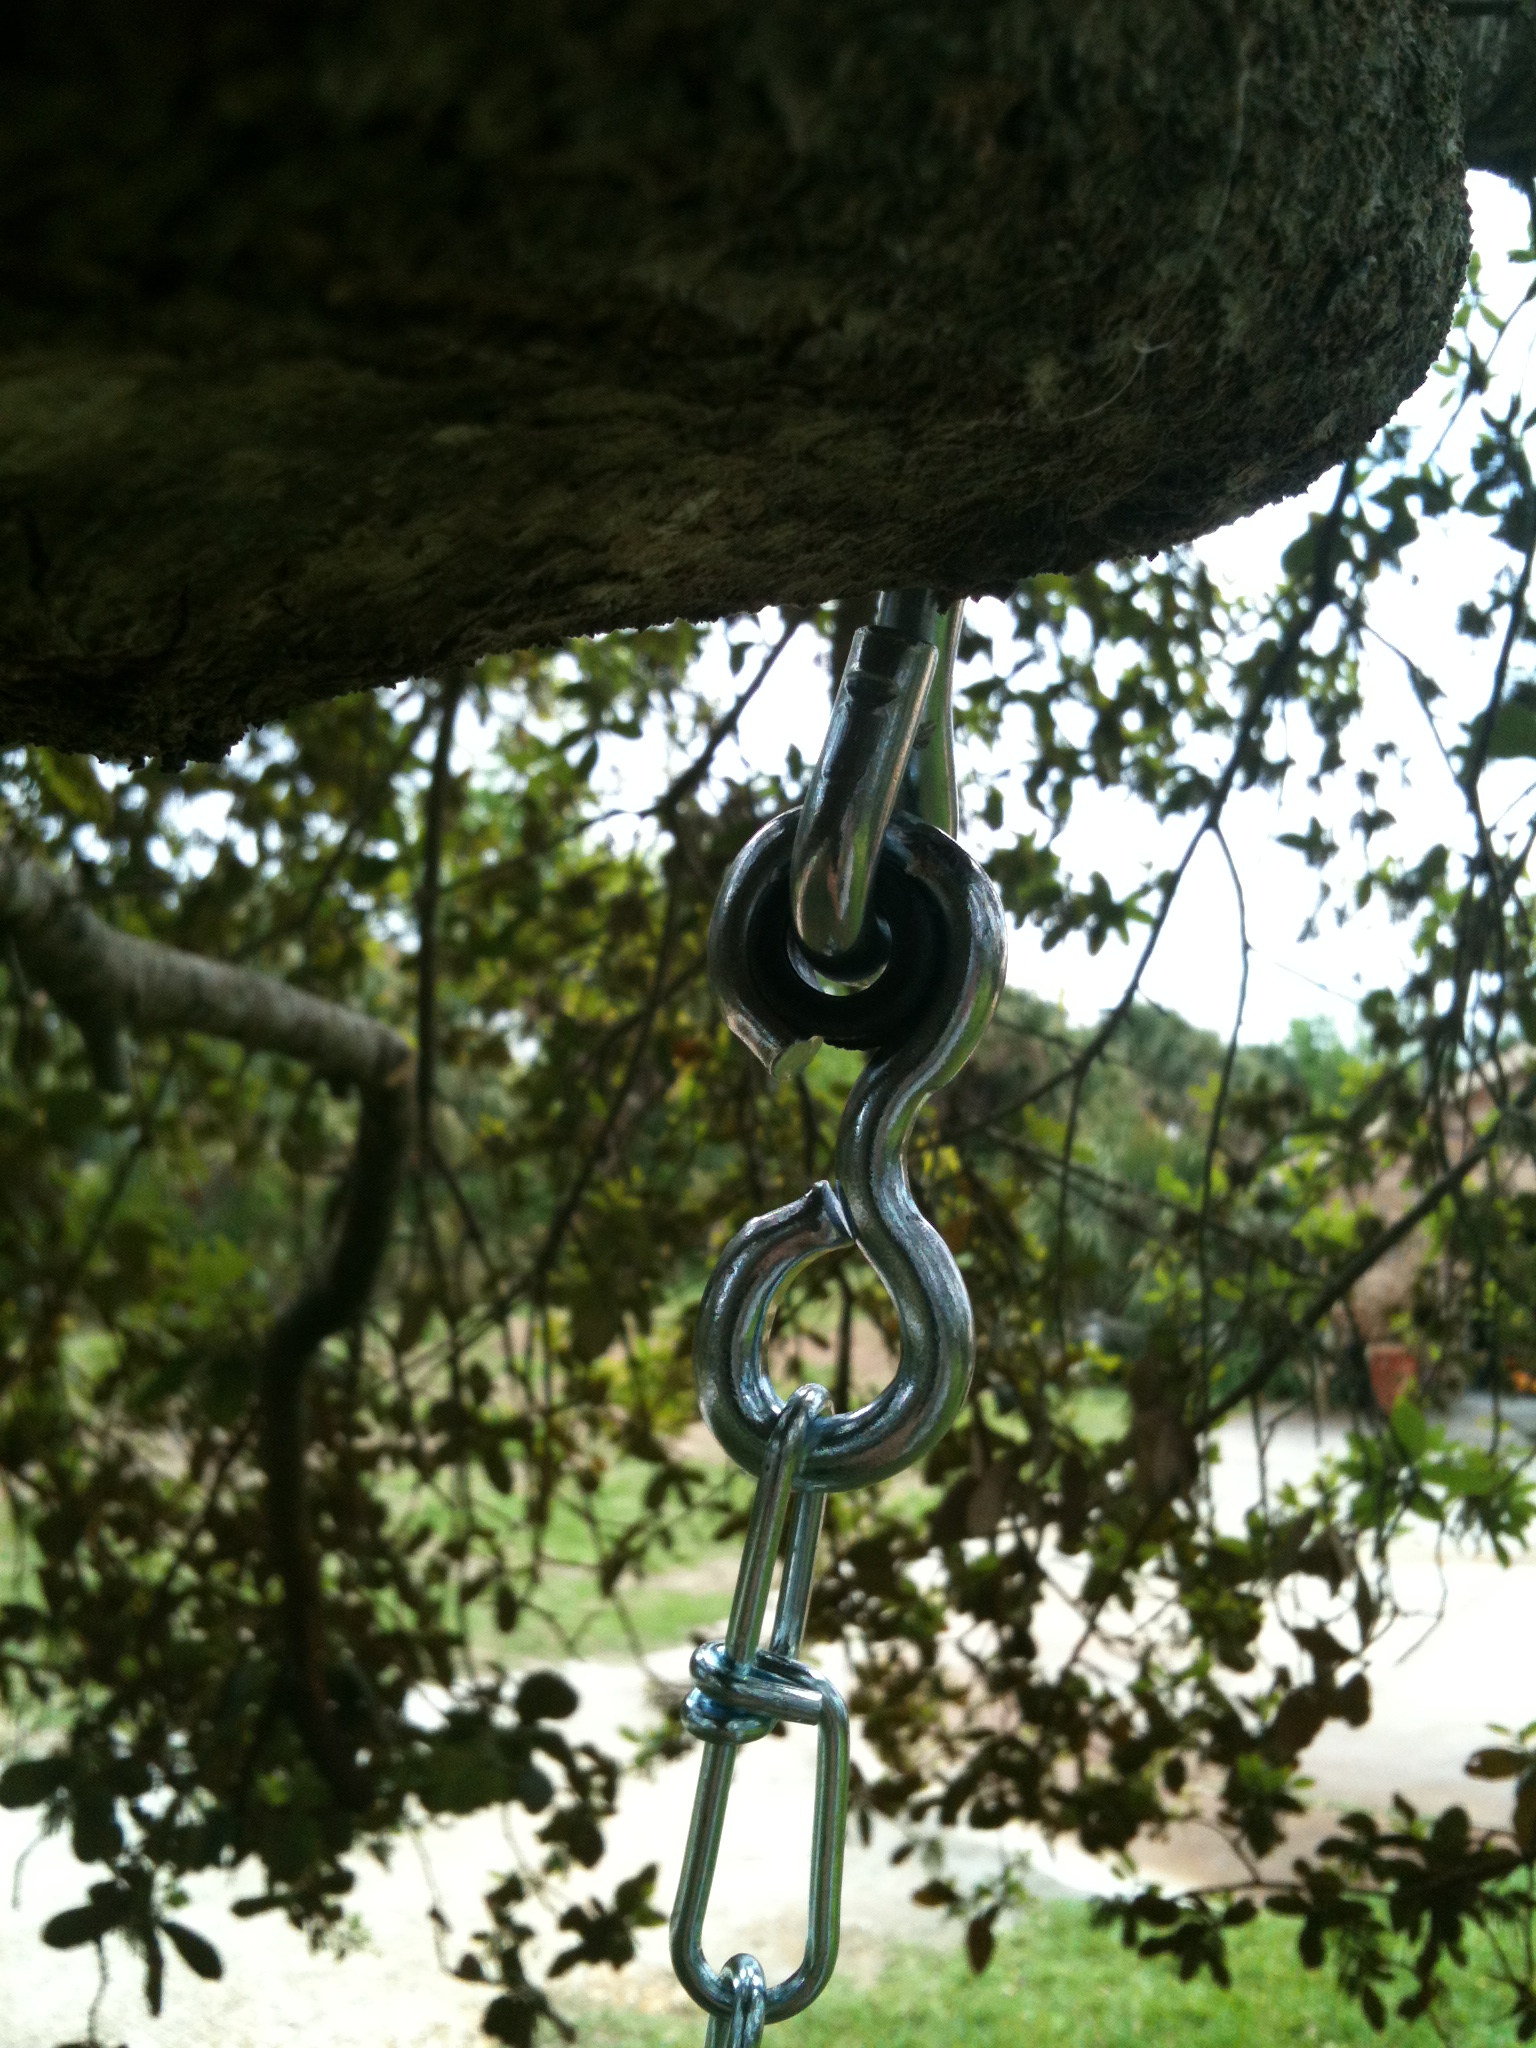
| 5 | Make Your Own Gravity Boots | 5,640 |
| 6 | Swing Musical at CVP | 4,647 |
| 7 | Main leucht.com landing page | 4,387 |
| 8 | History of the Leucht Family | 3,862 |
| 9 | Curtains Musical at CVP | 3,026 |
| 10 | Children of Eden Musical at CVP | 2,678 |
So why are these particular pages the most popular on my site? More than 85 percent of my traffic comes from web searches like google, yahoo, and bing. So it looks like my yard shed page is scoring high enough on those search engines to get people to click on it. Surprising, I know. This sort of do it yourself content is exactly what I had hoped this website would be good for when I envisioned it way back in 1999. So I am really stoked to see that page at the top of the list.
I just performed a google search for the phrase “dr seuss room” and my Dr Seuss room page was at the top of page 9 which makes it the 81st google result, I believe. So my Seuss Room page ranks among the top 100 Seuss Room pages in the entire google-verse! That’s fairly exciting for a small time family website developer like me!
As for the Superman comic book cover photo-chop page, I’m assuming that those people are really looking for Superman comic books or something and are probably sadly disappointed when they click over to my photo-chop contest page.
Similarly, nearly half of my top pages are personal photo albums and archives from Cocoa Village Playhouse musicals that I’ve been in. I’m guessing that just a few of my CVP friends are looking at those, but the rest are probably people who are looking for the broadway musicals or productions in their own towns or something. Sorry, folks.
One more dataset and then I’ll end this. The table above shows the top 10 pages of all time over the total 6 year period. But I have some newer content that hasn’t been around for that long that may be just as popular. So here are the top 10 pages over just the past year:
| Page | Views | |
| 1 | Make Your Own Gravity Boots | 2,910 |
| 2 | Superman Comic Book PhotoChop | 1,724 |
| 3 | Annie Musical at CVP | 1,415 |
| 4 | My Yard Shed Plans | 1,153 |
| 5 | Our Dr Seuss Room | 1,014 |
| 6 | My Folding Workbench | 1,009 |
| 7 | Replace a Windowsill on Block Wall | 896 |
| 8 | Main leucht.com landing page | 636 |
| 9 | History of the Leucht Family | 622 |
| 10 | Curtains Musical at CVP | 566 |
It’s nice to see my gravity boot blog post up at the top. That must be a popular thing these days. There are two pages on this top 10 list that were not on the all time top 10 list. A blog post about my folding workbench and a blog post about how to replace a windowsill on a concrete block wall. I’m happy to see both of these posts in the top 10 and it will be exciting to see other similar do-it-yourself posts rise to the top over time.
Thanks for your support of this website and blog,
Kurt